Download as PDF, PPTX


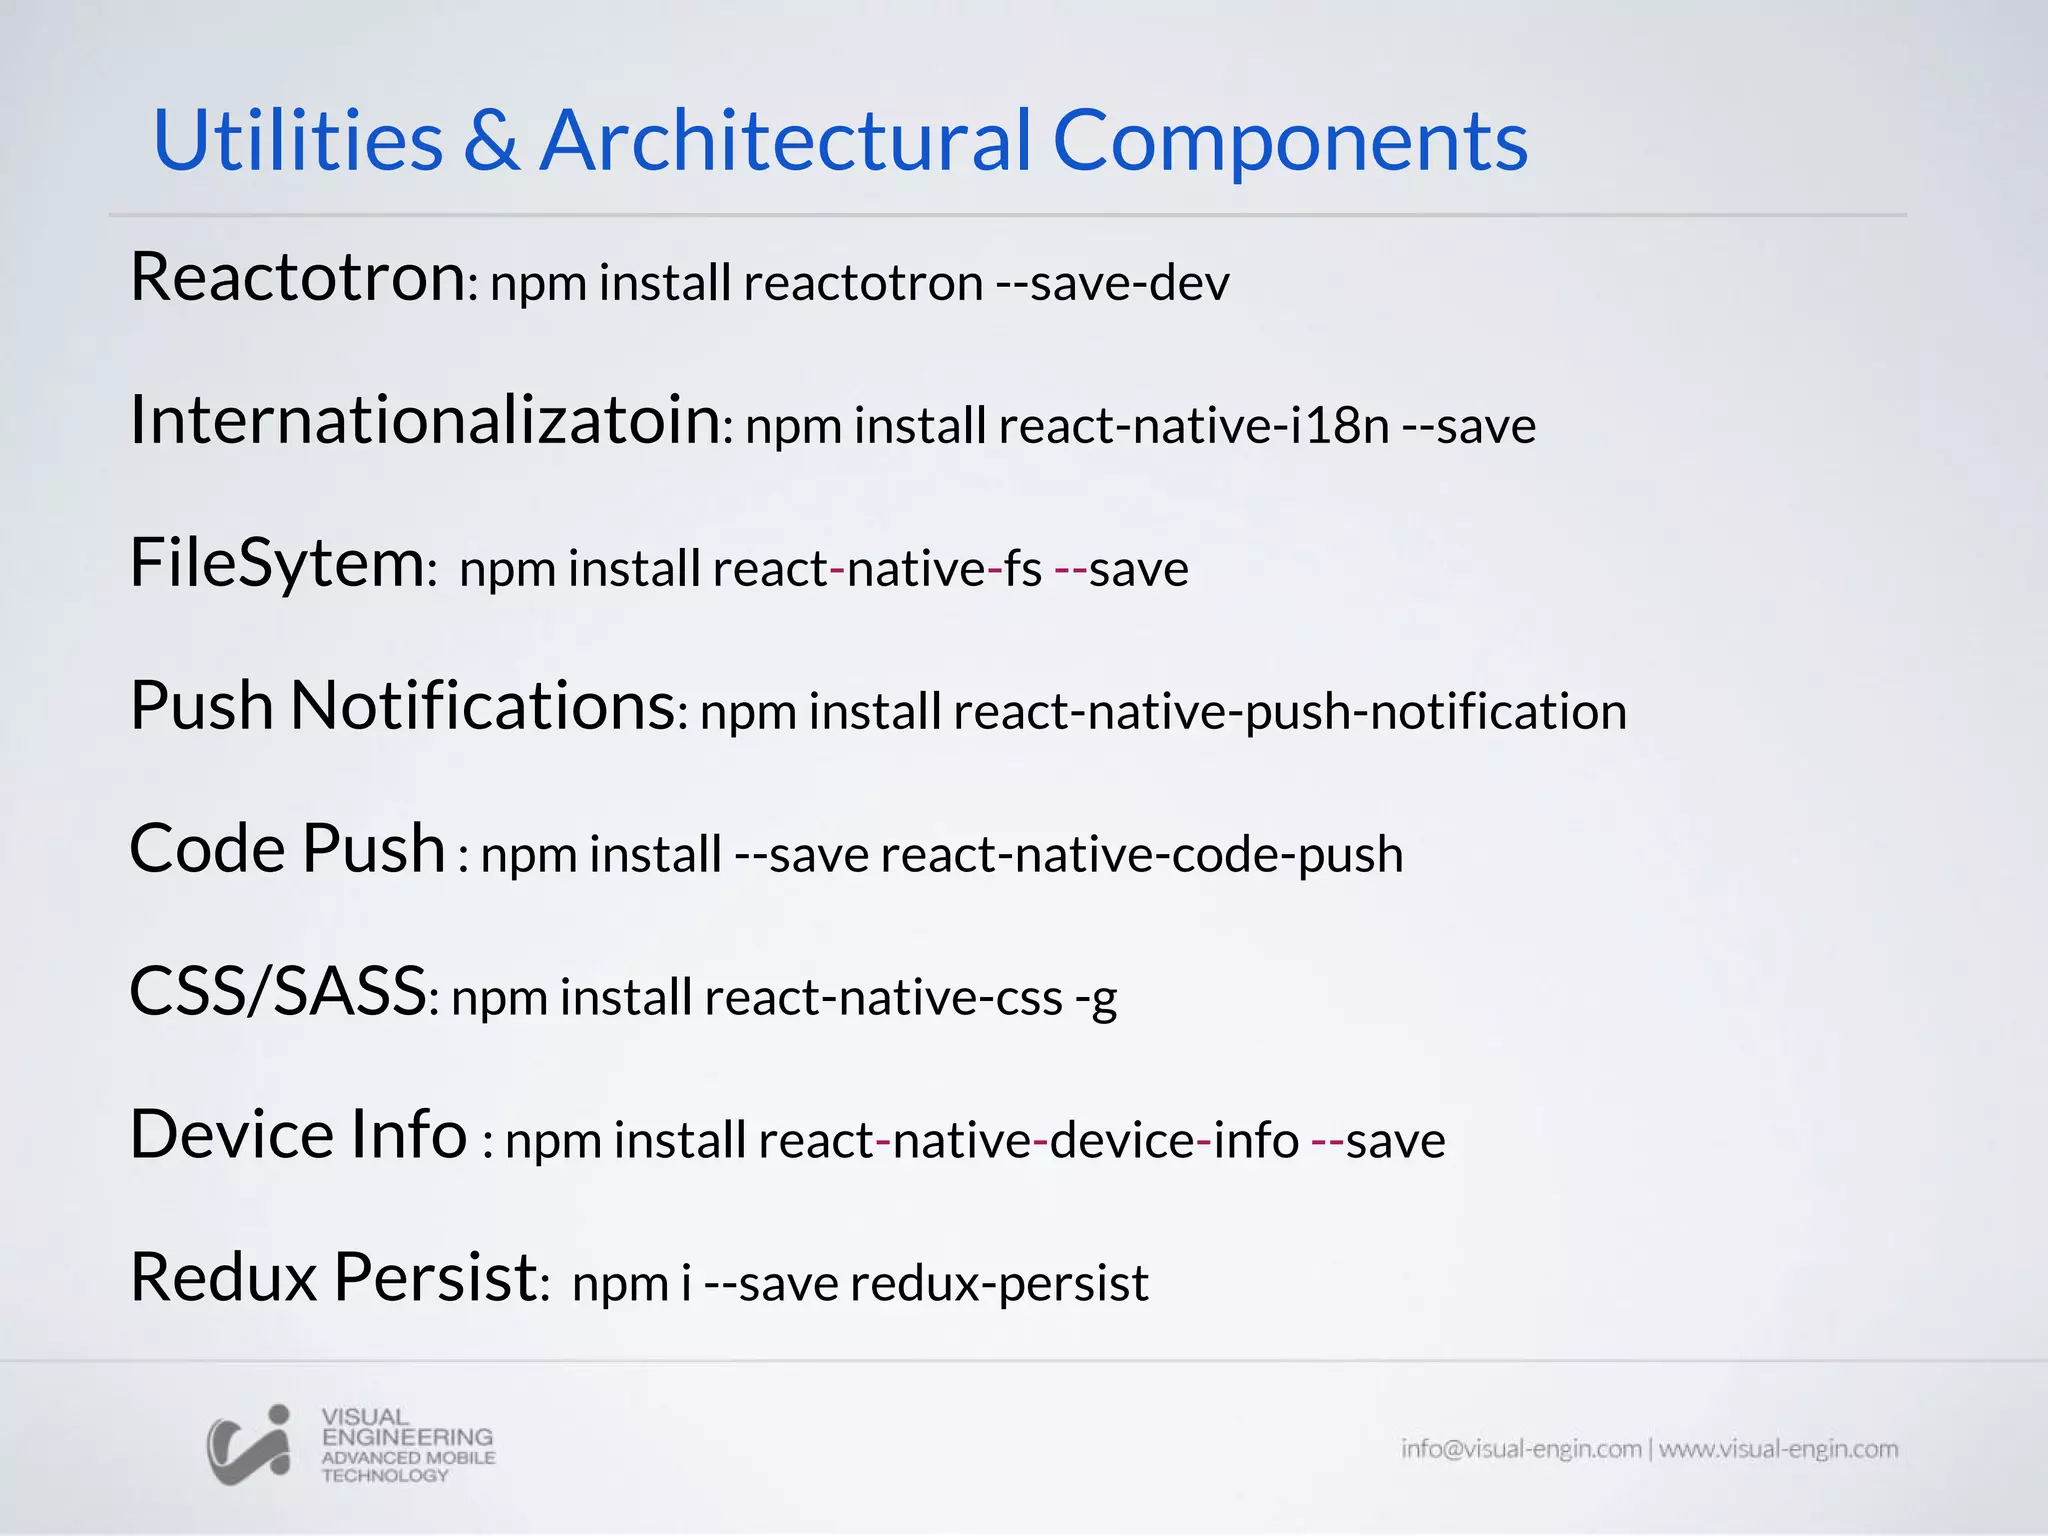


This document is a detailed guide on creating mobile applications using React Native, focusing on components and navigation. It covers various topics, including the Navigator component, scene transitions, tab bars, ListView, and important libraries and utilities that enhance the development process. The document provides code snippets and examples to illustrate how to implement features in React Native applications.


![[React-Native Tutorial] Lecture 8: Midterm Exam Discussion, Feedback, and Ter...](https://cdn.slidesharecdn.com/ss_thumbnails/l8-midtermexam-groupproject-161018100946-thumbnail.jpg?width=640&height=640&fit=bounds)


![[React Native Tutorial] Lecture 7: Navigation - Scene Transition - ListView](https://cdn.slidesharecdn.com/ss_thumbnails/l7-navigation-scenetransition-listview-160927060127-thumbnail.jpg?width=640&height=640&fit=bounds)


![[React-Native Tutorial] Map](https://cdn.slidesharecdn.com/ss_thumbnails/l9map-161025035523-thumbnail.jpg?width=640&height=640&fit=bounds)