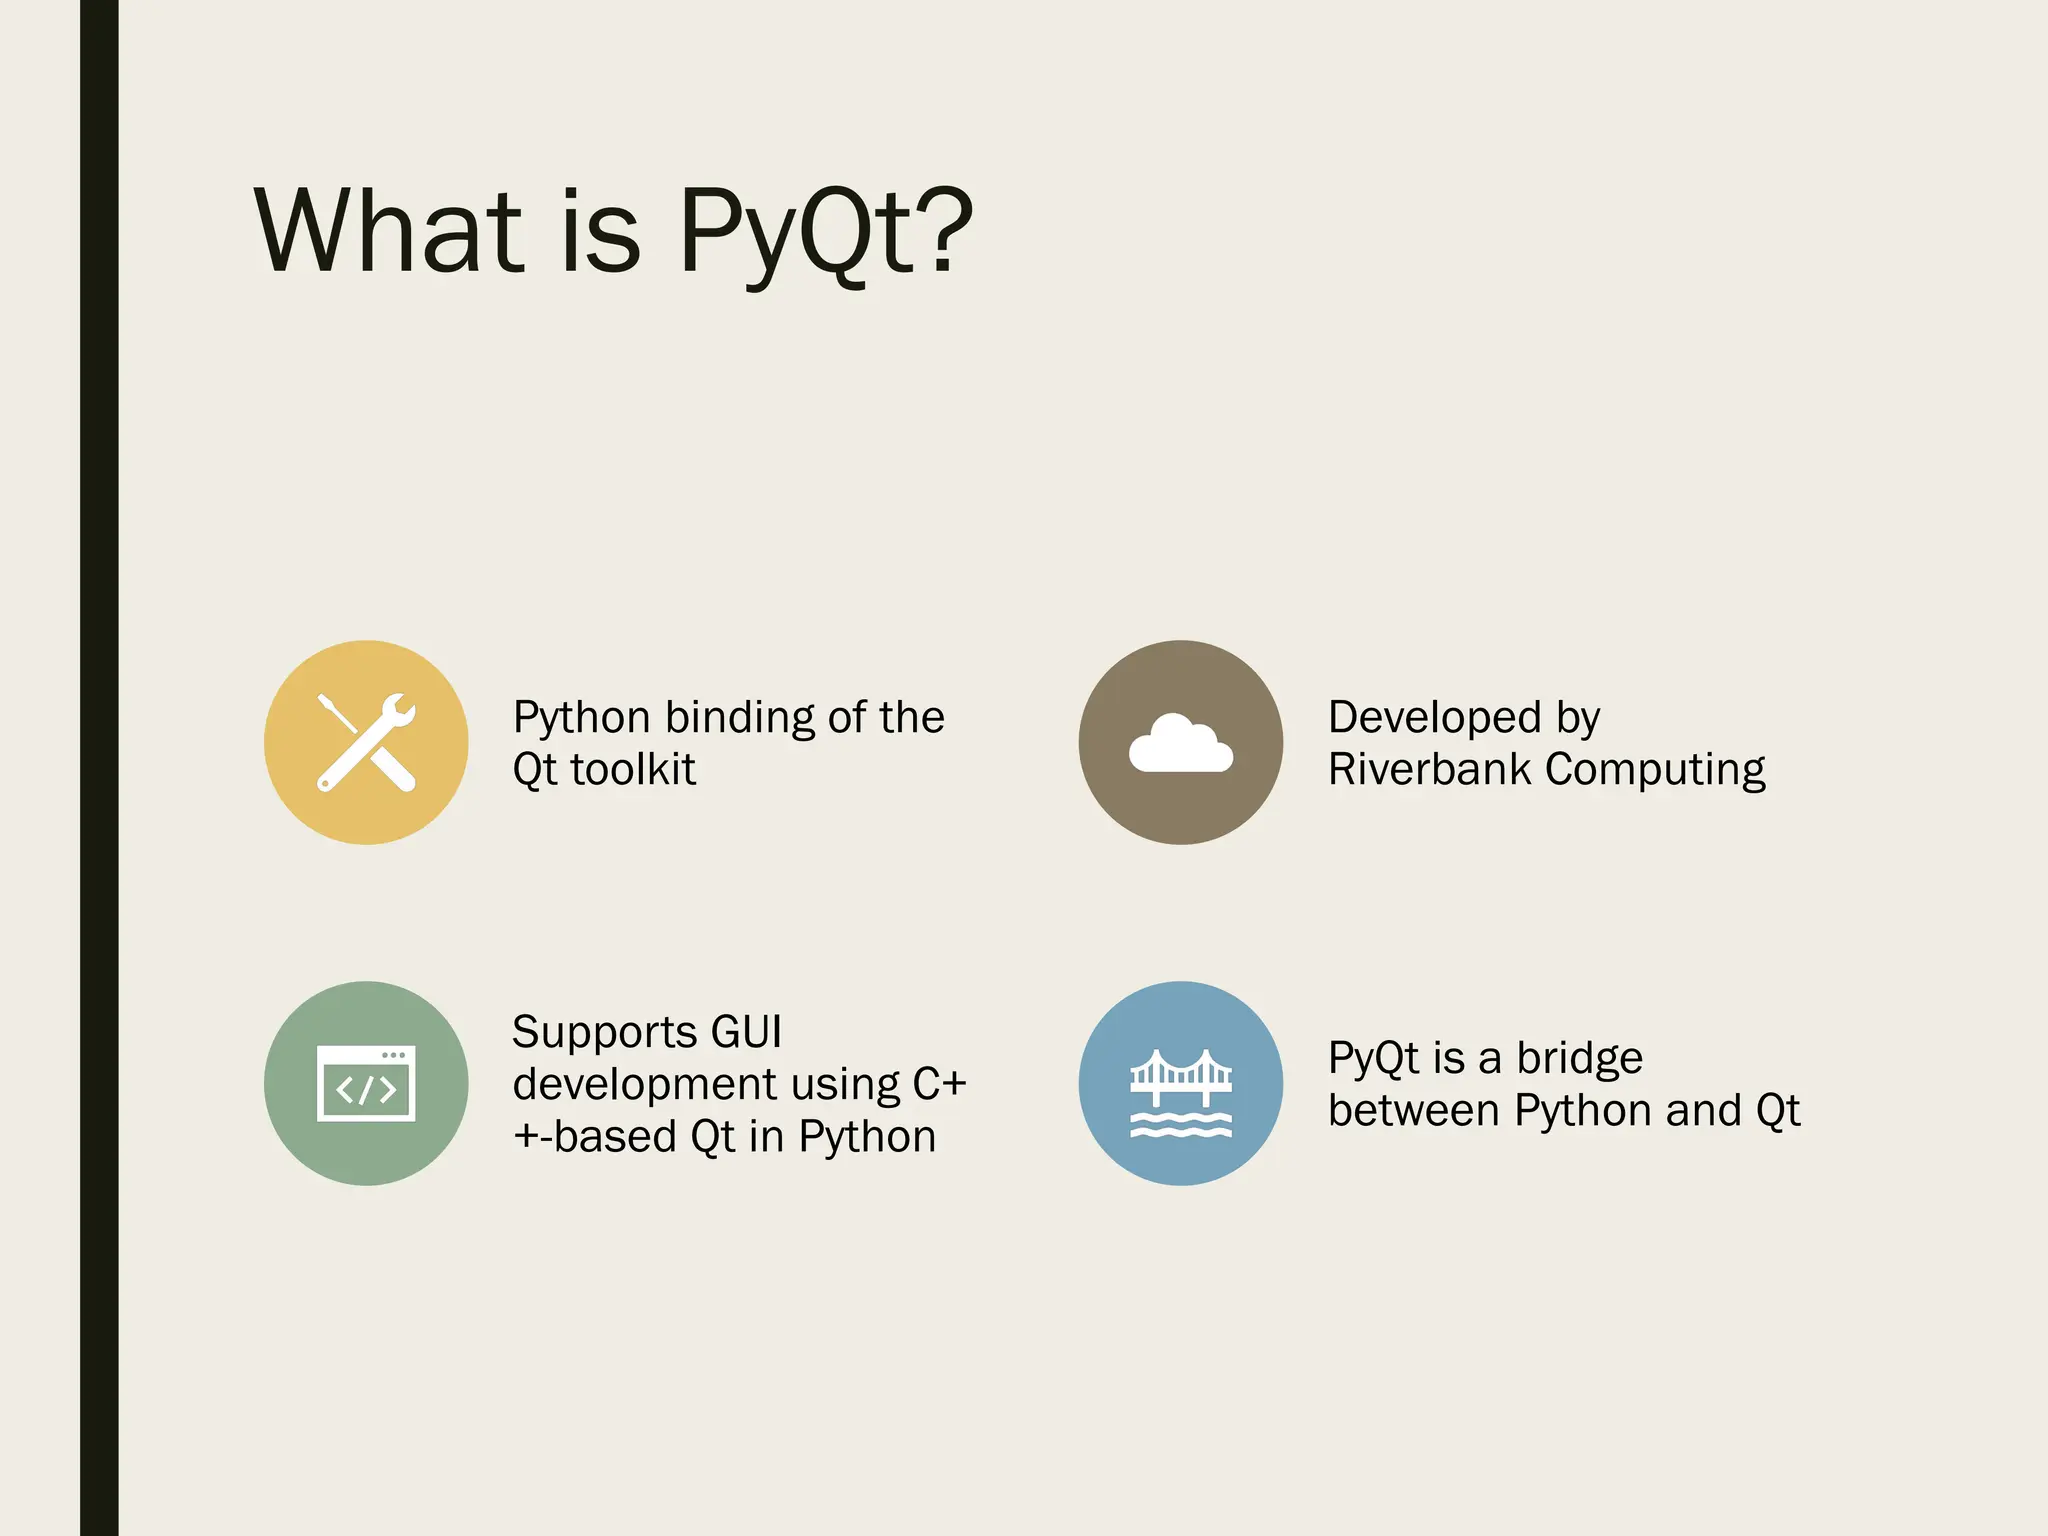
What is PyQt?
Pythonbinding of the
Qt toolkit
Developed by
Riverbank Computing
Supports GUI
development using C+
+-based Qt in Python
PyQt is a bridge
between Python and Qt
3.
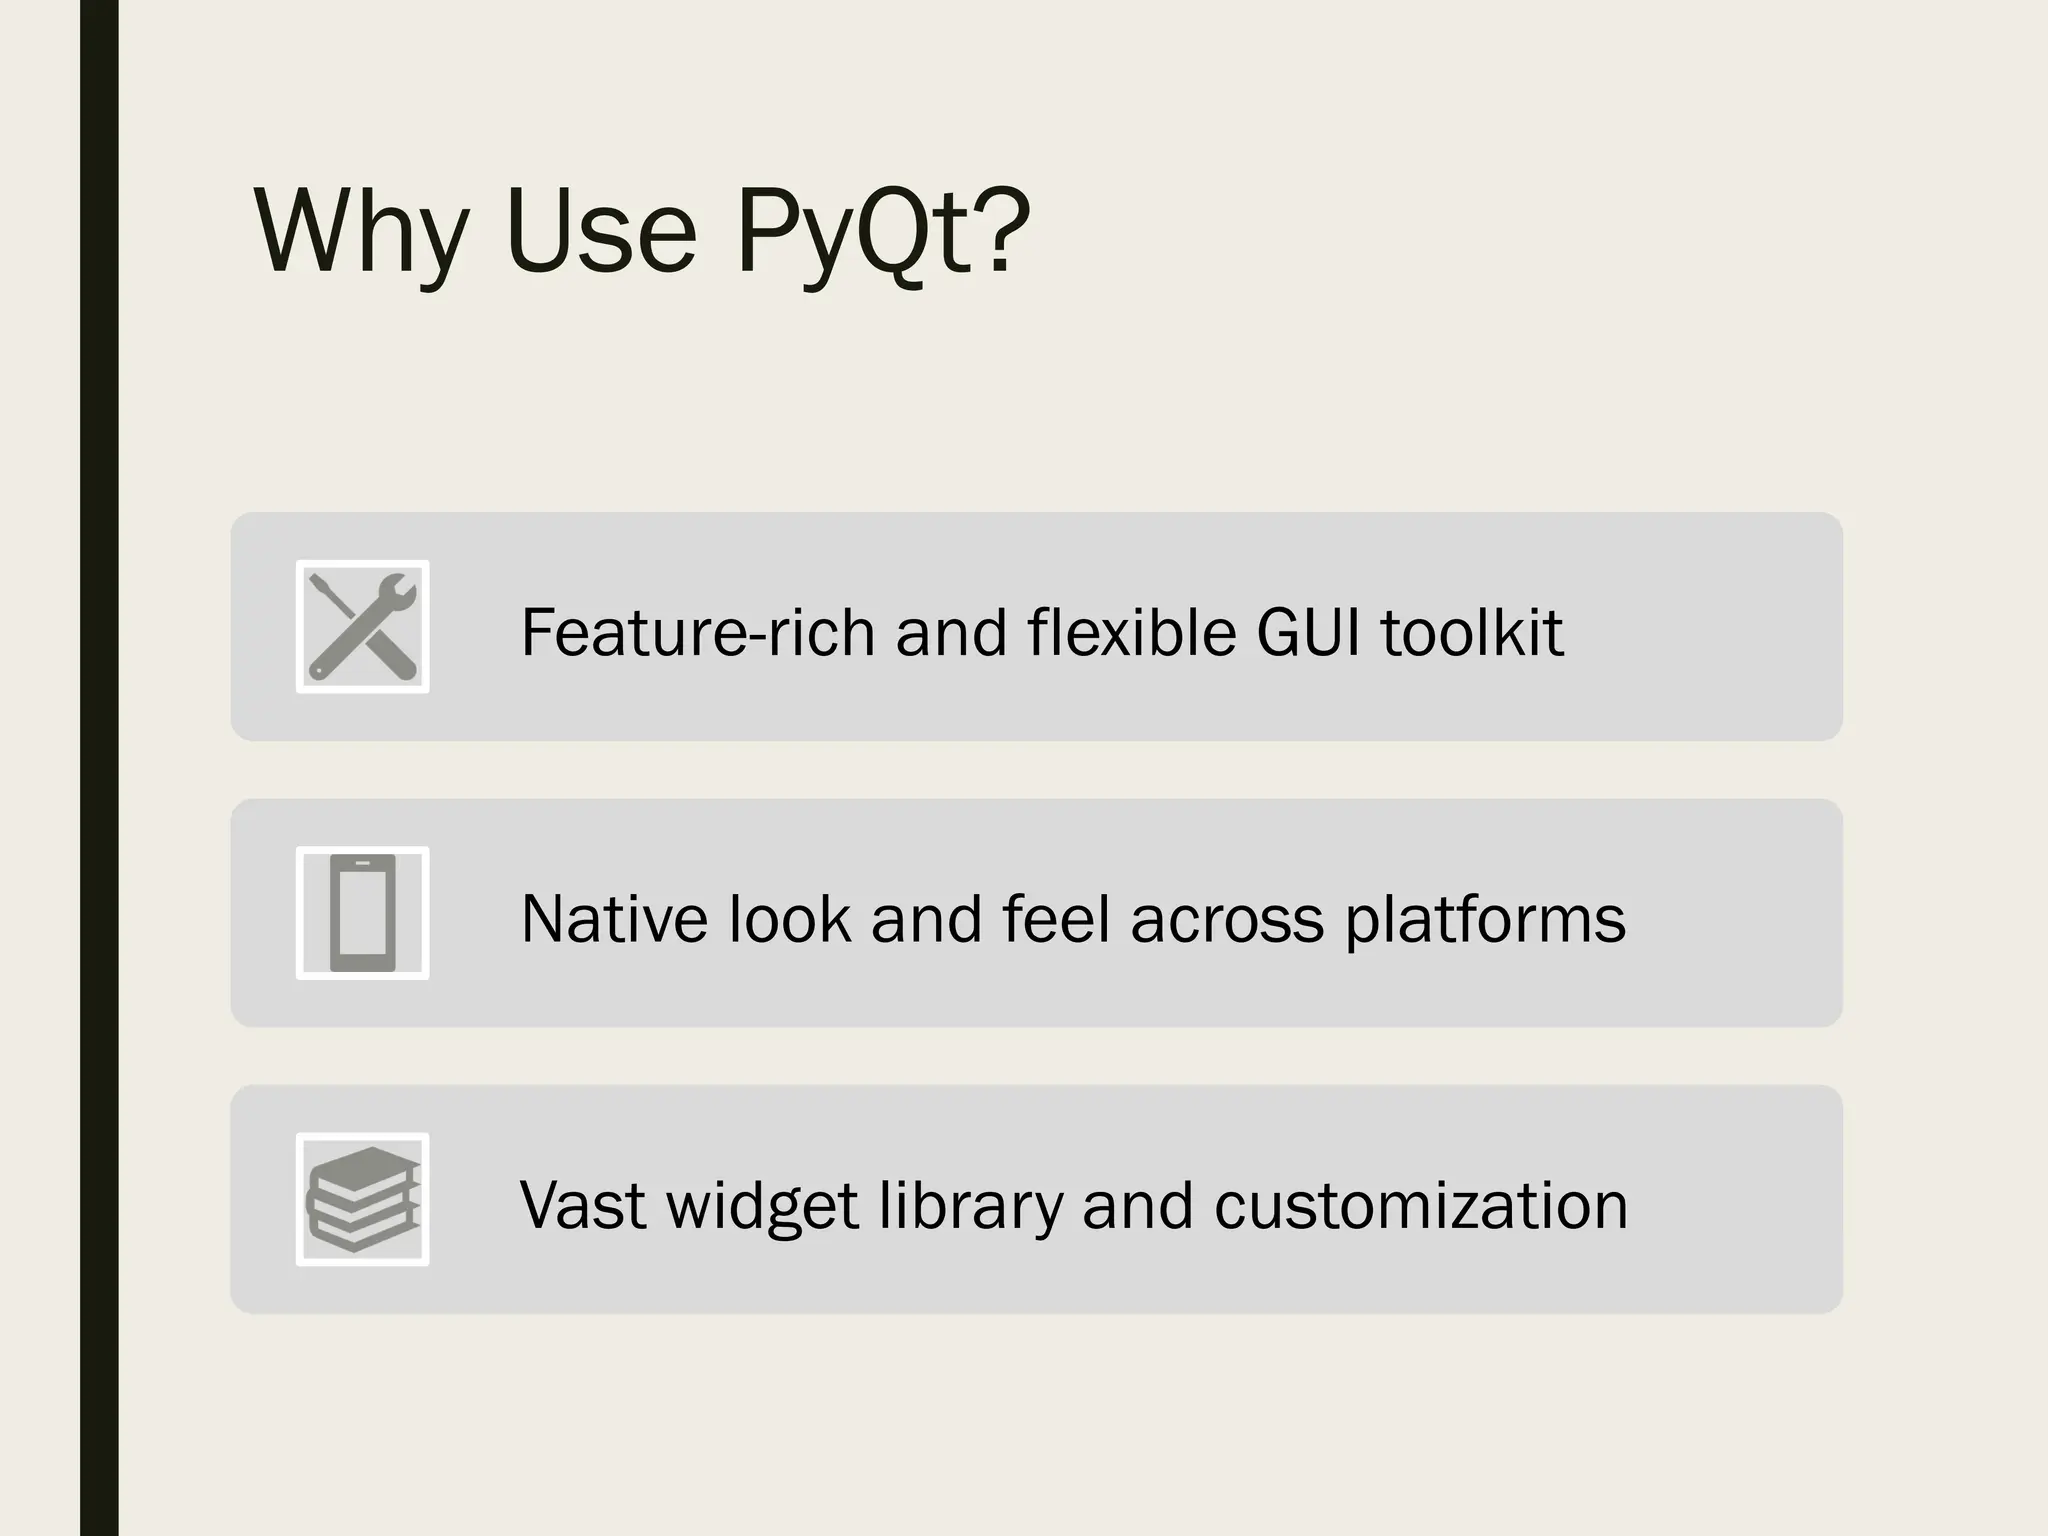
Why Use PyQt?
Feature-richand flexible GUI toolkit
Native look and feel across platforms
Vast widget library and customization
4.
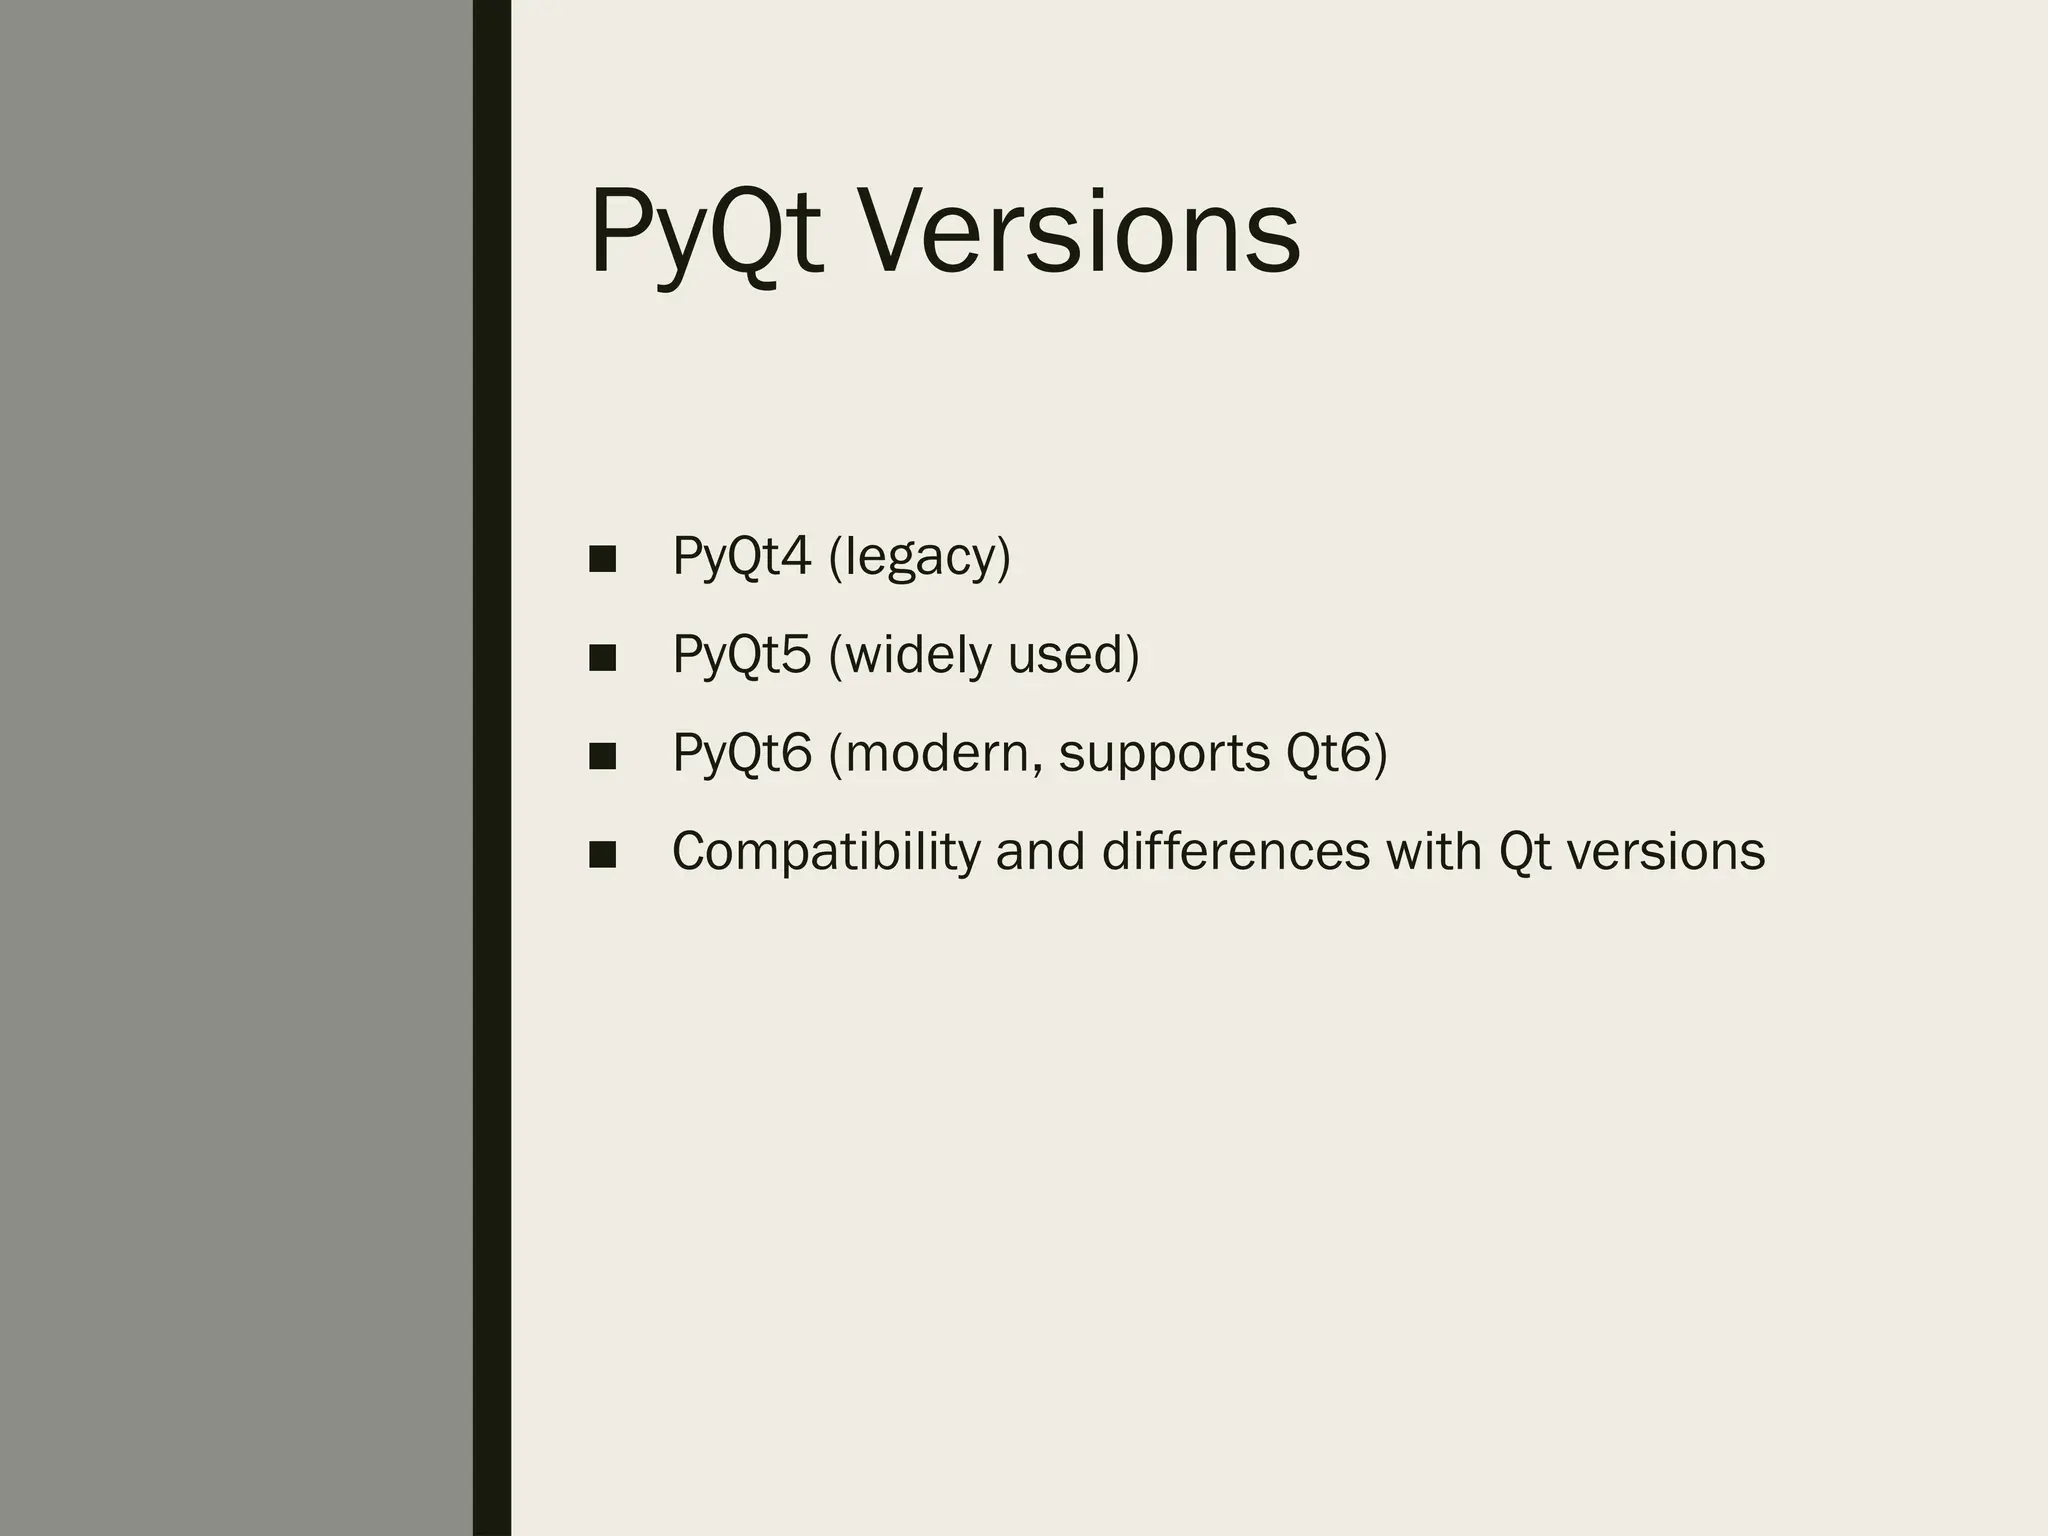
PyQt Versions
■ PyQt4(legacy)
■ PyQt5 (widely used)
■ PyQt6 (modern, supports Qt6)
■ Compatibility and differences with Qt versions
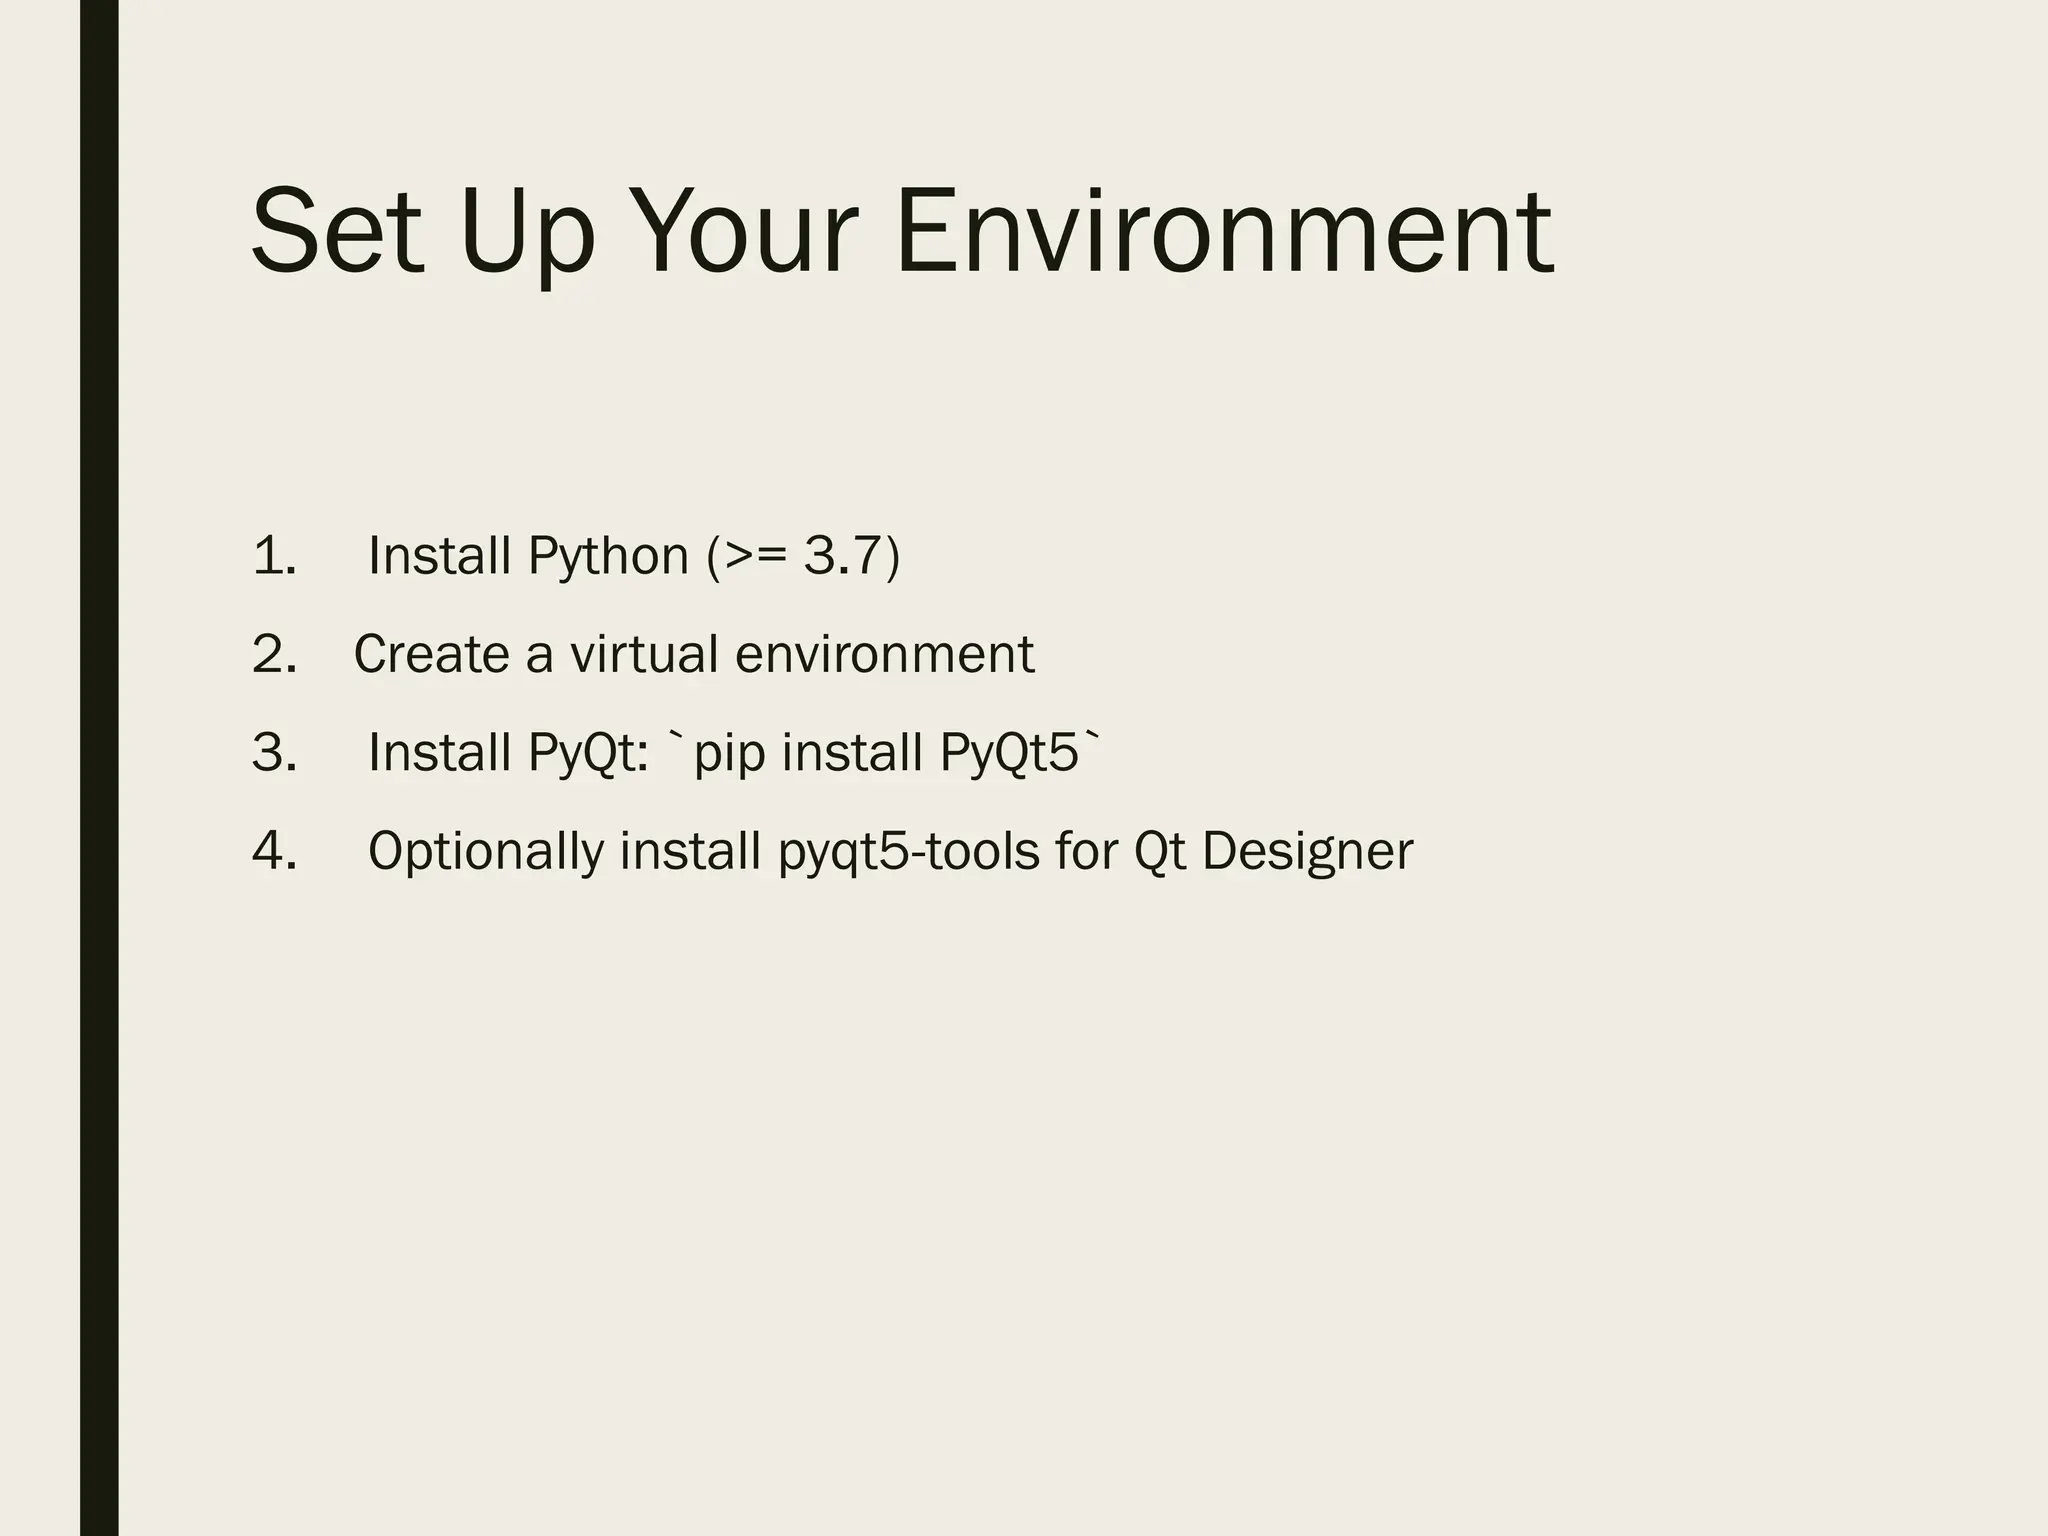
5.
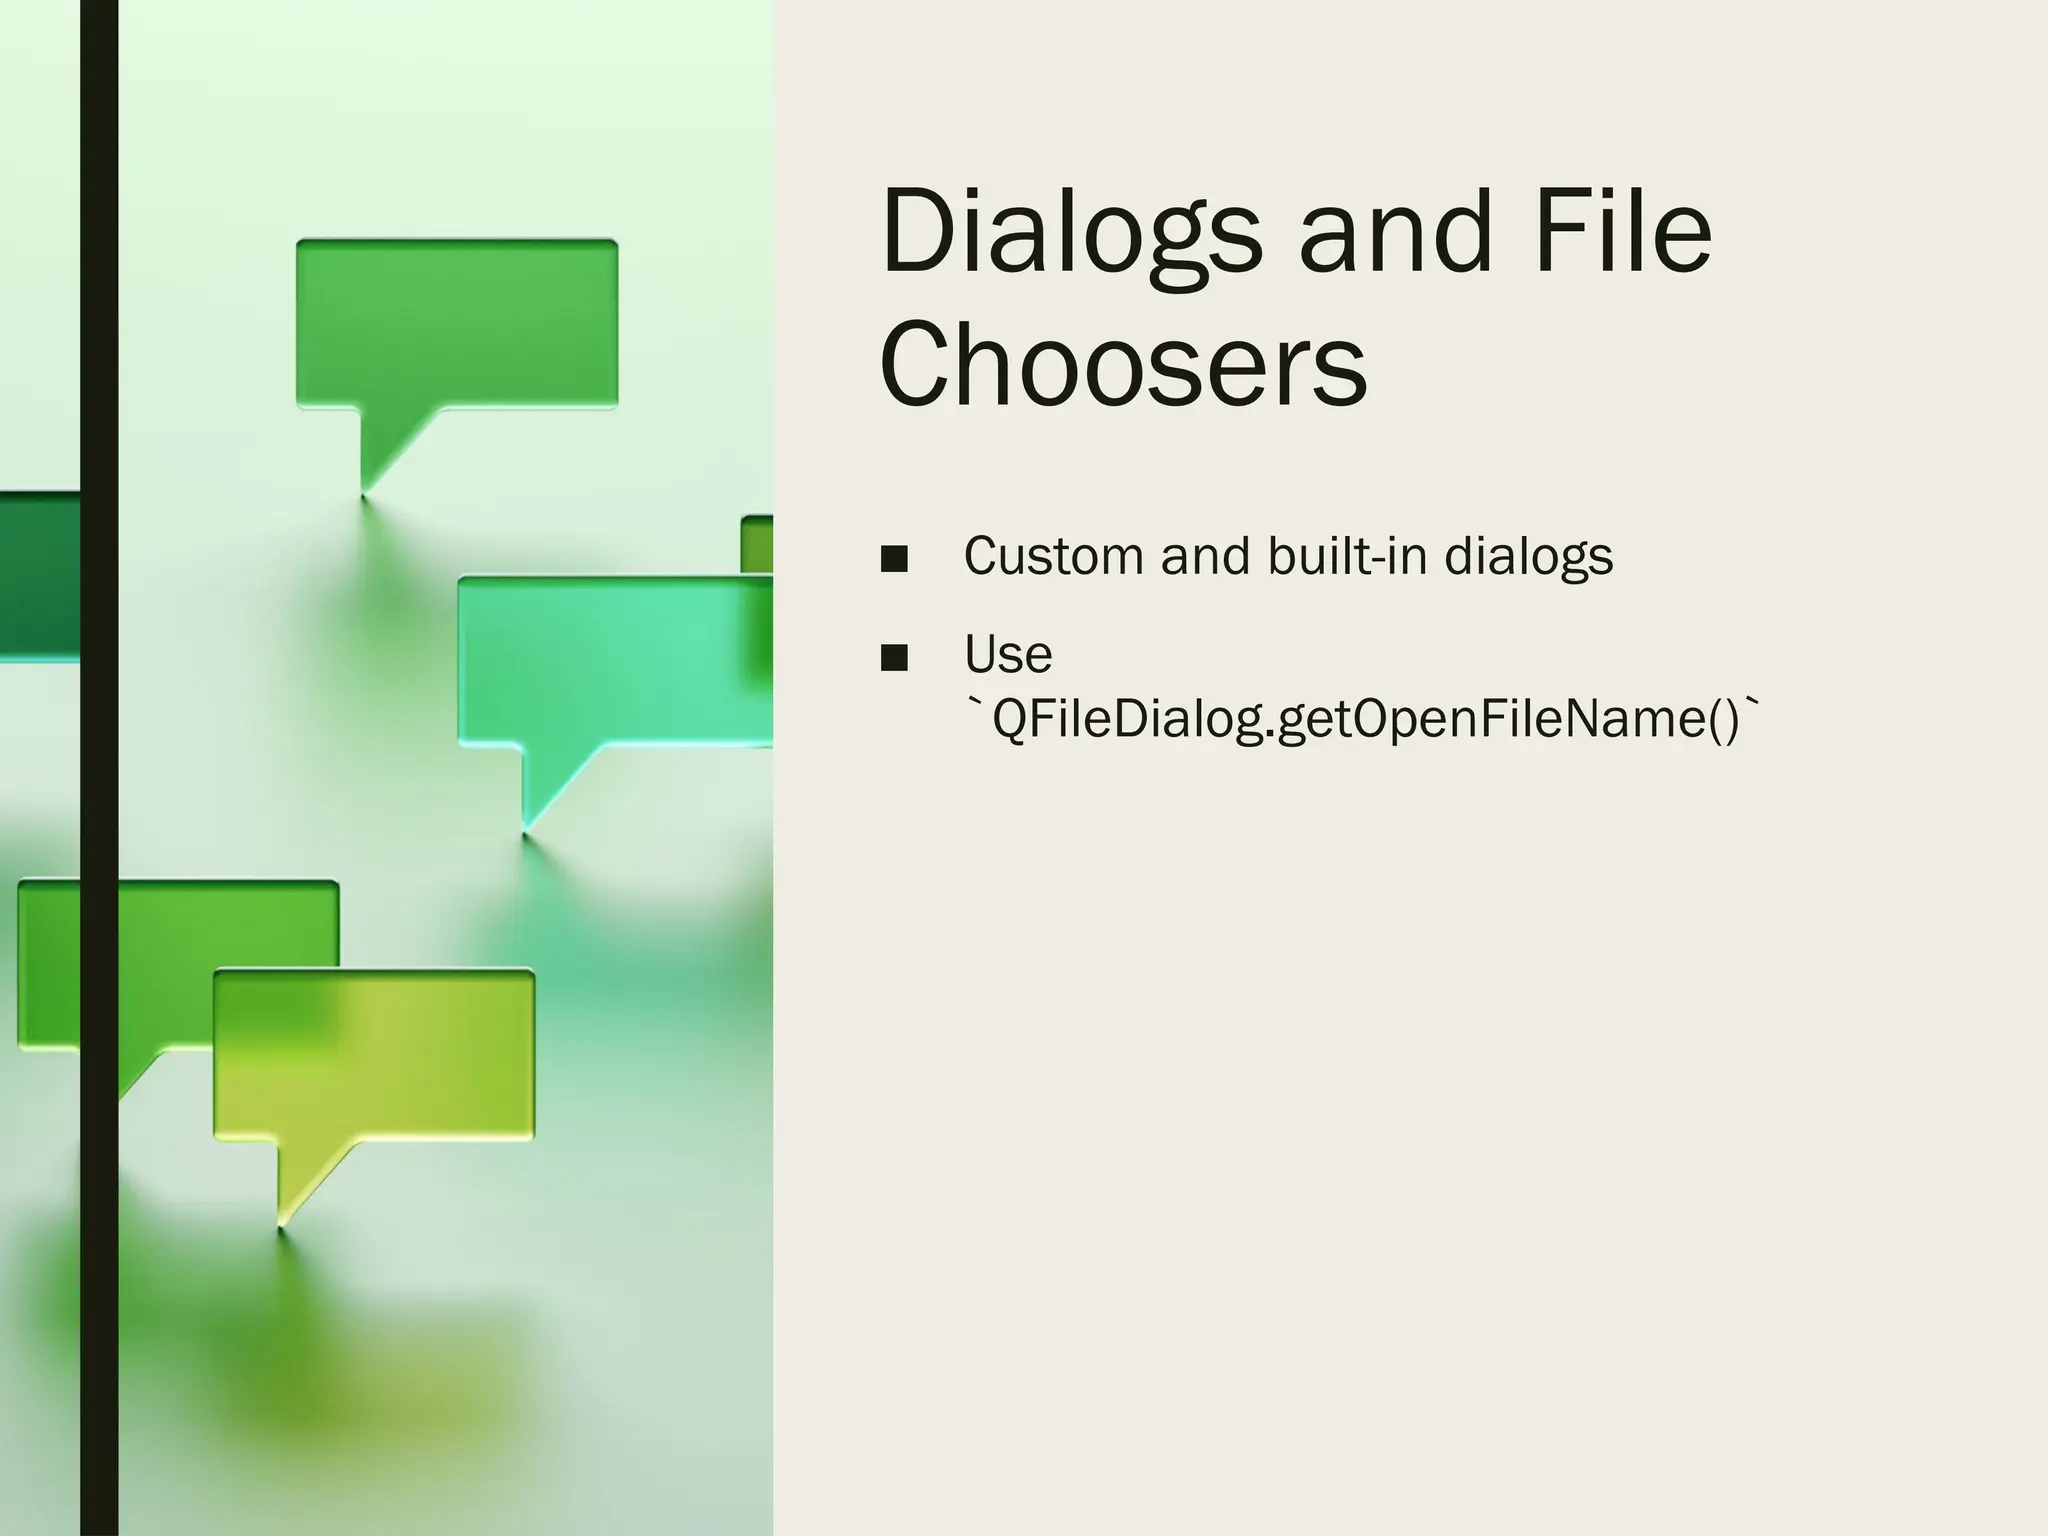
Installing PyQt
■ Usingpip: `pip install PyQt5`
■ Qt Designer via `pyqt5-tools`
■ Optionally use conda environment
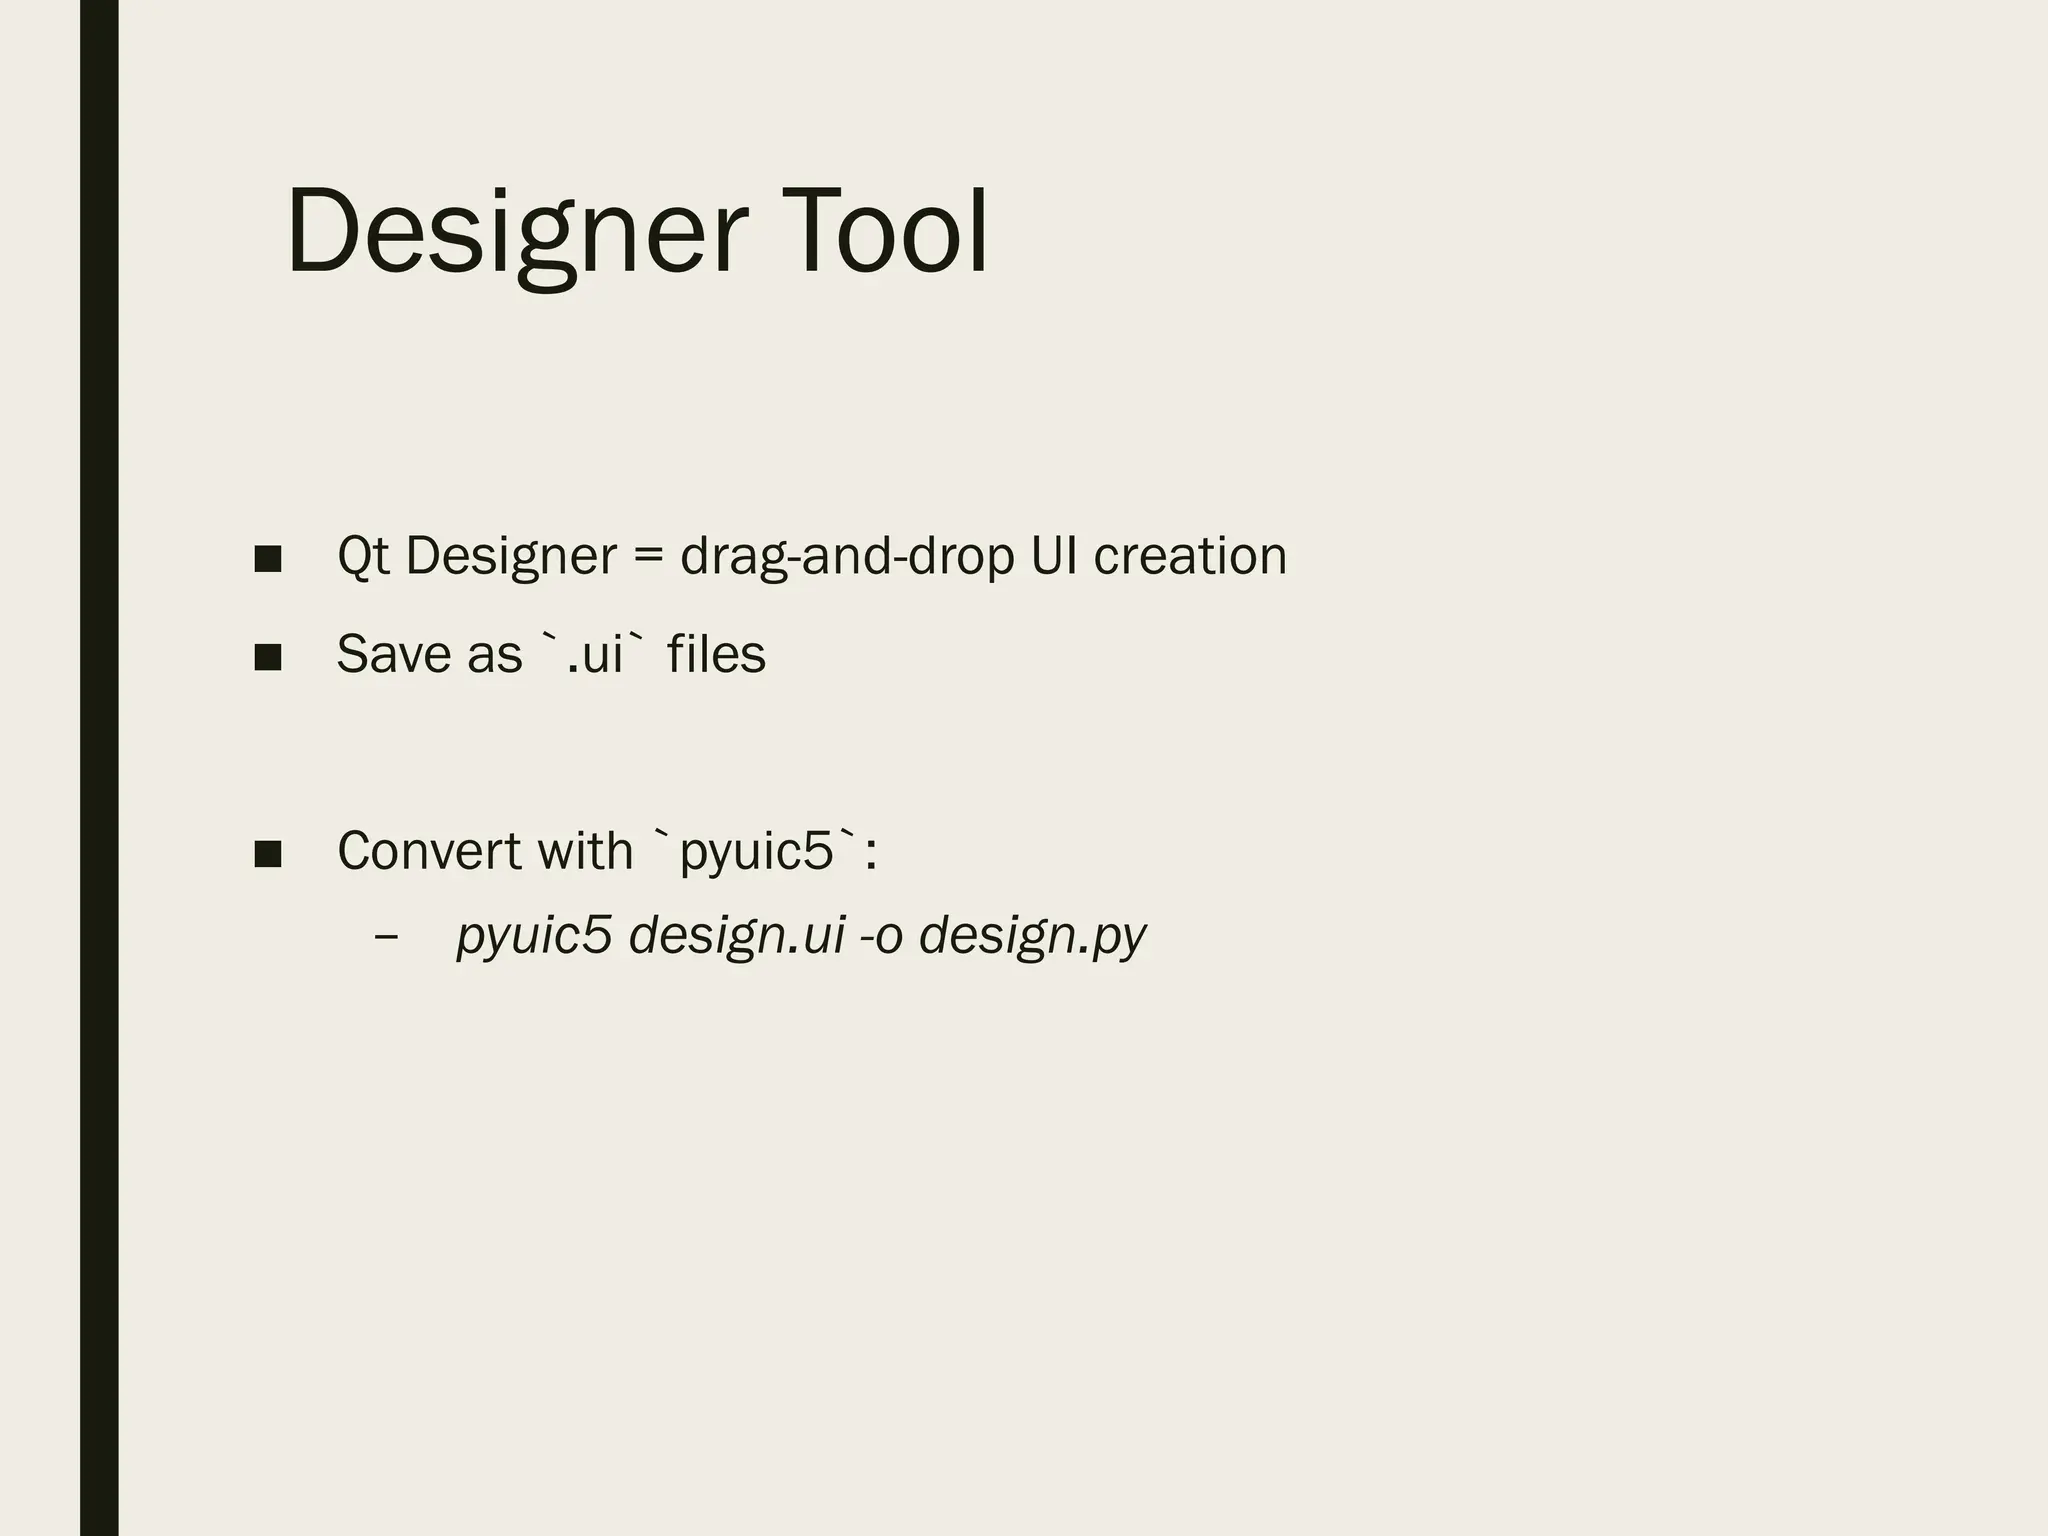
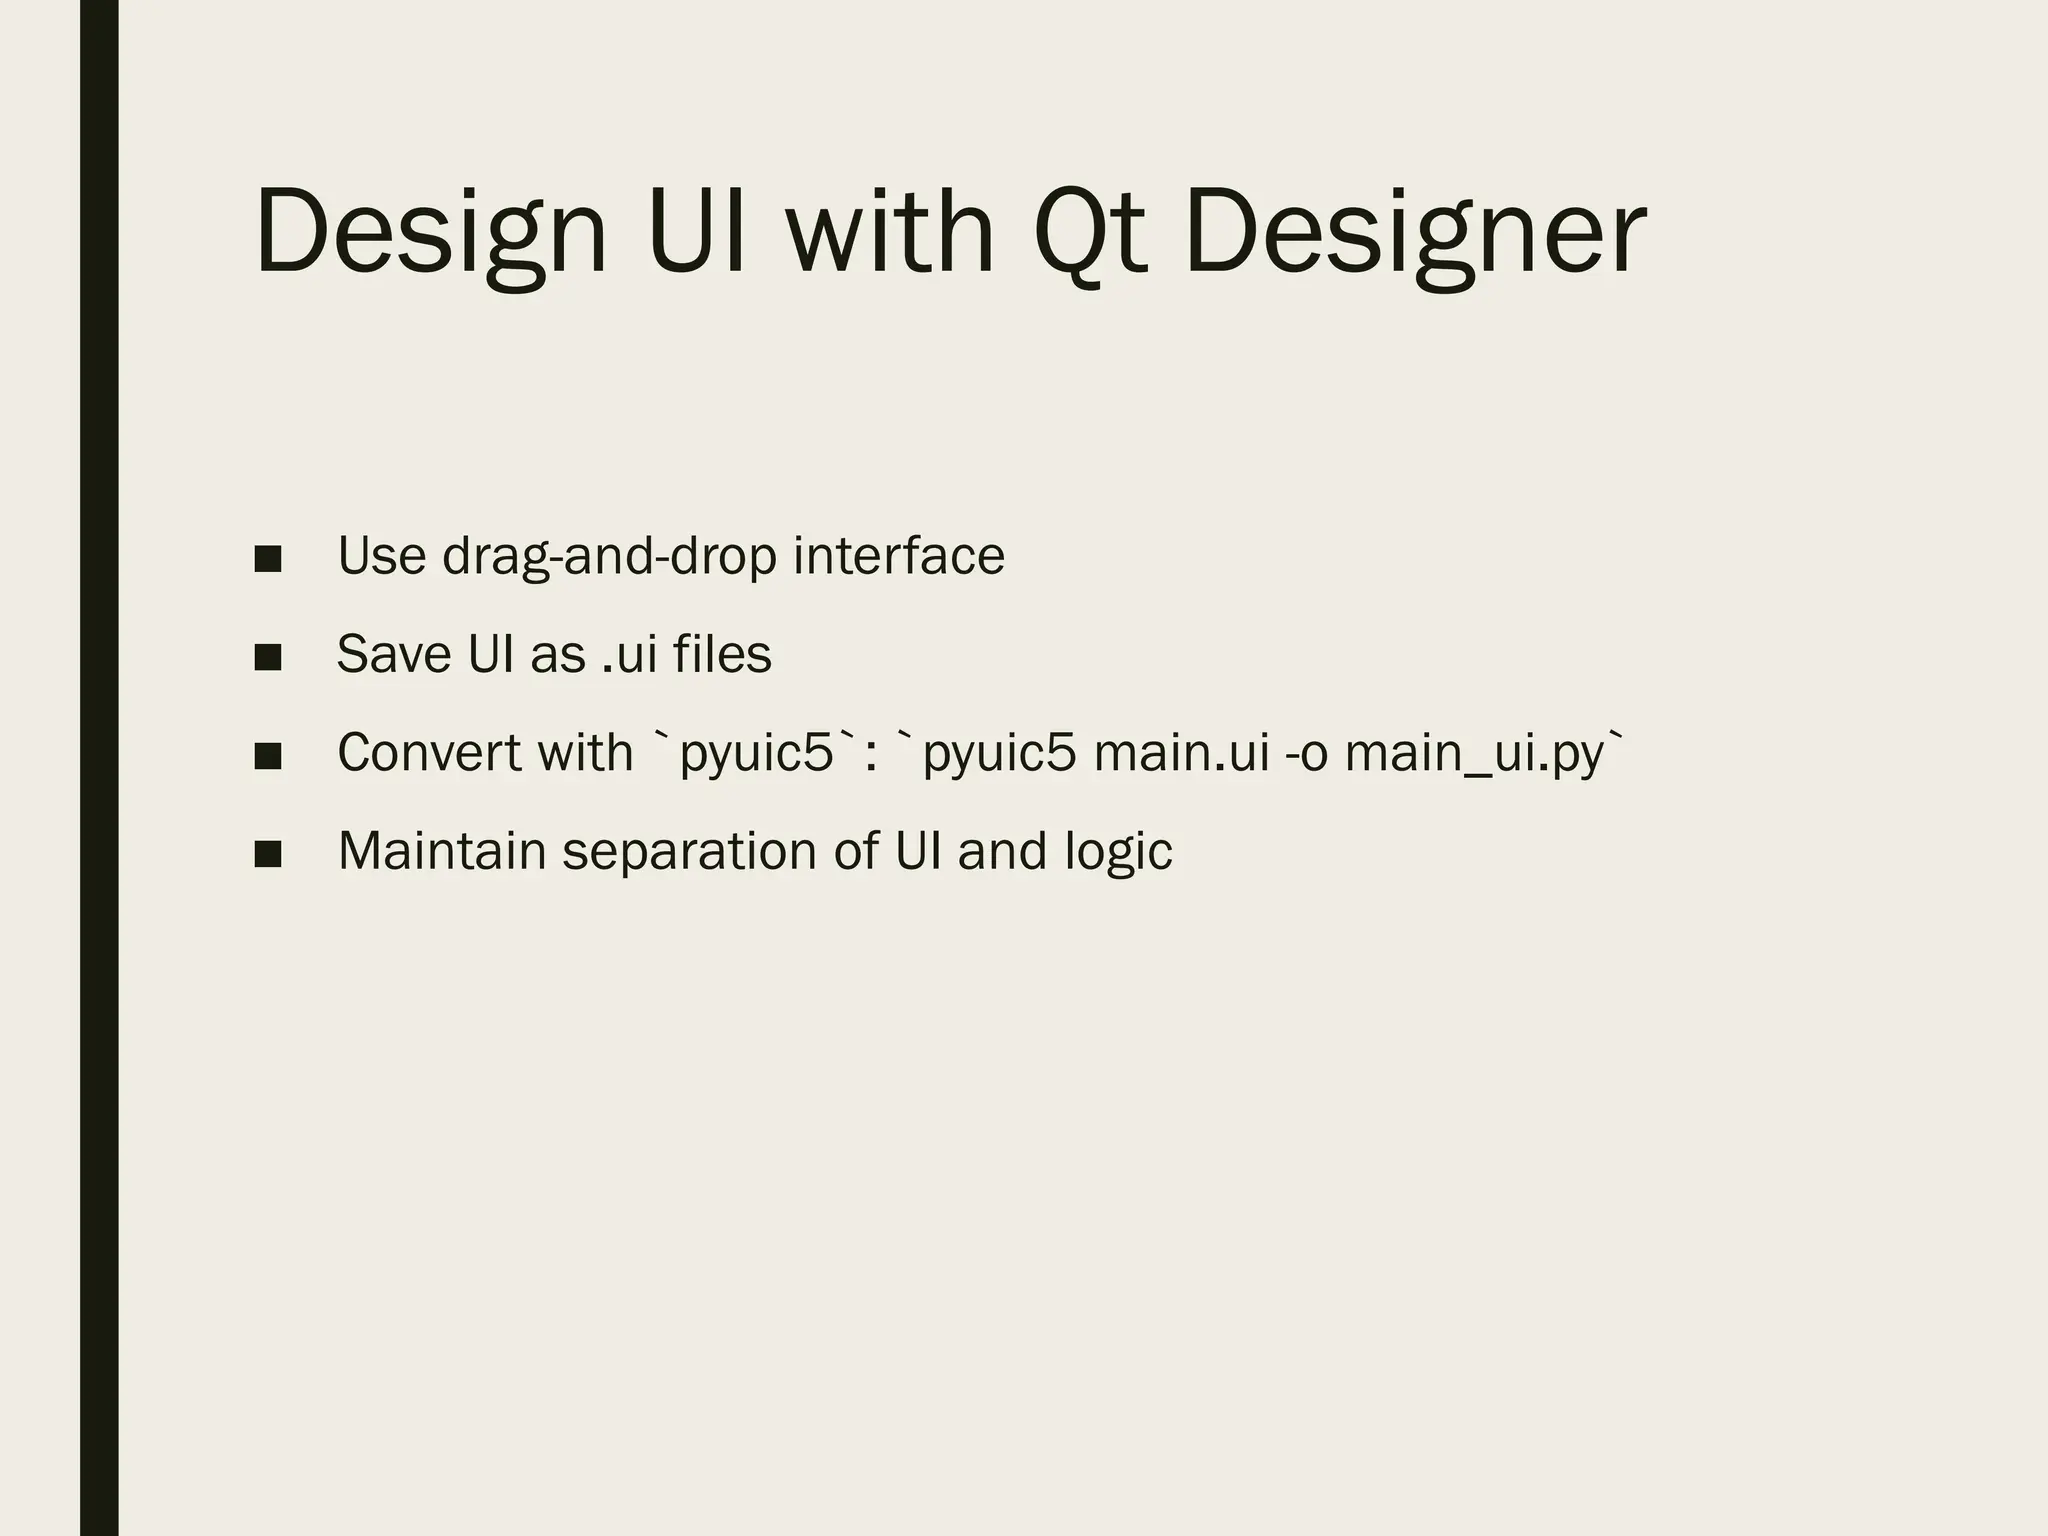
Design UI withQt Designer
■ Use drag-and-drop interface
■ Save UI as .ui files
■ Convert with `pyuic5`: `pyuic5 main.ui -o main_ui.py`
■ Maintain separation of UI and logic
21.
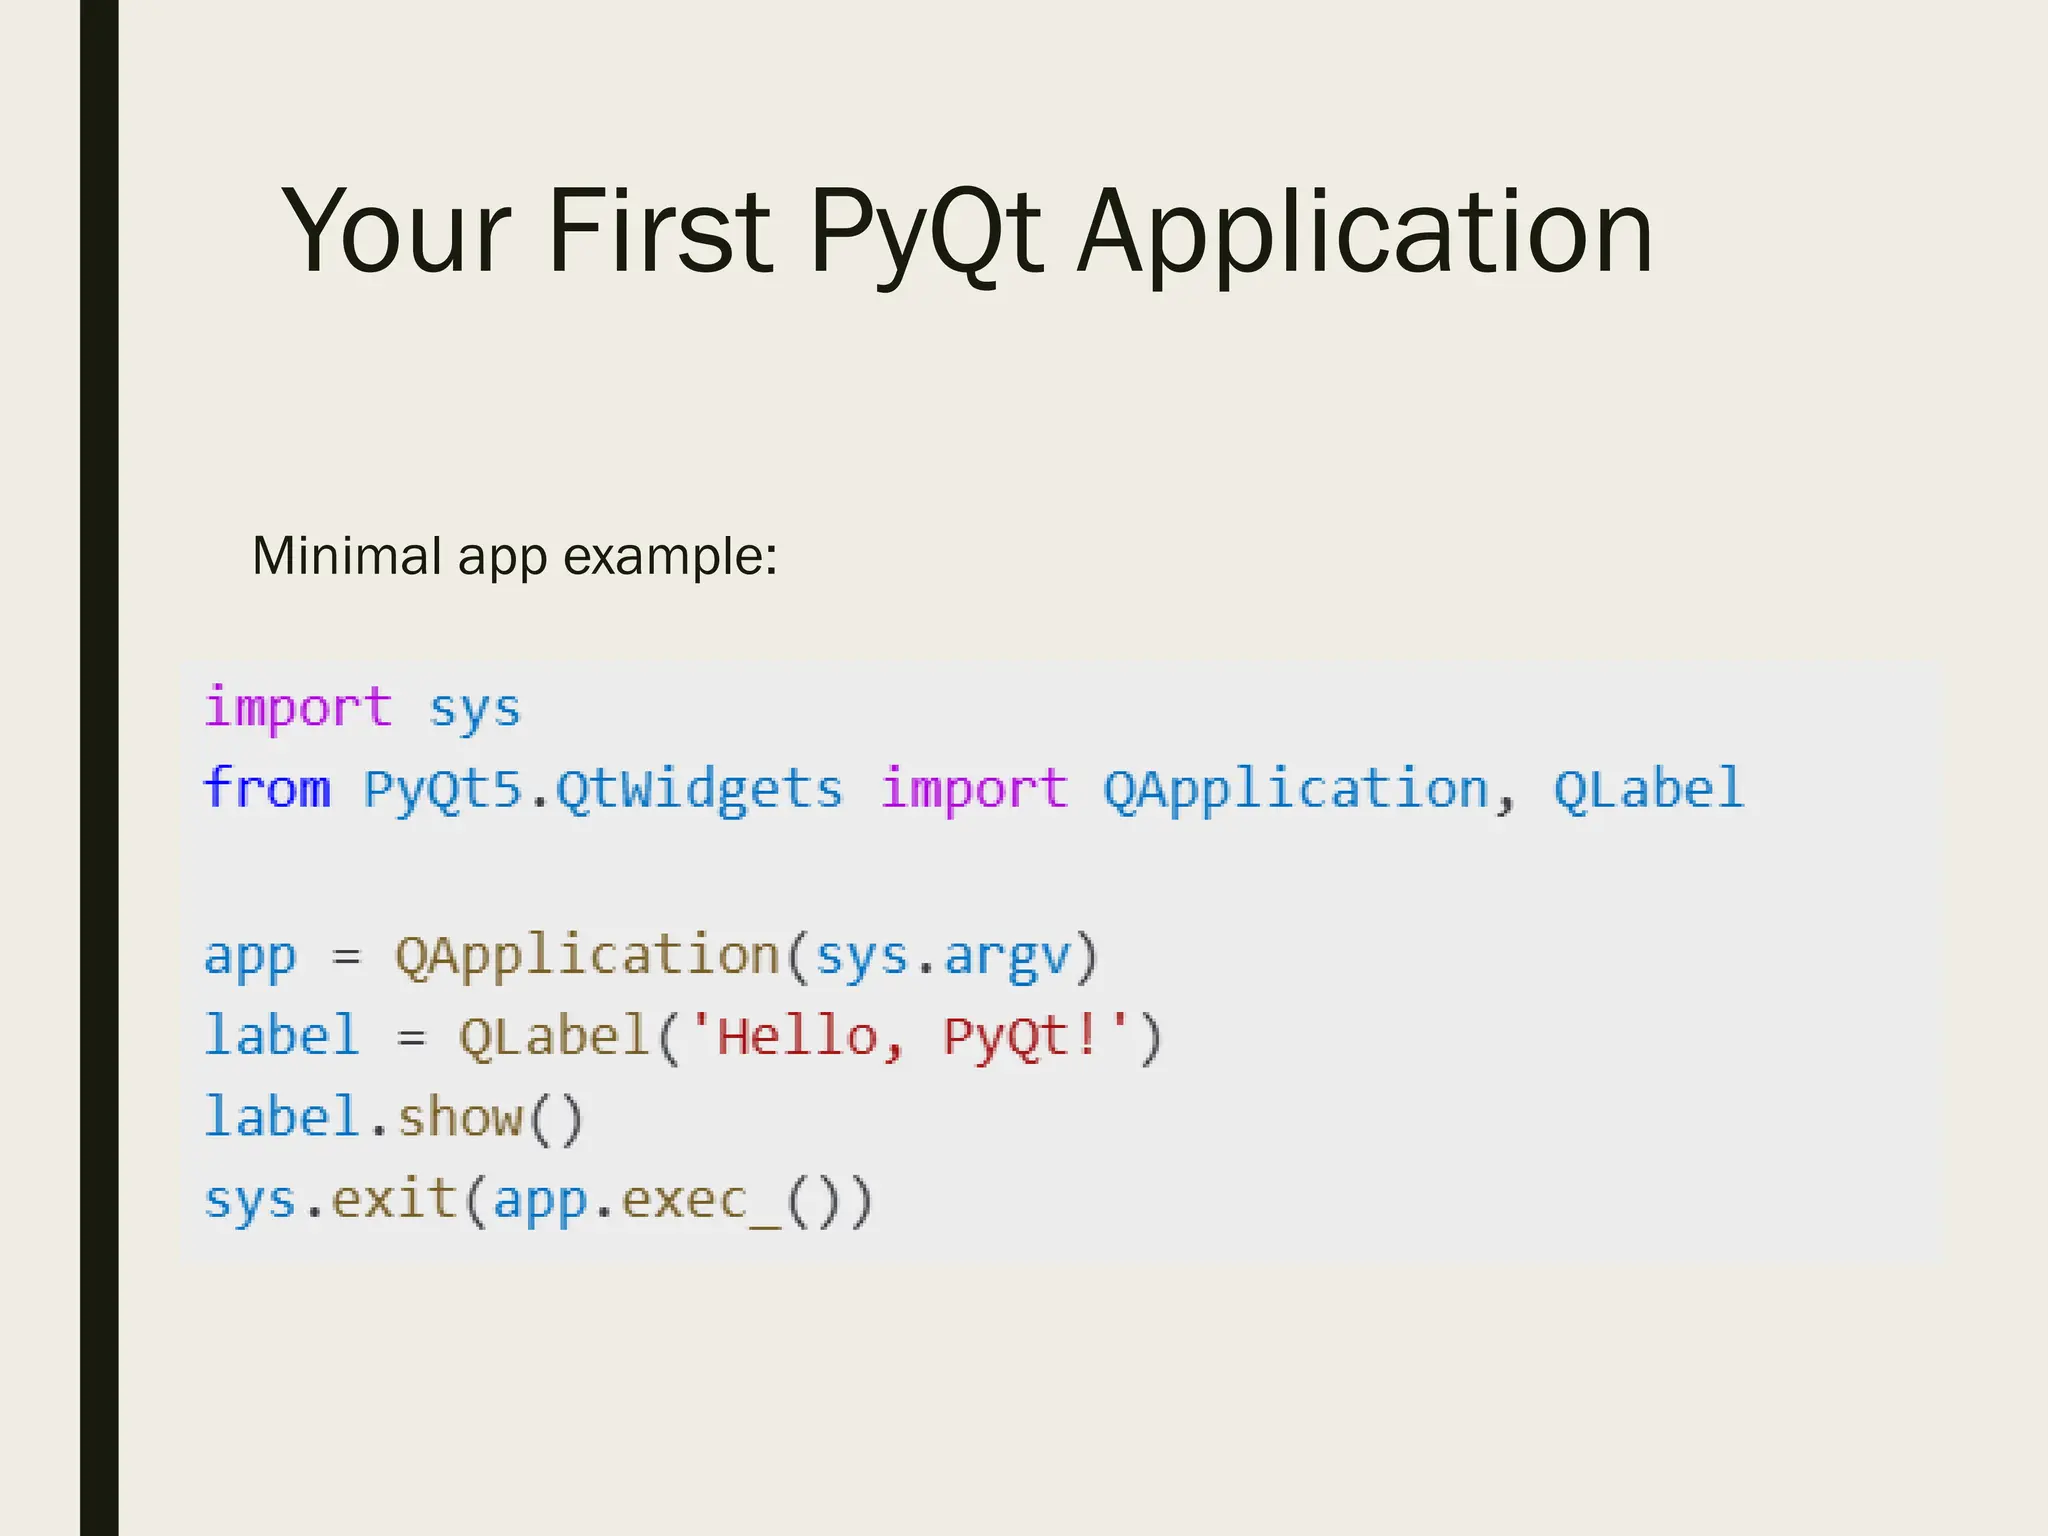
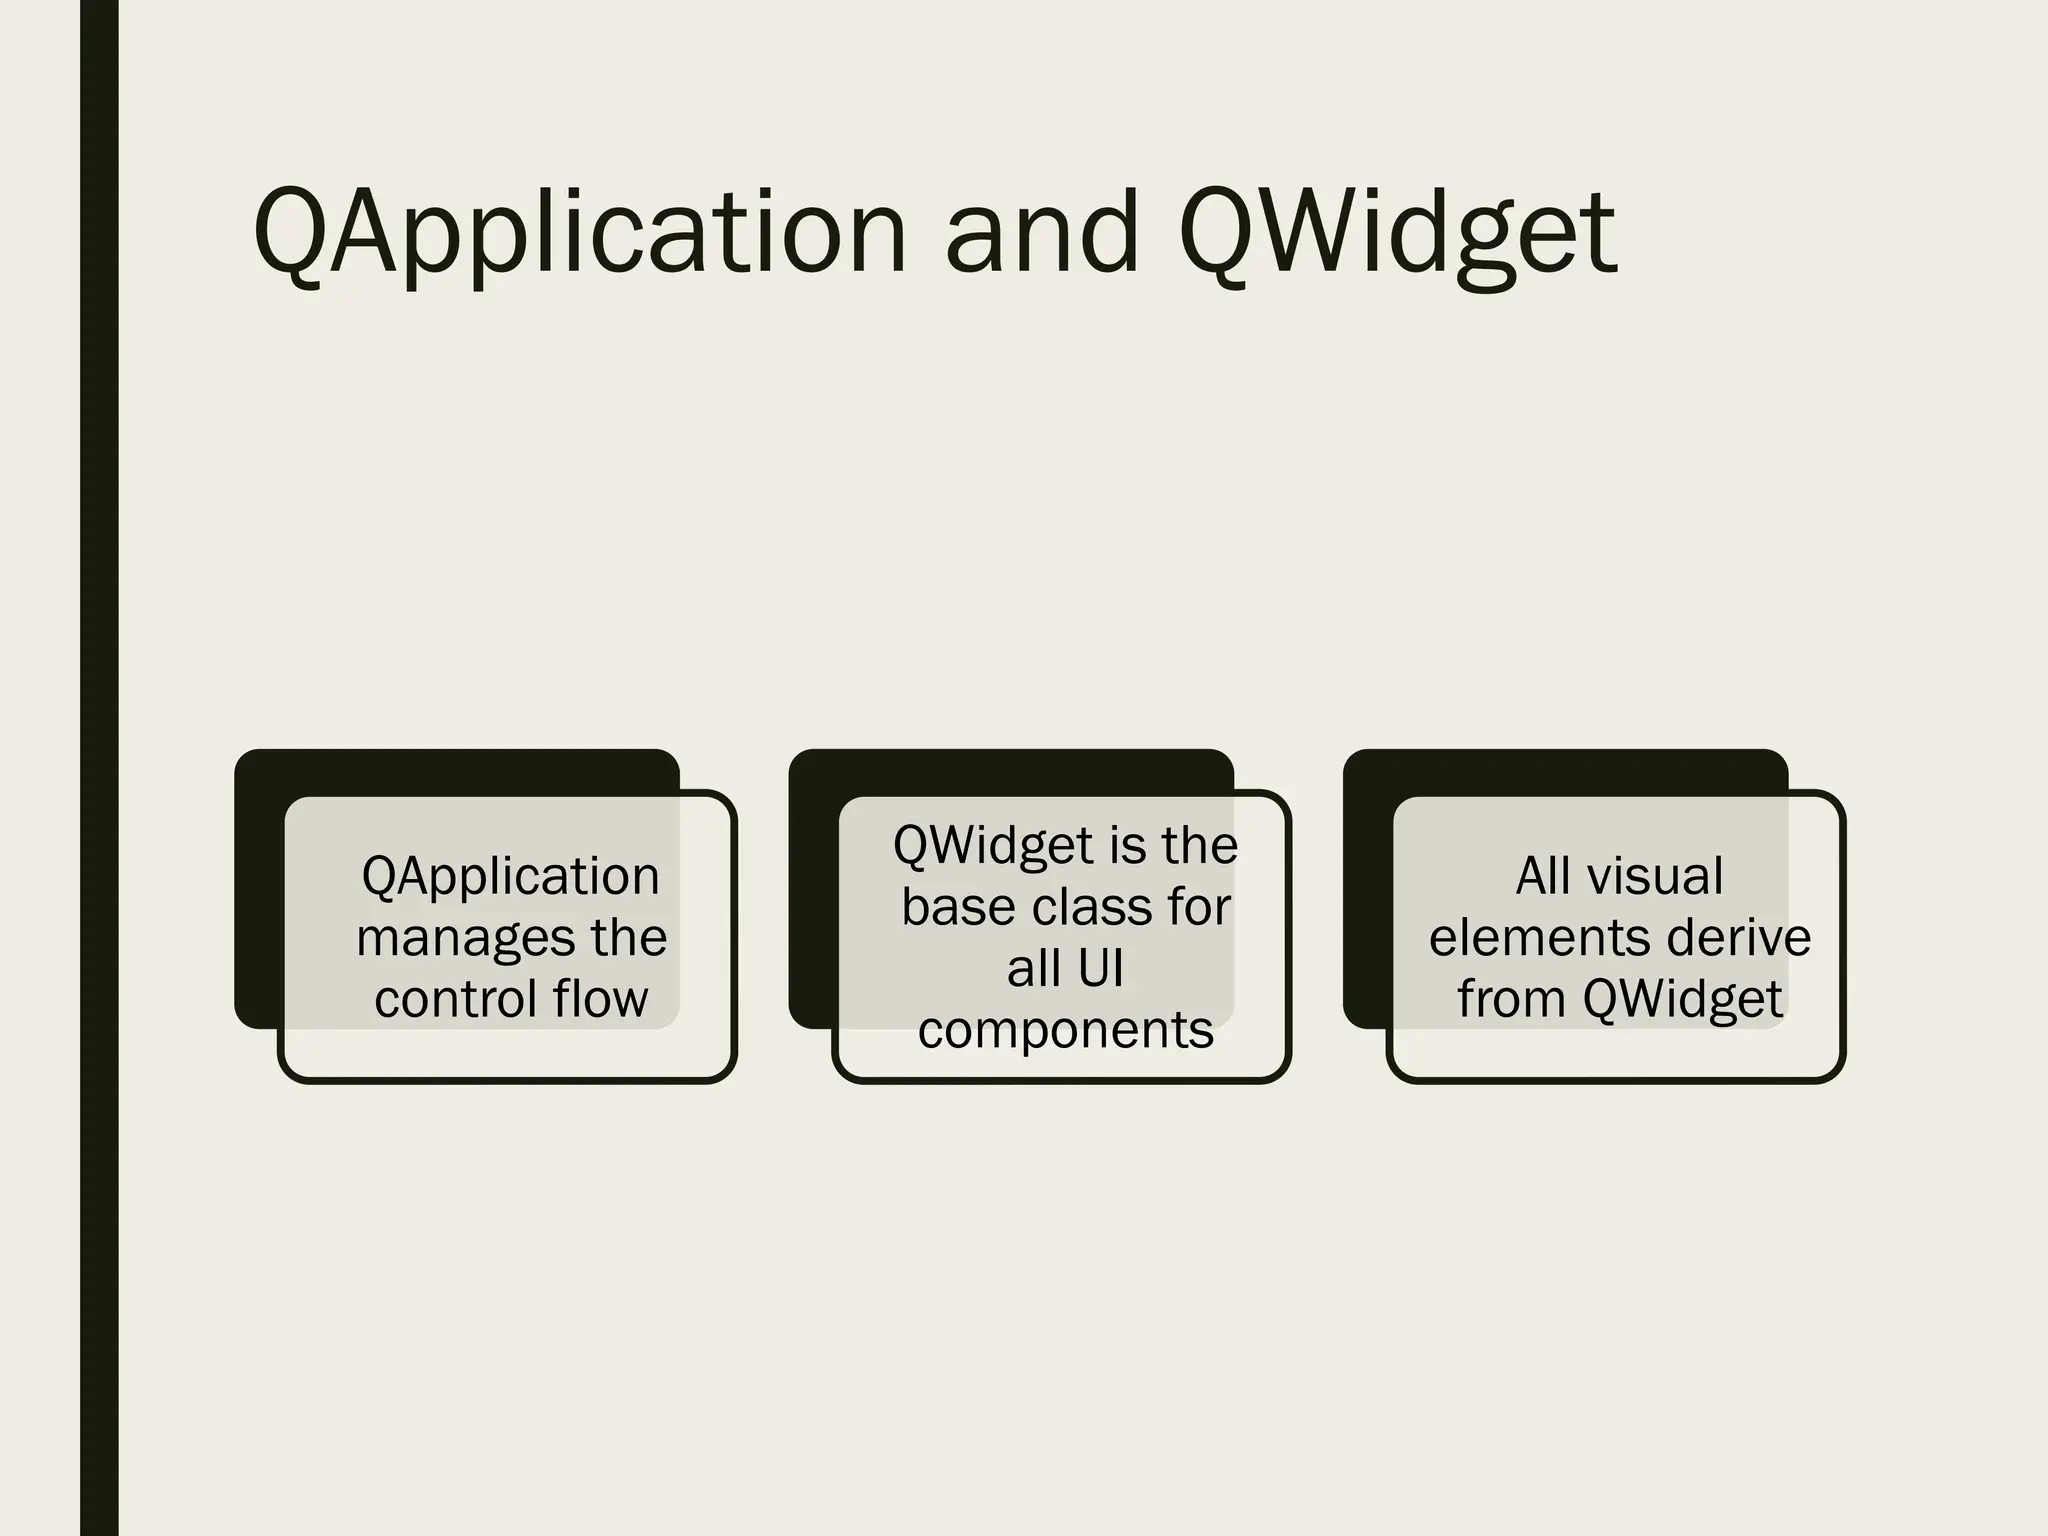
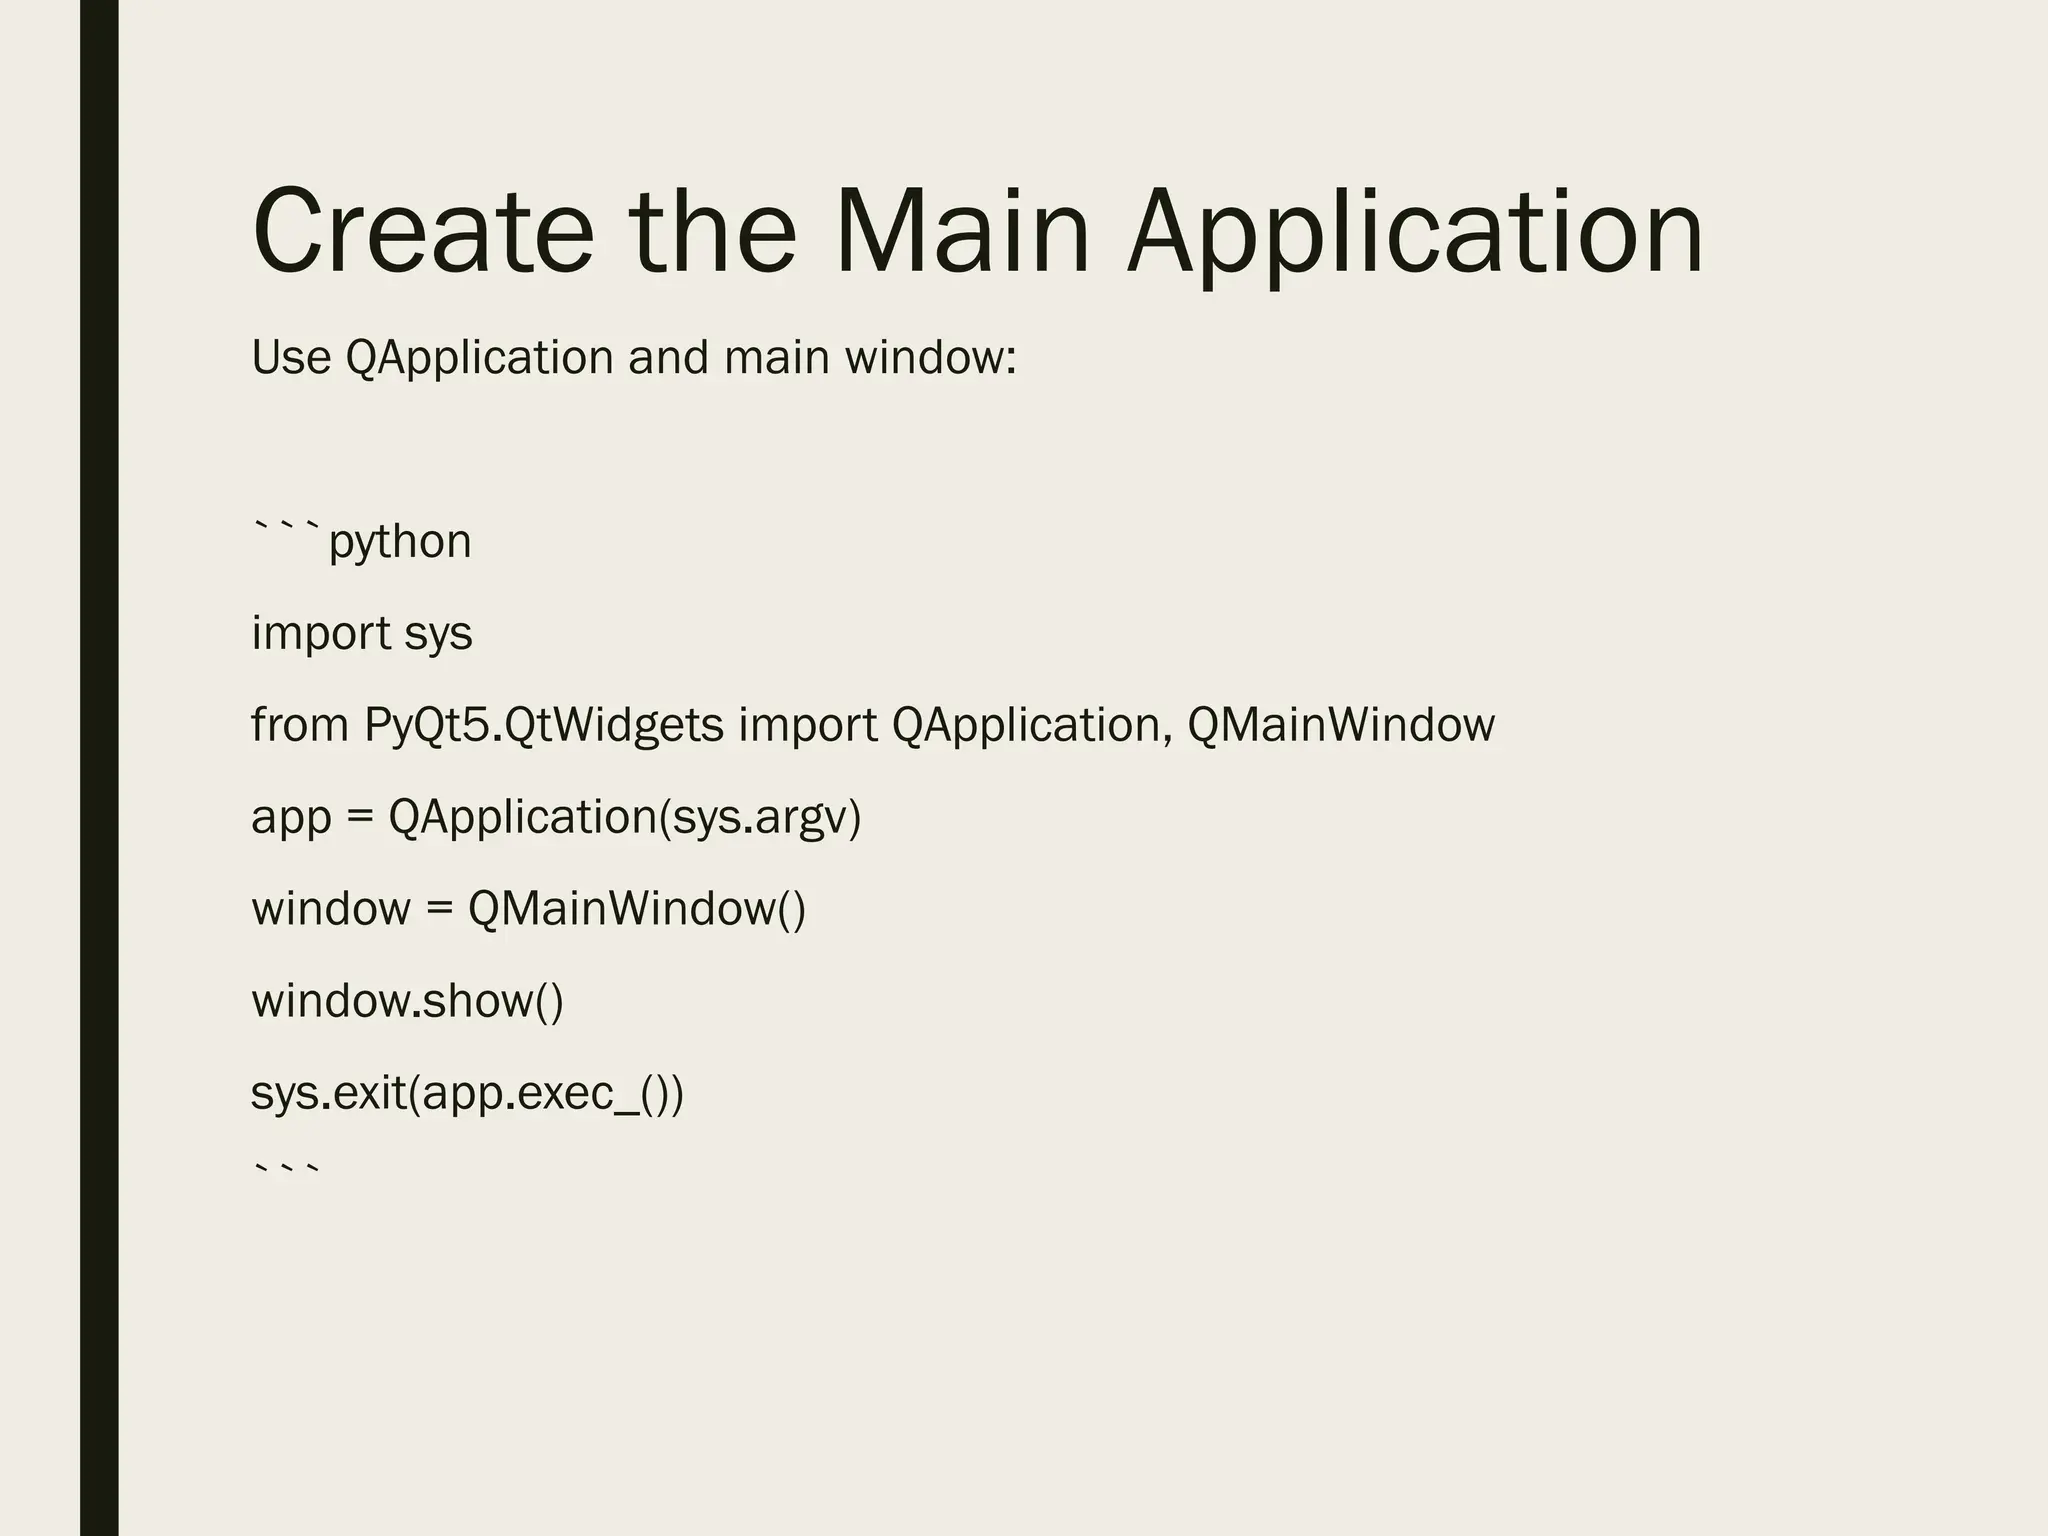
Create the MainApplication
Use QApplication and main window:
```python
import sys
from PyQt5.QtWidgets import QApplication, QMainWindow
app = QApplication(sys.argv)
window = QMainWindow()
window.show()
sys.exit(app.exec_())
```
22.
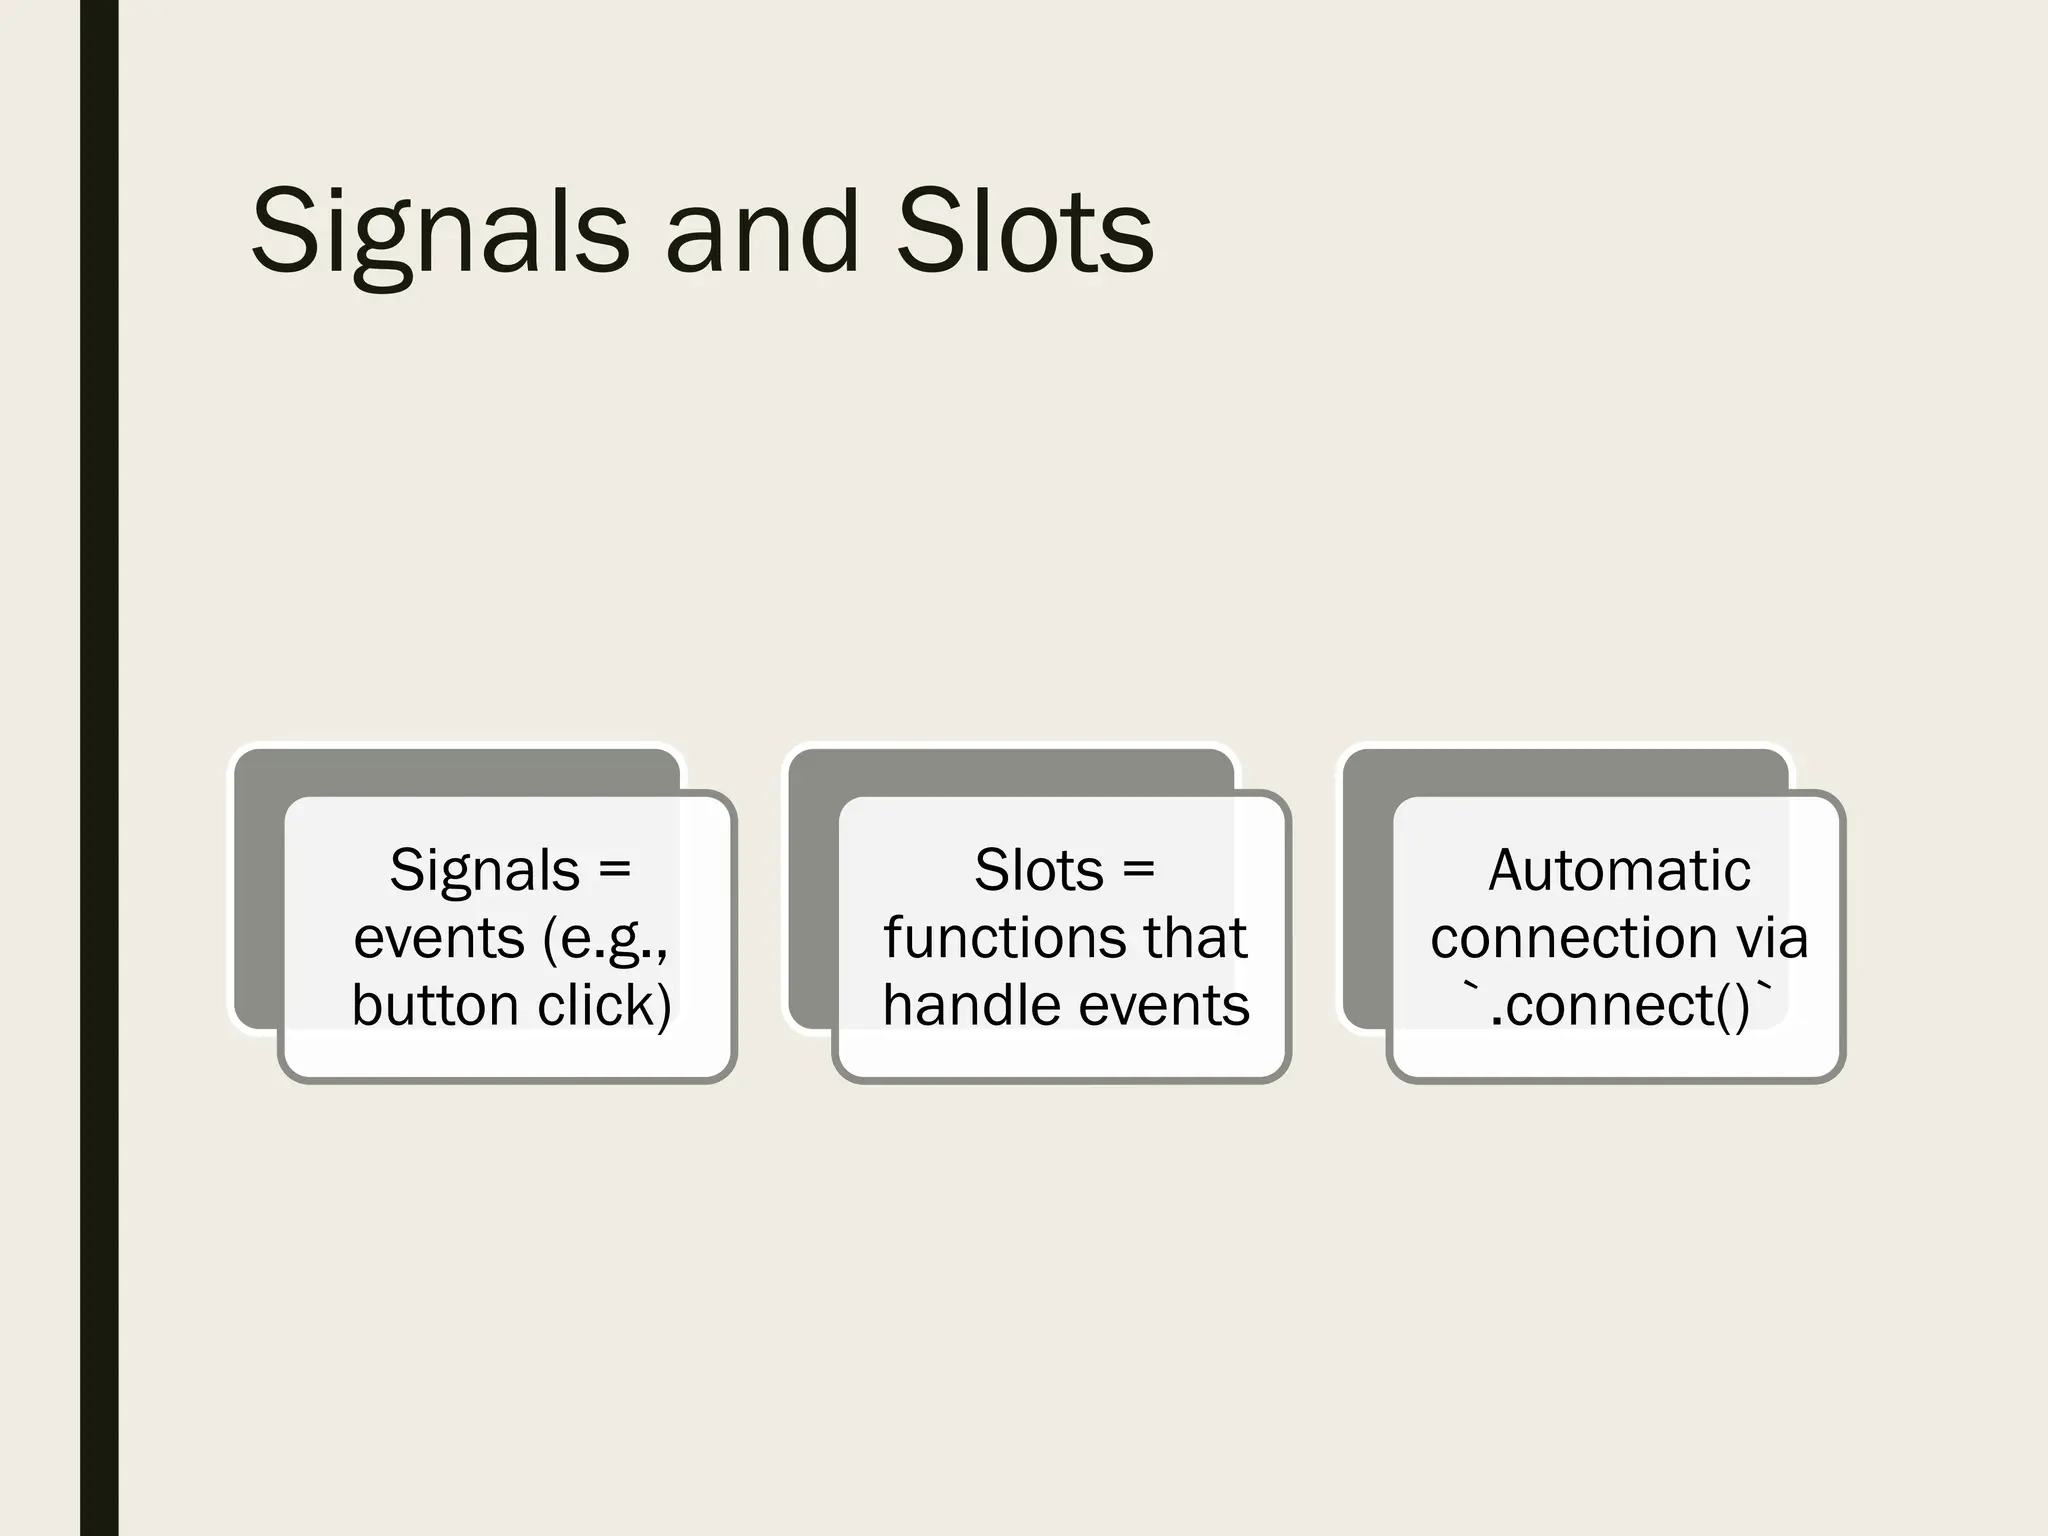
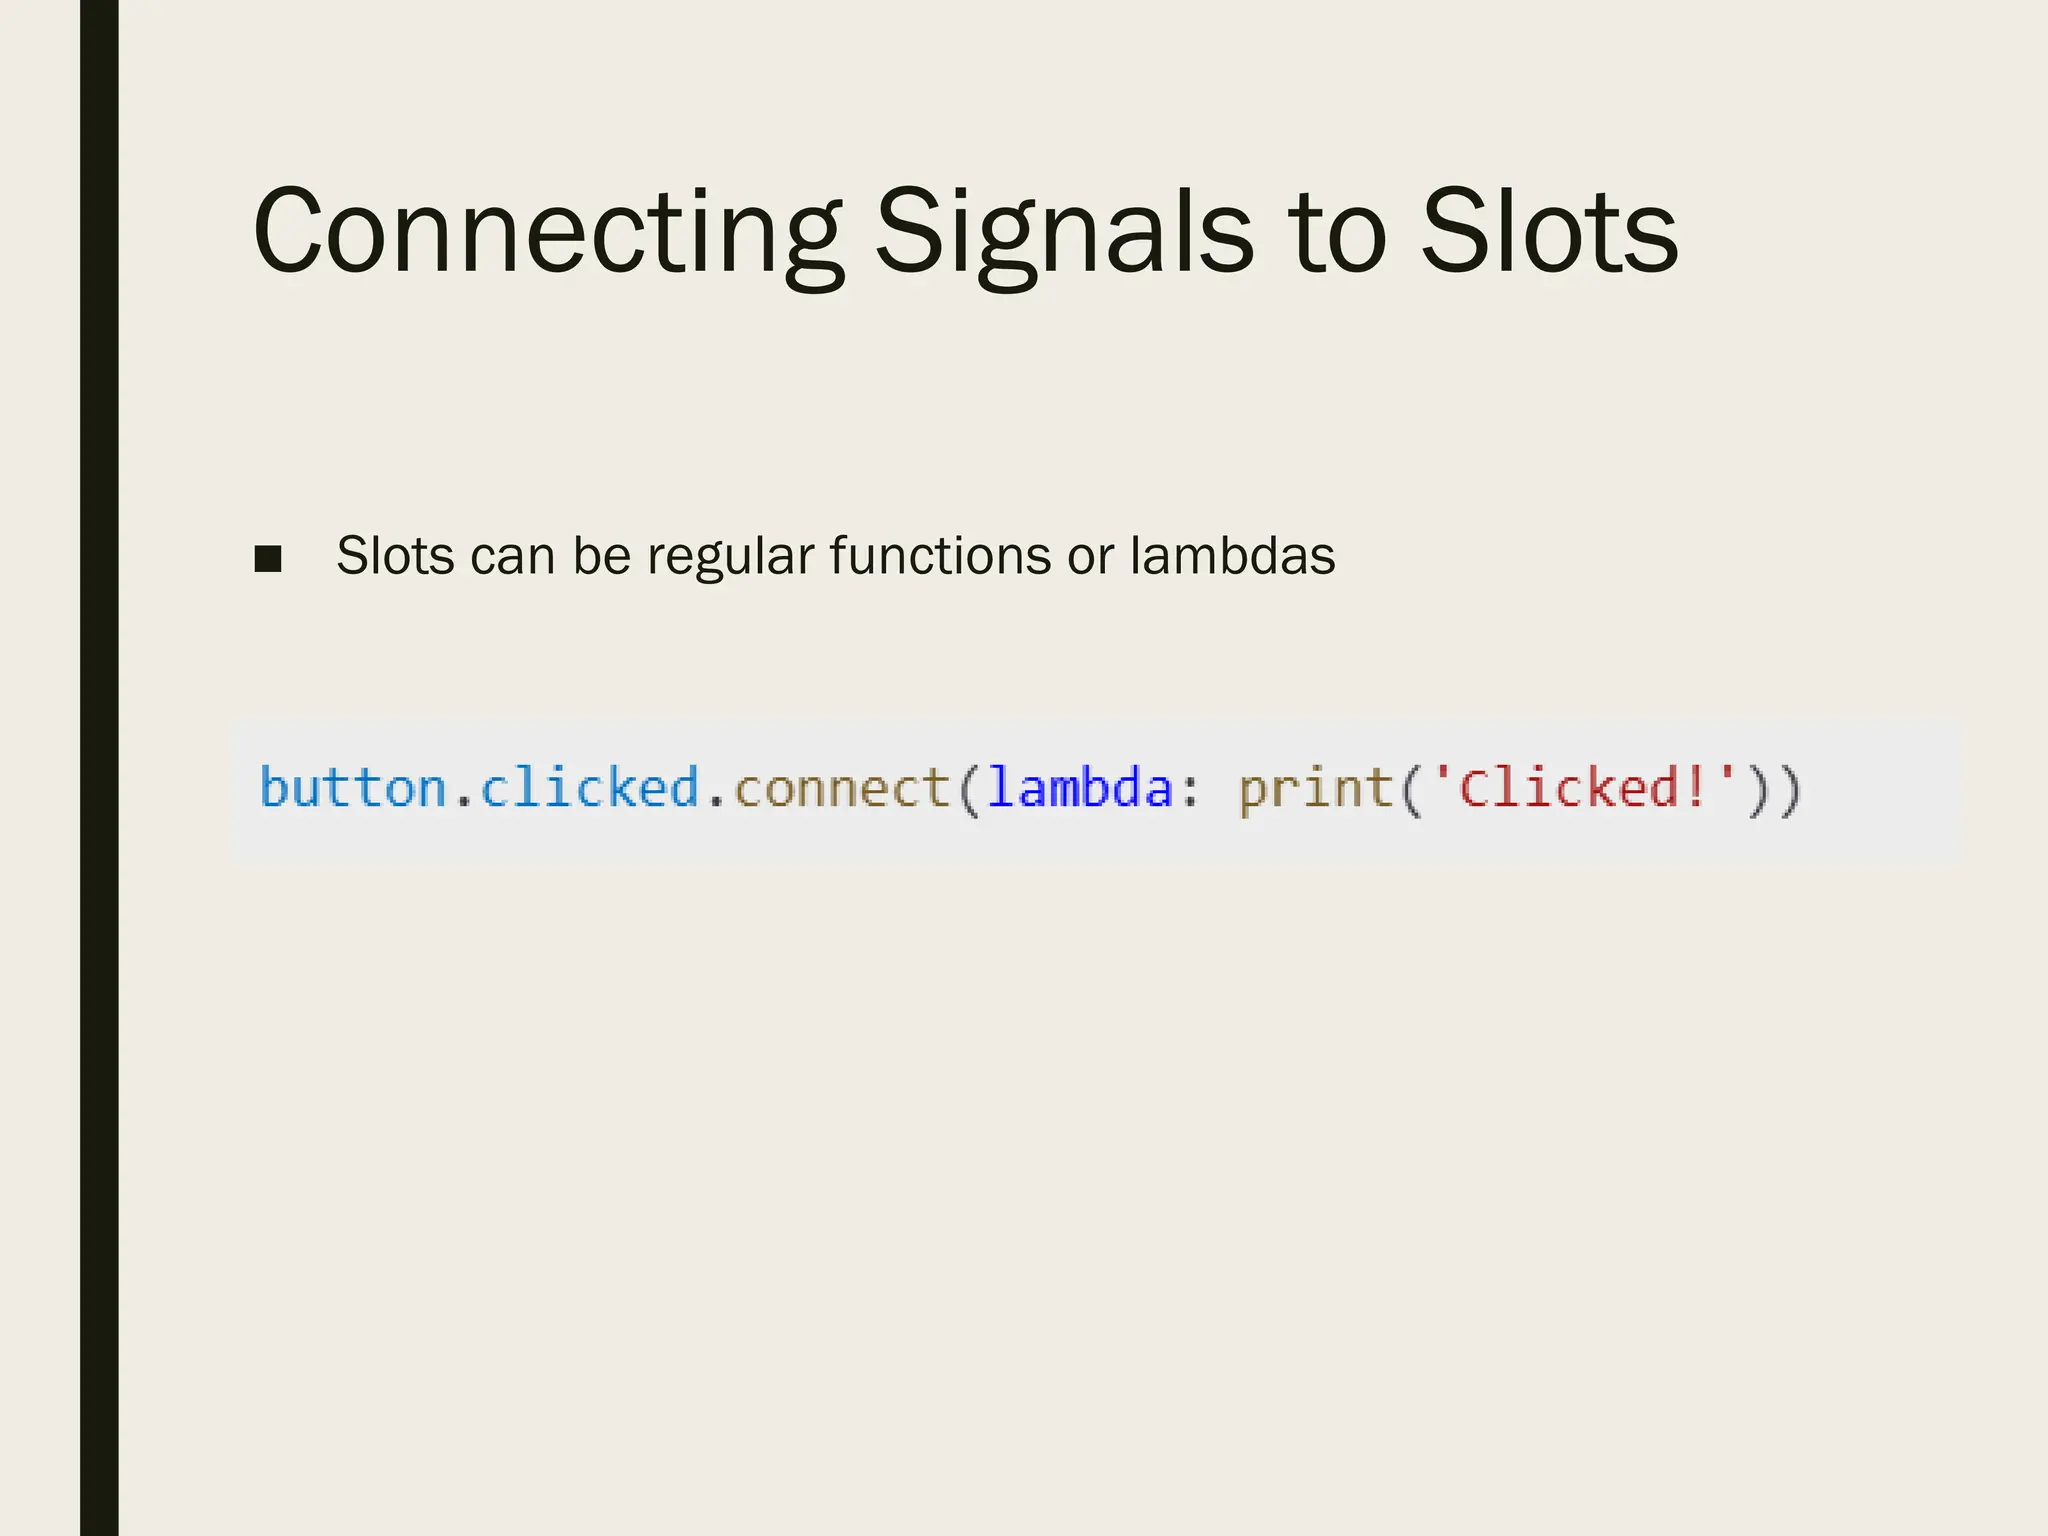
Connect UI toLogic
■ Import the generated `main_ui.py`
■ Connect signals to custom slots (functions)
■ Example:
```python
self.button.clicked.connect(self.handle_click)
```
23.
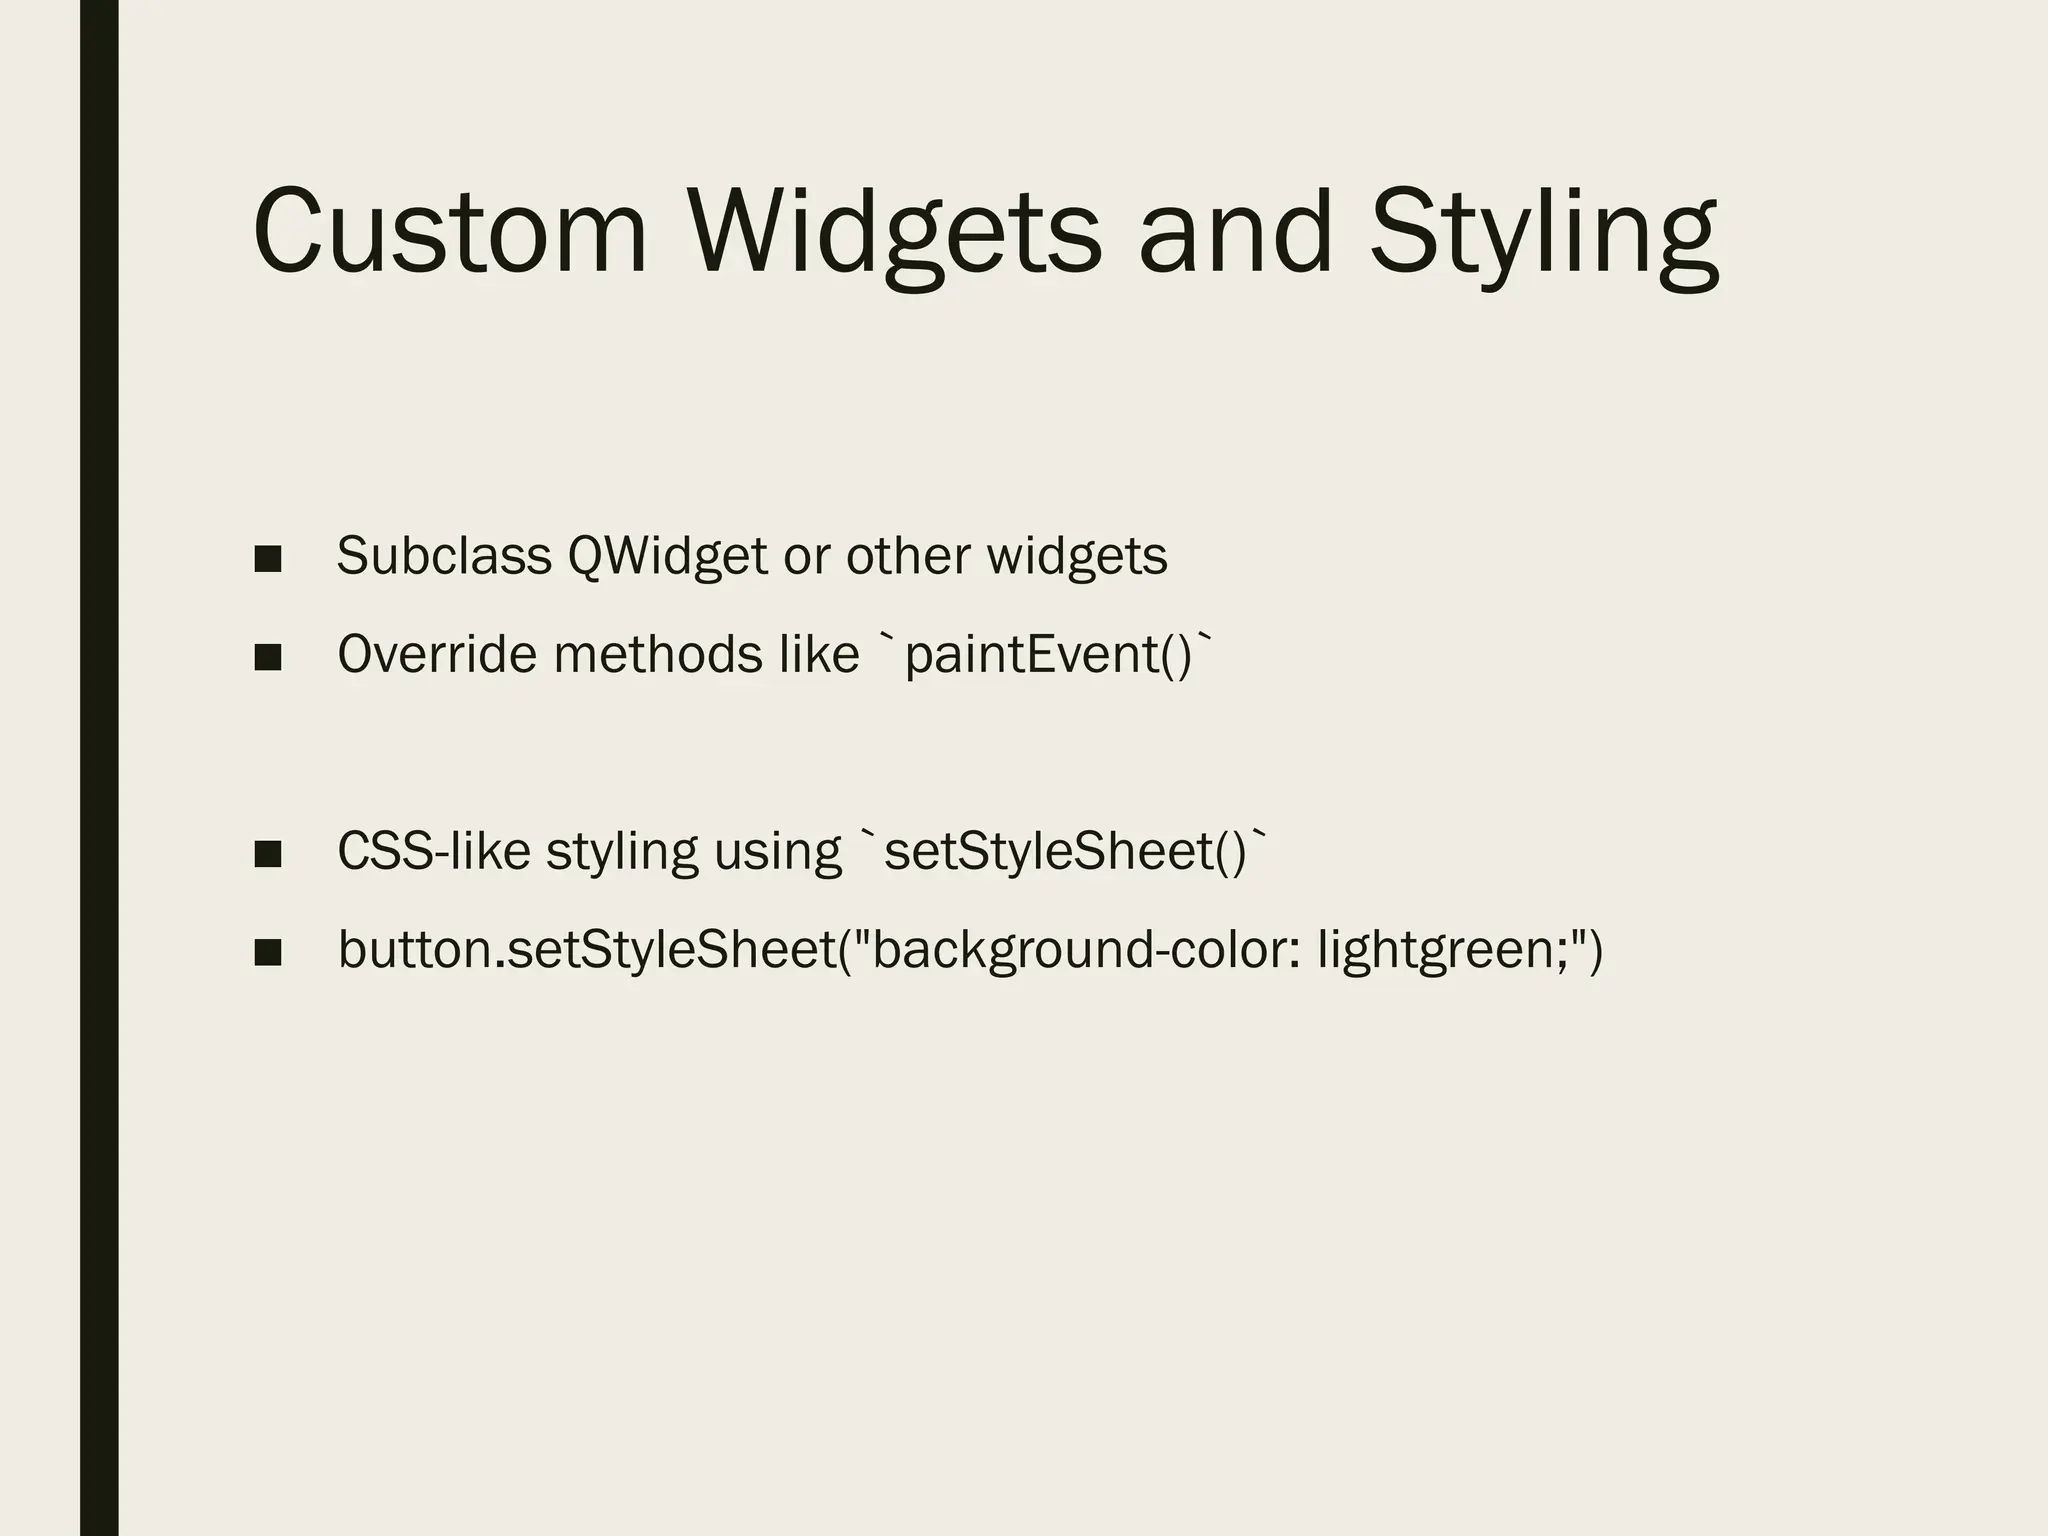
Add Custom Widgets
■Subclass QWidget or other widgets
■ Override methods like `paintEvent()`
■ Integrate with main UI through layout
24.
Style with QtStylesheets
■ Use `setStyleSheet()` with CSS-like syntax
■ Define themes and reusable styles
Example:
```python
self.setStyleSheet('QPushButton { color: white; background:
blue; }')
```
25.
Conclusion:
- Keep UIand logic separate
- Organize code into modules
- Use signals/slots efficiently
- Comment and document your code