1. Definitionof PC and Tech Support
PC Support: Refers to assistance provided for personal computers and
related hardware and software issues.
Tech Support: Encompasses a broader range of technology assistance,
including troubleshooting, maintenance, and guidance across various
devices and technologies.
2. Types of Support
Hardware Support: Issues related to physical components like the
motherboard, RAM, storage devices, etc.
Software Support: Assistance with operating systems, applications, and
software troubleshooting.
Network Support: Help with internet connectivity, routers, and local area
networks (LAN).
Security Support: Protection against malware, data breaches, and ensuring
software is up-to-date.
3.
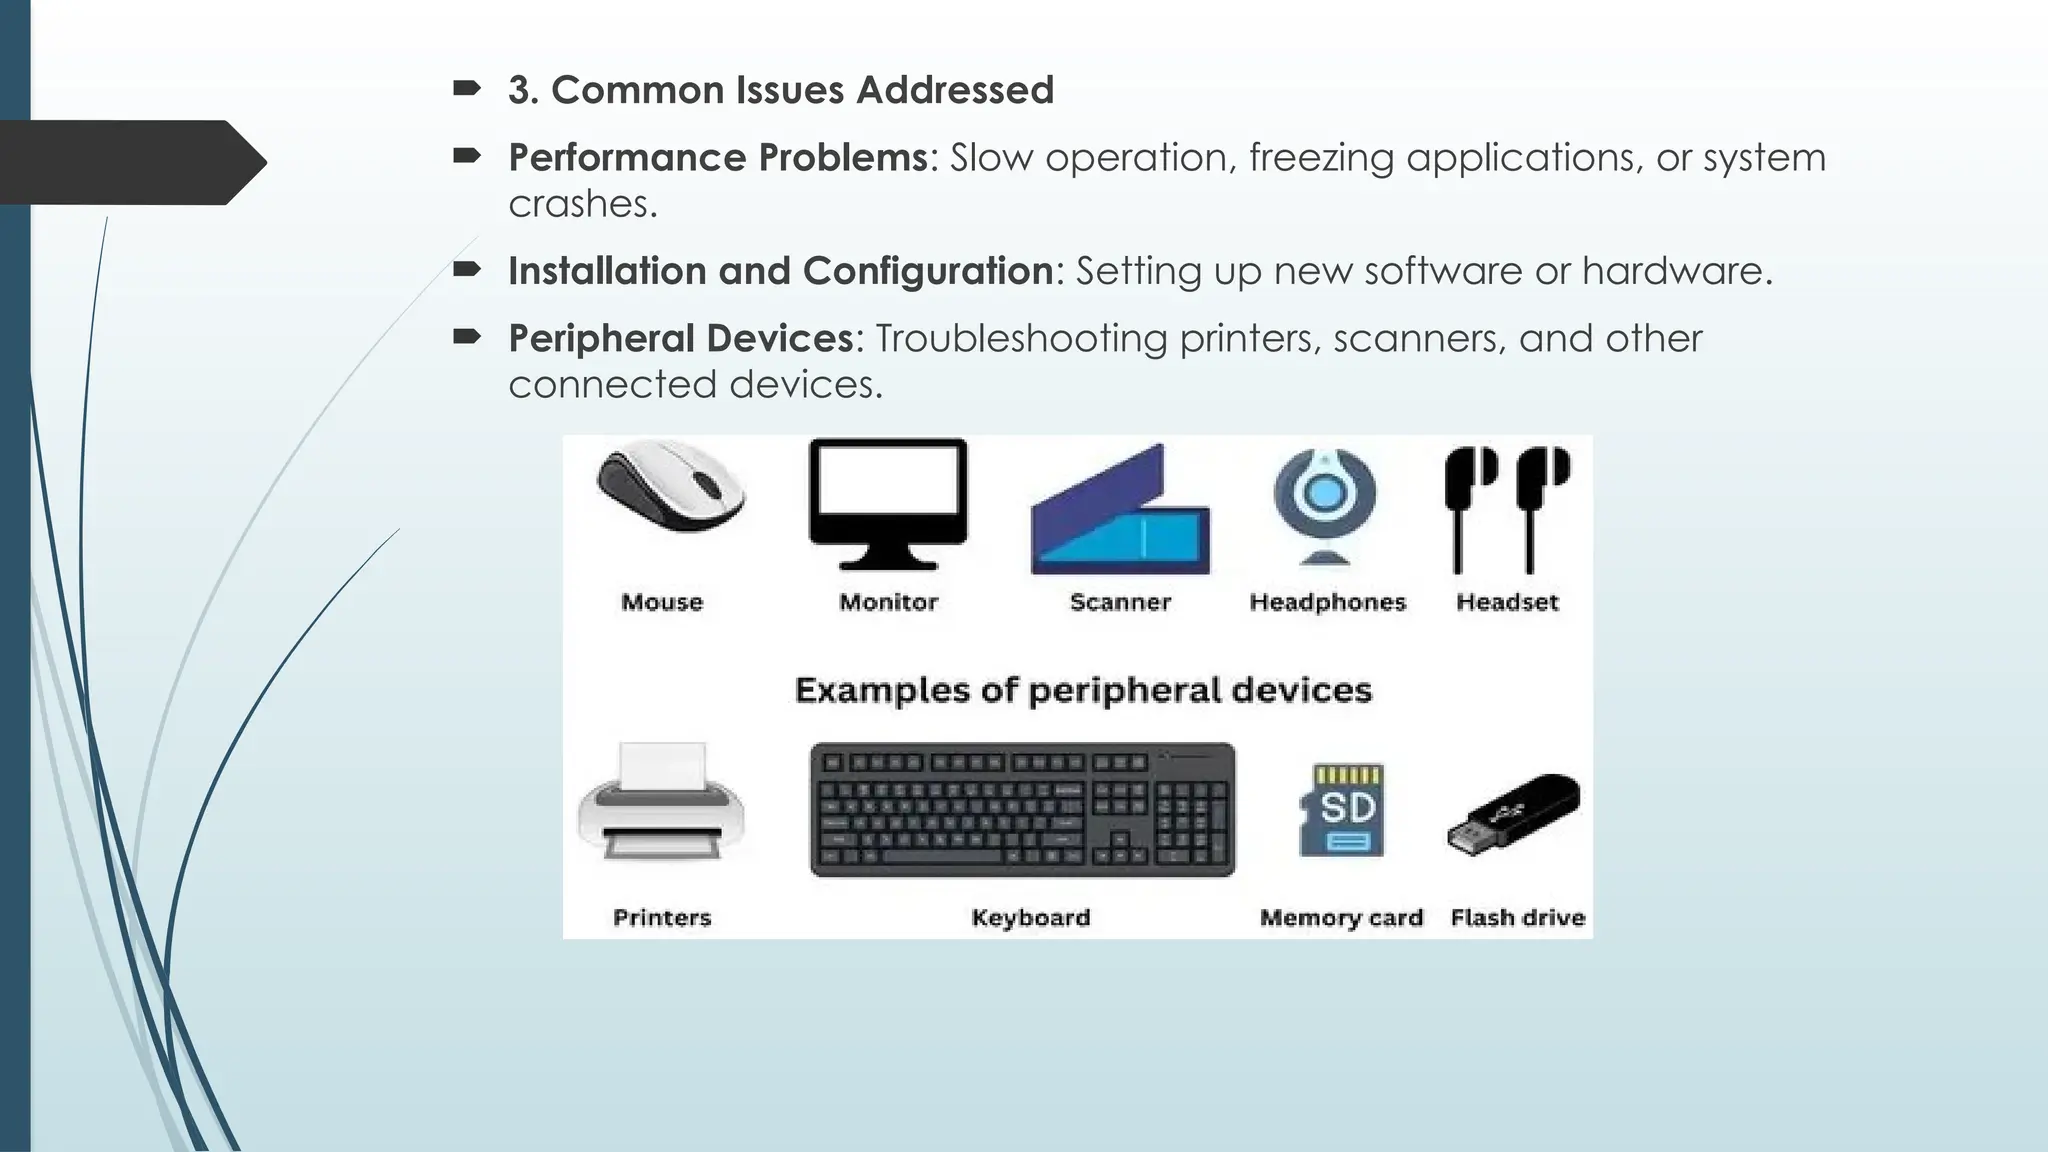
3. CommonIssues Addressed
Performance Problems: Slow operation, freezing applications, or system
crashes.
Installation and Configuration: Setting up new software or hardware.
Peripheral Devices: Troubleshooting printers, scanners, and other
connected devices.
4.
Steps to TroubleshootPeripheral Devices
Step 1: Check Connections
Ensure all cables and connectors are securely connected between the
peripheral and the computer. Loose connections can lead to non-
functioning peripherals.
Step 2: Restart the Computer
Restarting your computer can often resolve minor issues with peripherals.
This action refreshes the system and reinstates the connections with the
devices.
Step 3: Update Drivers
Outdated or corrupt drivers can cause problems with peripherals. Visit the
manufacturer's website or use the device manager to update drivers.
5.
Step 4:Check Power Supply
Ensure the peripheral has sufficient power supply if applicable. For example,
check if a printer is properly connected to a power source and turned on.
Step 5: Verify Configuration Settings
Check the configuration settings for the peripheral. Verify if the correct
settings are applied for optimal performance.
Step 6: Run Troubleshooter
Most operating systems have built-in troubleshooters for peripherals. Run
these tools to automatically detect and fix issues.
Step 7: Perform Firmware Updates
Check for firmware updates for the peripheral and apply them if available.
Firmware updates can address known issues and improve performance.
6.
Virus andMalware Removal: Identifying and solving security threats.
4. Tools and Software Used
Remote Desktop Applications: Tools that allow support technicians to
access a user's computer remotely.
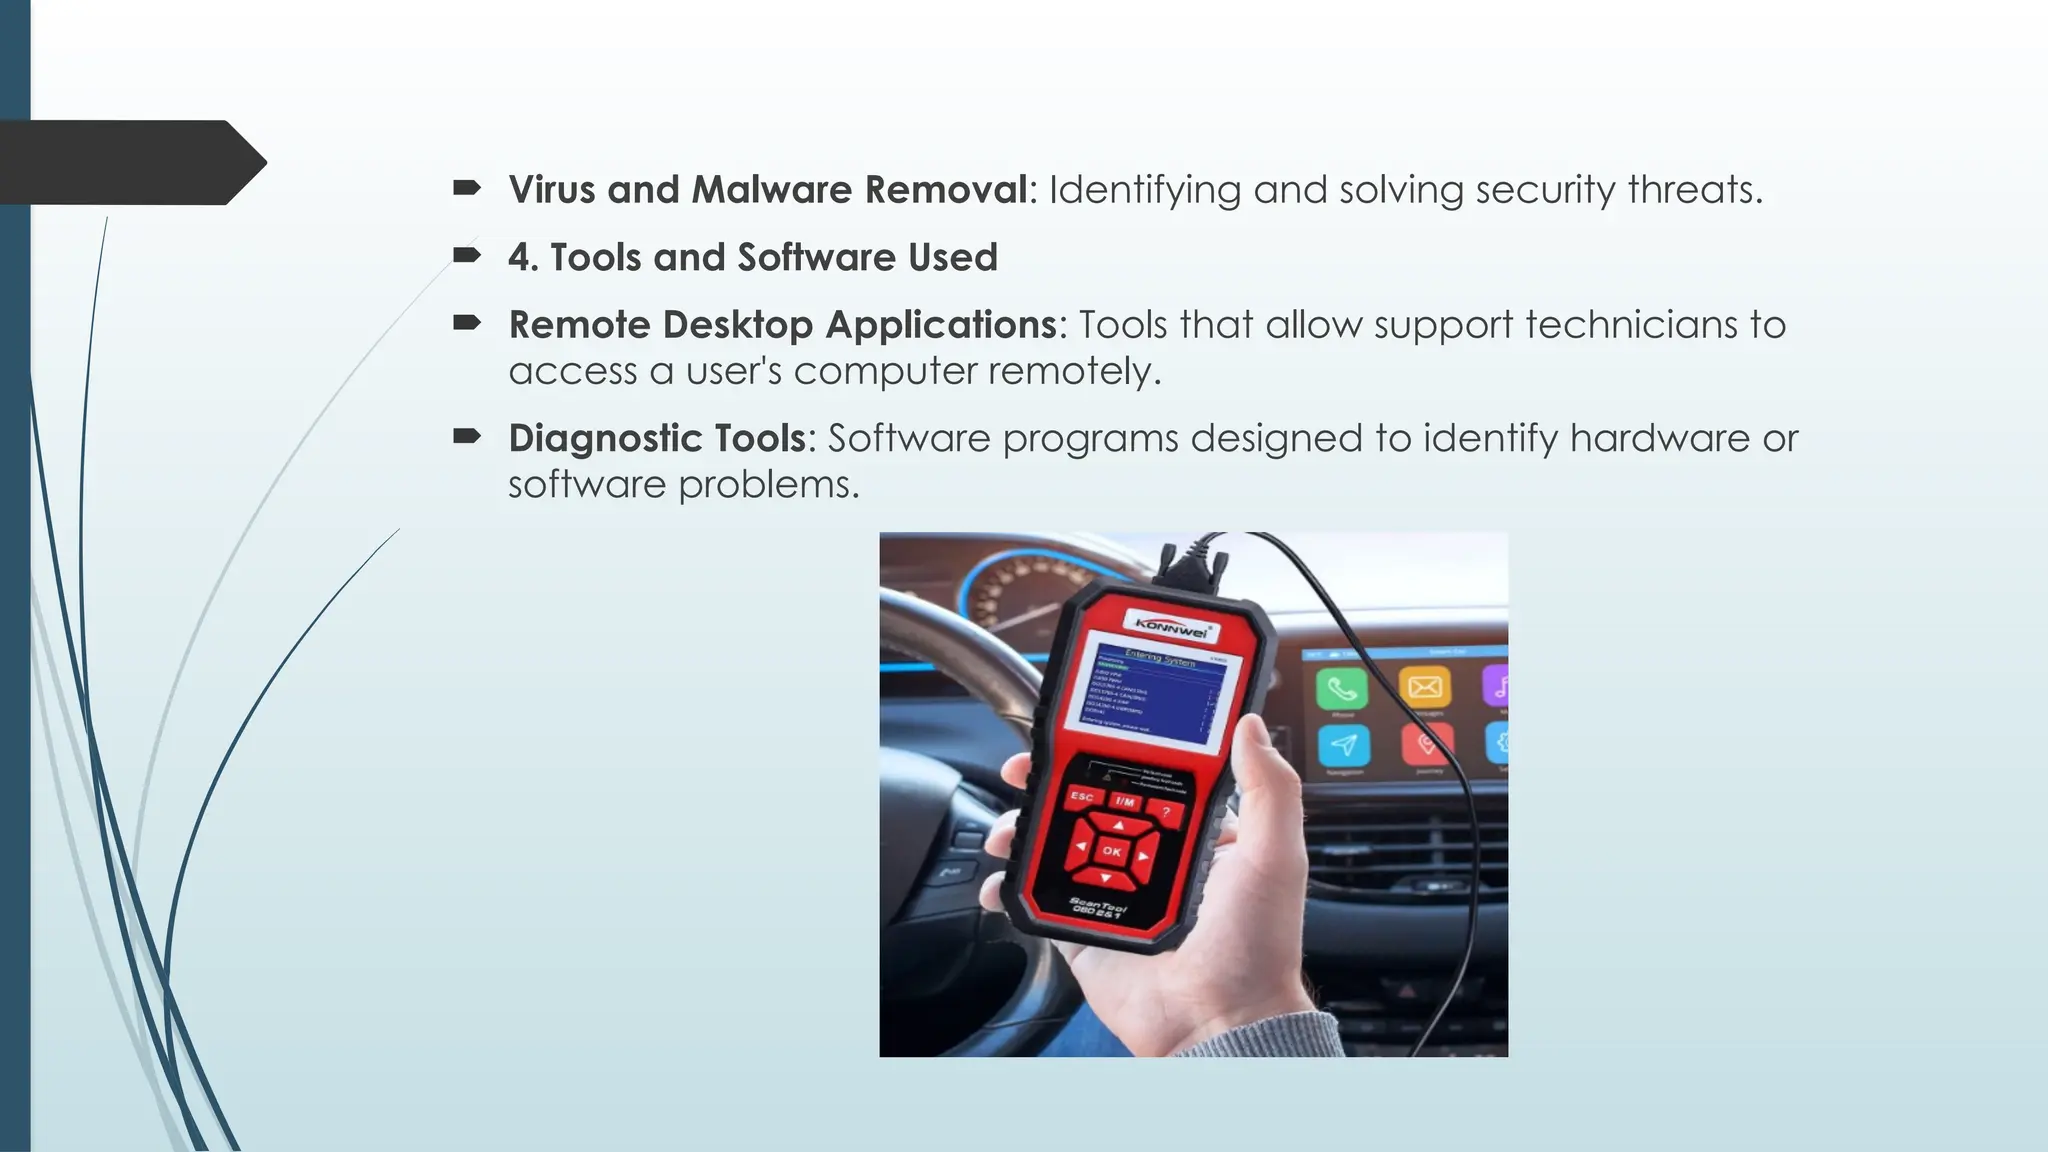
Diagnostic Tools: Software programs designed to identify hardware or
software problems.
7.
Backup Solutions:Systems to prevent data loss through regular data
backups.
5. Best Practices
Regular Maintenance: Keeping software updated and performing
hardware checks.
User Education: Teaching users safe browsing habits and basic
troubleshooting.
Documentation: Keeping logs of issues and resolutions for future reference.
6. Support Channels
In-Person Support: Direct assistance at a physical location.
Phone Support: Help provided over the phone for quick troubleshooting.
Online Chat: Real-time assistance via chat platforms.
Email Support: Asynchronous communication for less urgent issues.
8.
7. TheImportance of Tech Support
Increased Productivity: Quick resolution of tech issues minimizes downtime.
User Satisfaction: Effective support enhances user experience and confidence in
technology.
Business Continuity: Reliable tech support is essential for maintaining operations, especially
in businesses.
Lab Procedures for Computer Maintenance
1. Initial Assessment
User Consultation: Gather detailed information about any issues or symptoms observed by
the user.
Documentation: Record the specifics of the problem, including error messages and system
behavior.
2. Diagnostic Testing
Hardware Diagnostics: Utilize tools to test key components (e.g., memory tests, hard drive
health checks).
Software Diagnostics: Perform checks for software issues (e.g., running antivirus scans and
system performance audits).
9.
3. TroubleshootingSteps
Isolate the Issue: Use a systematic approach to identify if the problem is
hardware/software related.
Trial and Error: Adjust settings, replace components, or reinstall software as necessary.
4. Repair and Maintenance
Component Replacement: Swap out faulty hardware like RAM, power supplies, or
motherboards.
Software Reinstallation: If the OS or applications are corrupted, perform clean
installations.
5. Testing After Repairs
Functionality Testing: Ensure that the repaired components work correctly.
User Confirmation: Have the user verify that their issues are resolved through their testing.
6. Documentation and Reporting
Maintenance Logs: Keep detailed records of repairs, services performed, and any parts
replaced.
Follow-Up: Schedule follow-up checks to ensure ongoing performance stability.
10.
Maintenance Tools forComputer Maintenance
1. Hardware Tools
Screwdrivers: Precision tools for opening cases and securing hardware.
Anti-Static Wrist Straps: Essential for preventing electrostatic discharge (ESD)
damage to components.
Cable Management Tools: Zip ties and clips for organizing internal cables
and improving airflow.
2. Diagnostic Software Tools
MemTest86: For testing RAM for errors.
CrystalDiskInfo: To check hard drive health and status.
HWMonitor: For monitoring system temperatures and voltages.
11.
3. SystemOptimization Tools
CCleaner: To clean up unnecessary files and optimize system performance.
Defraggler: For defragmenting hard drives to improve access speed.
4. Antivirus and Security Tools
Malwarebytes: For scanning and removing malware threats.
Windows Defender: Built-in tool for protecting against basic threats.
5. Backup and Recovery Tools
Acronis True Image: For creating full system backups and recovering data.
Windows Backup: Built-in utility for scheduled backups.
6. Network Testing Tools
Wireshark: For monitoring and analyzing network traffic.
PingPlotter: For diagnosing network latency issues.
12.
Preventive Maintenance
Preventivemaintenance involves regular actions taken to keep computer
systems running smoothly and to prevent issues before they arise.
1. Regular Software Updates
Operating System Updates: Keep the OS updated to ensure security patches
and performance improvements are applied.
Application Updates: Regularly update software applications to fix bugs and
enhance functionality.
2. Data Backup
Regular Backups: Implement a backup schedule for all critical data using
external drives or cloud solutions (e.g., Google Drive, OneDrive).
Backup Verification: Routinely check backups to ensure data is recoverable.
3. Hardware Cleaning
Dust Removal: Regularly clean the computer’s internals to prevent dust
buildup that can cause overheating.
13.
Surface Cleaning:Wipe down peripherals (keyboards, mice) and screens to
keep them functional and hygienic.
4. System Monitoring
Performance Monitoring Tools: Use tools like Task Manager or third-party
software (e.g., HWMonitor) to track system performance and identify
potential issues.
Disk Health Checks: Regularly use tools to check the health of hard drives
(e.g., CrystalDiskInfo).
5. Network Security
Firewall Configuration: Ensure that firewalls are active and properly
configured.
Antivirus Software: Use and update antivirus software frequently to protect
against malware.
6. User Education
Training Sessions: Educate users on safe browsing habits, recognizing phishing
attempts, and understanding computer performance indicators.
14.
Troubleshooting
Troubleshooting isthe systematic process of diagnosing and resolving issues
when they arise.
1. Identify the Problem
Listen to User Descriptions: Gather specific details about the issue from the
user.
Reproduce the Error: Attempt to reproduce the problem to understand the
context.
2. Establish a Theory of Probable Cause
Check Basic Connectivity: Ensure all cables and connections are secure
and functional.
Assess Recent Changes: Consider whether new software or hardware was
recently added or updated.
15.
3. TestYour Theory
Diagnostic Tools: Utilize diagnostic software to rule out hardware or software
issues.
Trial and Error: Implement potential fixes one at a time (e.g., replacing
parts, reinstalling software) and test after each change.
4. Create an Action Plan
Document Steps: Write down the actions taken and results observed to
track what has been tried.
User Communication: Keep users informed about the troubleshooting
process and any expected downtimes.
5. Implement the Solution
Apply Fixes: Once the cause is identified, implement the solution
effectively.
Test the Resolution: After applying the fix, verify that the issue is resolved.
Chapter 2:Computer Casesand the Motherboard:
Computer cases
A computer case (or chassis) is a protective enclosure that houses
the various internal components of a computer, including:
Motherboard: The main circuit board where all components
connect.
Power Supply Unit (PSU): Converts electrical power to power the
various components.
Storage Drives: Hard Disk Drives (HDDs), Solid State Drives (SSDs), or
optical drives.
Cooling Systems: Fans or liquid cooling solutions to dissipate heat.
18.
System board
Asystem board, more commonly known as a motherboard, is the main
printed circuit board (PCB) in a computer that serves as the central hub for
connecting all components. Here are its key characteristics:
19.
Components of aSystem Board
CPU Socket: A specific socket designed to hold the central processing unit.
RAM Slots: Slots for installing memory modules (DIMMs).
Chipset: Manages data transfers between the processor and other
components, influencing system performance.
Expansion Slots: PCIe or PCI slots for adding graphics cards, sound cards,
network cards, etc.
Storage Connectors: SATA or M.2 connectors for attaching storage drives.
I/O Ports: USB, HDMI, Ethernet, and audio ports for connecting external
devices.
20.
Types ofMotherboards
ATX: Standard form factor that offers multiple expansion slots and
connectors.
MicroATX: Smaller than ATX, offering fewer expansion options while still
maintaining good functionality.
Mini-ITX: Compact form factor for small form factor builds.
21.
Key Functions
Connectivity:
Provides sockets and connectors for the CPU, RAM, storage devices, graphics
cards, and expansion cards.
Communication:
Facilitates data transfer between different hardware components via buses
(such as the data bus, address bus, and control bus).
Power Distribution:
Distributes electrical power from the power supply unit (PSU) to the CPU, memory,
and other peripherals.
22.
Removing and replacingmotherboard
Removing and replacing a motherboard is a critical task in computer maintenance
and upgrading. Here’s a step-by-step guide to safely carry out this process:
Tools Needed
Screwdriver: Typically a Phillips head.
Anti-static Wrist Strap: To prevent static damage to components.
Steps for Removal
1. Power Down the Computer:
Turn off the computer and unplug all cables from the power supply and peripherals.
2. Ground Yourself:
Wear an anti-static wrist strap or touch a metal part of the case to discharge any static
electricity.
23.
3. Open theCase:
•Remove the side panel of the computer case by unscrewing or
• releasing any latches as per the case design.
4. Disconnect All Cables:
•Carefully unplug all cables connected to the motherboard, including:
•Power connectors (24-pin and CPU power).
•SATA and data cables for storage devices.
•Front panel connectors (power switch, reset button, LEDs).
•Any other connected components (e.g., USB headers, audio jacks).
24.
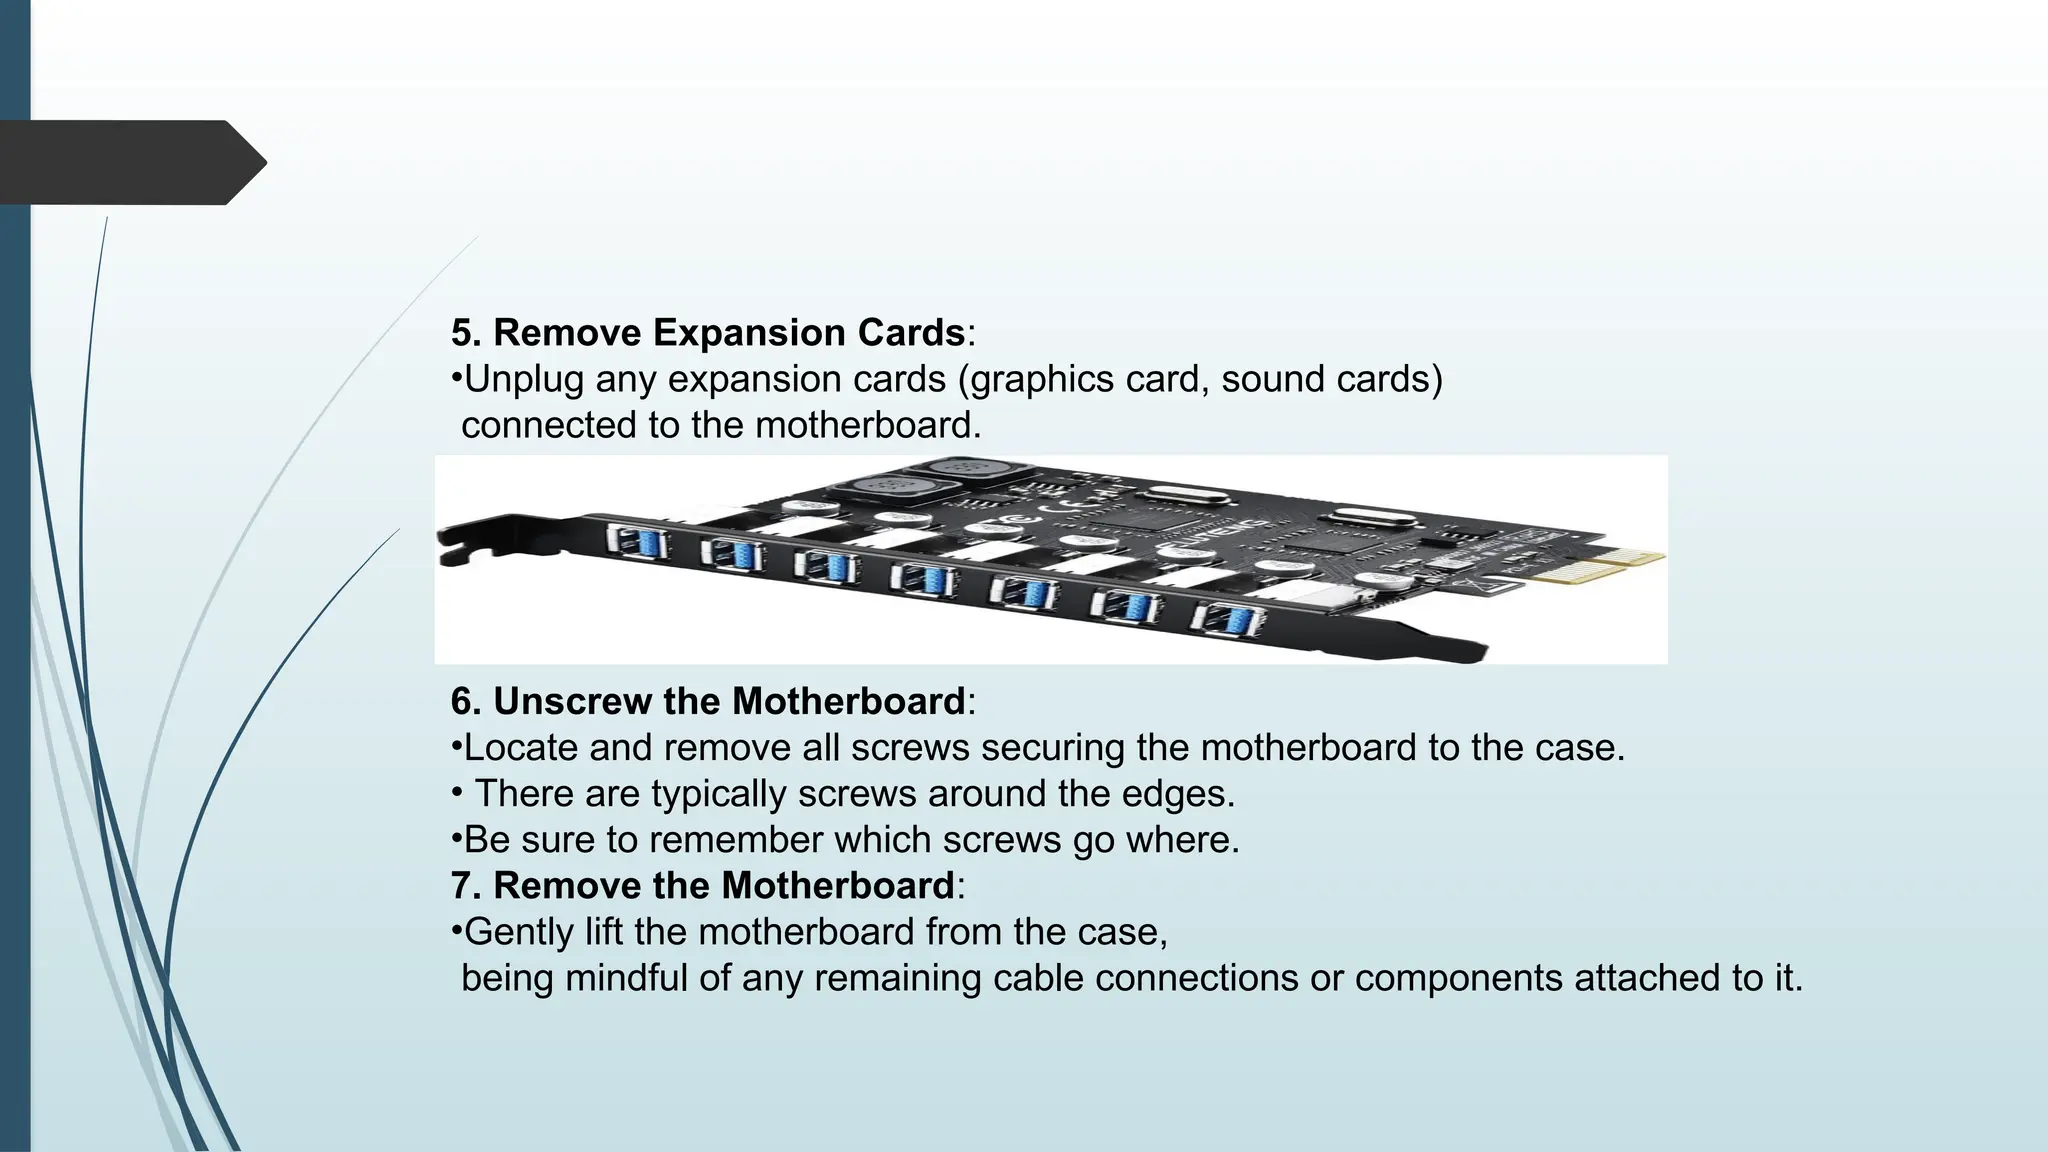
5. Remove ExpansionCards:
•Unplug any expansion cards (graphics card, sound cards)
connected to the motherboard.
6. Unscrew the Motherboard:
•Locate and remove all screws securing the motherboard to the case.
• There are typically screws around the edges.
•Be sure to remember which screws go where.
7. Remove the Motherboard:
•Gently lift the motherboard from the case,
being mindful of any remaining cable connections or components attached to it.
25.
Steps forReplacement
1. Prepare the New Motherboard:
Ensure that the new motherboard is compatible with your
components (CPU, RAM, etc.).
2. Install the Standoffs:
If you’re installing a new motherboard, ensure standoffs are correctly
installed in the case to match the screw holes on the new board.
26.
•3. Place theMotherboard:
•Carefully position the new motherboard into the case,
aligning it with the standoffs and rear I/O shield.
•4. Secure the Motherboard:
•Screwing it in place using the original screws,
ensuring it's secure without over-tightening.
•5. Reconnect Expansion Cards:
•Reinsert any expansion cards you removed earlier.
27.
•6. Reconnect AllCables:
•Plug in all power connectors, data cables,
and any front panel connections. Make sure everything is firmly
connected.
•7. Close the Case:
•Replace the side panel and secure it with screws or latches.
•8. Reconnect Power:
•Plug in the power supply and reconnect any peripherals.
•9. Power On the Computer:
•Turn on the power and check that the system boots properly. Monitor for
any issues.
28.
Troubleshooting the motherboard
Troubleshooting a motherboard involves diagnosing and resolving issues
related to a computer's mainboard. Here’s a guide to help you identify
common problems and potential solutions.
Common Symptoms of Motherboard Issues
No Power: The computer doesn’t turn on at all.
Random Crashes or Freezes: The system locks up or crashes unexpectedly.
Hardware Not Recognized: Peripherals or components (like RAM, GPU) are not
detected.
Beeping Sounds: POST (Power-On Self-Test) errors indicated by a series of
beeps.
Overheating: Excessive heat due to poor cooling or disconnected fans.
29.
Troubleshooting Steps
1. Visual Inspection
Check for Physical Damage: Look for burnt traces, swollen capacitors, or
broken components on the motherboard.
Examine Connections: Ensure that all cables, including power and data
connectors, are securely attached.
2. Power Issues
Power Supply Check: Ensure the PSU is functioning correctly. You can test it
with a multimeter or replace it temporarily with a known good unit.
Correct Voltage: Make sure the power supply is providing the correct voltage
and is compatible with the motherboard.
30.
3. TestComponents Individually
Remove Non-Essential Hardware: Disconnect all non-essential peripherals (extra
hard drives, optical drives, etc.) to isolate the issue.
Reseat RAM and Expansion Cards: Remove and reinstall RAM, graphics cards, and
other expansion cards, ensuring they are properly seated.
4. Check Error Codes and Beeps
Listen for Beep Codes: If your motherboard has an onboard speaker, listen for beep
codes that indicate specific errors. Refer to the motherboard manual for decoding
the beeps.
5. Check Diagnostic LEDs: Some motherboards have diagnostic LEDs; check for
error indications.
31.
5. BIOS/UEFISetup
Clear CMOS: Reset the BIOS settings by clearing the CMOS using a jumper or removing
the battery for 5–10 minutes.
Check BIOS Version: Ensure the motherboard has the latest BIOS version for optimal
performance and compatibility.
6. Overheating Problems
Inspect Cooling System: Ensure that the CPU cooler and case fans are properly installed
and functioning.
Check Thermal Paste: If the CPU is overheating, it may be due to old or inadequate
thermal paste.
7. Testing with Minimum Configuration
Use a Bare-Bones Setup: Boot the computer with just the CPU, one stick of RAM, and the
onboard graphics (if available) to determine if the motherboard is functional.
8. Look for Other Hardware Issues
Sometimes, the problem may lie with other components (like RAM or CPU) rather than the
motherboard. Testing these components in another compatible system can help identify
faults.
32.
Chapter three: PowerSupplies
Power supplies are essential components that provide electrical power to a
computer's internal components. Here’s an overview of power supplies,
including their types, features, and considerations for selection.
1. Definition
A power supply unit (PSU) converts electrical power from an outlet into
usable power for the computer’s components, including the motherboard,
CPU, graphics card, and storage devices
33.
2. Typesof Power Supplies
ATX Power Supply: The standard form factor for most modern desktop
computers, providing various voltage outputs required by components.
SFX Power Supply: Smaller in size, designed for compact builds like small form
factor (SFF) PCs.
Modular vs. Non-Modular:
Modular: Allows users to connect only the cables they need, improving cable
management and airflow.
Non-Modular: Comes with all cables permanently attached, which may lead to
clutter and reduced airflow.
Semi-Modular: Combines both, with essential cables attached and others
detachable.
34.
3. KeyFeatures
Wattage: The total power the PSU can deliver. It's crucial to choose a PSU
that can handle the combined power requirements of all components.
Efficiency Rating: Indicates how efficiently the power supply converts AC to
DC power. Common ratings include:
80 PLUS: An efficiency certification that ranges from Bronze (basic) to Platinum
(high efficiency).
Rail Design: Refers to how power is distributed across different voltage
levels. Single and multiple 12V rails are common configurations.
Cooling: Most power supplies come with built-in fans to dissipate heat. The
size and noise level of the fan can vary.
35.
4. Selectinga Power Supply
Calculate the Total Wattage: Use tools or calculators that consider the
power requirements of your specific components (CPU, GPU, etc.).
Future Upgrades: Consider additional capacity for potential future
upgrades in hardware.
Compatibility: Ensure it fits the form factor of your case and has enough
connectors for all components.
Quality and Reliability: Opt for reputable brands known for building reliable
power supplies, often backed by warranties.
36.
5. Installation
Safety First: Always power down the computer and unplug it from the
electrical outlet.
Remove the Old PSU: Unscrew and disconnect all cables from the existing
power supply before removing it from the case.
Install the New PSU: Place the new PSU in the case and secure it with
screws.
Connect Power Cables: Attach the necessary cables to the motherboard,
CPU, and peripherals. Ensure secure connections.
Cable Management: Organize cables for improved airflow and aesthetics.
37.
Batteries
Definition
Abattery is a device that stores chemical energy and converts it into electrical energy through
electrochemical reactions. In computers, batteries primarily serve to maintain system settings
and provide backup power.
2. Types of Batteries in Computers
a. Primary Batteries
Alkaline Batteries: Commonly used in devices like keyboards and mice. Not rechargeable and
are replaced once depleted.
b. Secondary (Rechargeable) Batteries
Lithium-Ion (Li-ion): Widely used in laptops and portable devices. They are lightweight, have a
high energy density, and can be recharged multiple times.
Nickel-Metal Hydride (NiMH): Used in some older laptops and rechargeable batteries. They are
less common now due to the preference for Li-ion.
38.
c. CMOSBattery
Types: Typically a coin-cell battery (such as CR2032) located on the motherboard.
Function: Maintains BIOS settings, system time, and hardware configurations when the
computer is powered off.
3. Functions of Batteries
Power Backup: Provides temporary power when primary power sources fail, allowing for a
safe shutdown and data preservation.
Retaining Settings: Keeps system settings, time, and configurations without requiring
constant power.
4. Considerations for Batteries
Capacity: Measured in milliampere-hours (mAh), indicating how much energy the battery
can store.
Cycle Life: The number of charge and discharge cycles a rechargeable battery can
undergo before its performance degrades.
Self-Discharge Rate: Refers to how quickly a battery loses its charge when not in use.
Compatibility: Ensure replacement batteries are compatible with the device or system.
39.
5. Careand Maintenance
Avoid Extreme Temperatures: High or low temperatures can impact battery
performance and lifespan.
Regular Use: Rechargeable batteries should be used regularly, as inactivity
can reduce their capacity.
Store Properly: If storing batteries, keep them in a cool, dry place.
40.
The CentralProcessing Unit (CPU), often referred to as the "brain" of the computer, is a
critical component responsible for executing instructions and processing data. Here’s
an overview of its key aspects:
1. Definition
The CPU is an integrated circuit that carries out the instructions of a computer program
by performing basic arithmetic, logic, control, and input/output operations.
2. Key Components
ALU (Arithmetic Logic Unit): Performs mathematical calculations and logical operations.
Control Unit (CU): Directs the operation of the processor and coordinates activities
between different components.
Registers: Small, high-speed storage locations within the CPU used to hold temporary
data and instructions.
41.
3. Architecture
Cores: Modern CPUs can have multiple cores (dual-core, quad-core, etc.), allowing them to
perform multiple tasks simultaneously.
Cache Memory: Fast memory located on or near the CPU to store frequently accessed data,
improving overall speed.
Bus Interconnects: Links the CPU to other components, facilitating communication within the
system.
4. Performance Factors
Clock Speed: Measured in gigahertz (GHz), indicates how many cycles per second the CPU can
execute. Higher speeds generally mean better performance.
Instruction Sets: Determines the types of instructions the CPU can execute, such as x86, ARM, etc.
Thermal Design Power (TDP): Indicates how much heat the CPU generates under load, impacting
cooling requirements.
42.
5. Typesof CPUs
Consumer CPUs: Found in desktops and laptops (e.g., Intel Core, AMD Ryzen).
Server CPUs: Designed for high-performance computing and multitasking (e.g.,
Intel Xeon, AMD EPYC).
Mobile CPUs: Optimized for laptops and mobile devices, balancing performance
and power efficiency (e.g., Intel Atom, ARM-based processors).
6. Installation
When installing or upgrading a CPU:
Check Compatibility: Ensure the CPU is compatible with the motherboard socket
type and chipset.
Update BIOS: Sometimes, a BIOS update is necessary to support new CPUs.
Apply Thermal Paste: Use thermal paste between the CPU and cooler for efficient
heat transfer.
Secure the Cooler: Ensure the CPU cooler is properly mounted to avoid
overheating.
43.
CPU socketsand slots are essential components on a motherboard that facilitate
the installation and connection of the CPU (Central Processing Unit). Here's an
overview of their types, functions, and important considerations:
1. Definition
CPU Socket: A specialized connector on the motherboard that securely holds the
CPU in place and provides electrical connections between the CPU and the
motherboard.
CPU Slot: An older type of connector, primarily used in older CPUs, that allows the
CPU to be inserted into the motherboard.
2. Types of CPU Sockets
Different motherboard manufacturers use various socket types, and it's crucial to
match the socket with the CPU. Some common types include:
44.
a. IntelSockets
LGA (Land Grid Array): Intel uses LGA sockets (e.g., LGA 1200, LGA 1700)
where the pins are on the motherboard, and the CPU has flat contact
pads.
FCLGA (Flip-Chip Land Grid Array): Used in high-end server CPUs (e.g.,
Xeon).
b. AMD Sockets
AM4: The primary socket for AMD Ryzen processors, compatible with a
range of CPUs from the first to third generation.
sTRX4: Used for AMD Ryzen Threadripper processors, designed for high-
performance workstation applications.
45.
3. KeyFeatures
Pin Count: Different sockets accommodate CPUs with varying numbers of
pins. The pin count must match between the CPU and socket.
Retention Mechanism: Sockets often have a lever or clip that secures the
CPU in place, ensuring proper contact and stability.
Compatibility: Mismatched sockets and CPUs will not fit, making it essential
to verify compatibility before purchasing components.
4. Installation Considerations
Aligning the CPU: Ensure the CPU is properly aligned with the socket. There
may be notches or markers to help guide placement.
Thermal Paste Application: Always apply a small amount of thermal paste
to the CPU before installing the cooler, facilitating heat transfer.
Avoiding Static Damage: Ground yourself or use an anti-static wrist strap to
prevent static electricity from damaging the CPU or socket.