This tutorial will teach you the basics of how to build an Android app using the Android Studio development environment. Java is the language used by Android.
Table Of Contents
1. Install “Android Studio IDE” and “Android SDK”
1.1 Installing “Android Studio IDE”
- Uninstall older version(s) of “Android Studio” and “Android SDK”, if any.
- Check the system requirements for Android Studio/SDK @ https://developer.android.com/studio#Requirements
- Go to https://developer.android.com/studio/install to download Android Studio.
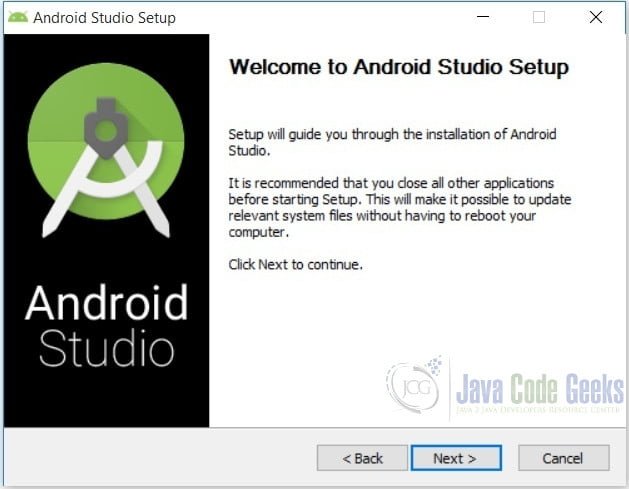
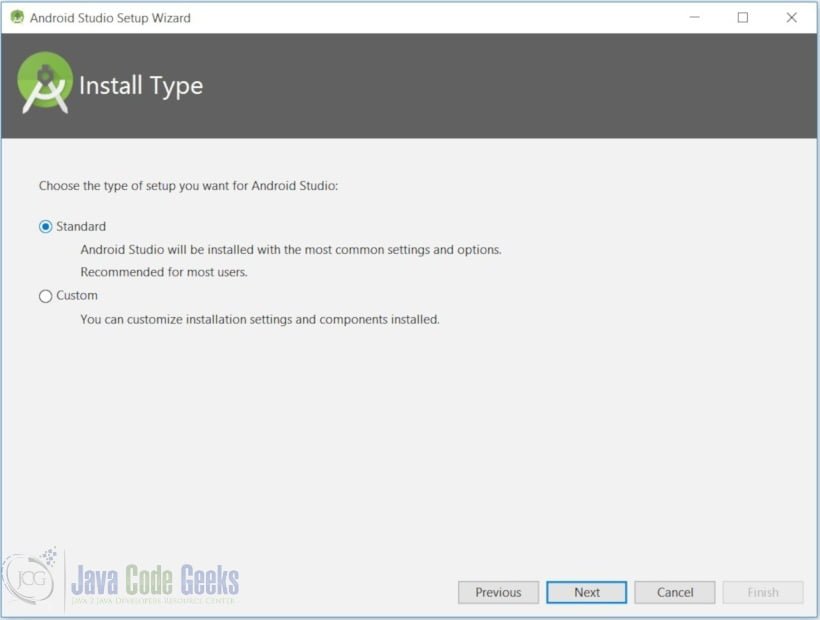
- Use the installer to install Android Studio.
In “Choose Components”, select “Android Studio” and “Android Virtual Device”

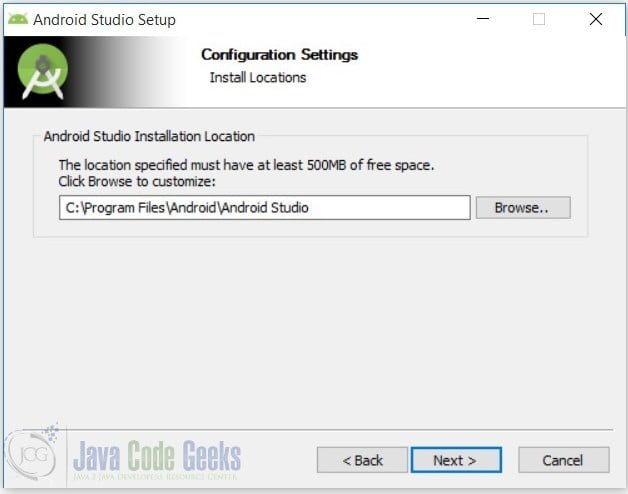
Accept the default installation directory “C:\Program Files\Android\Android Studio”
Follow the on-screen instruction and accept the defaults to complete the installation.
Click “Next”
1.2 Installing Android SDK
Adding too many SDK packages, especially the so-called system images for emulating different devices, will take an extremely LONG time. They also take up a lot of disk space of your hard disk, a few GBytes per API level !!! For our simple application, we only need a small set of SDK packages.
2. Running Android Studio
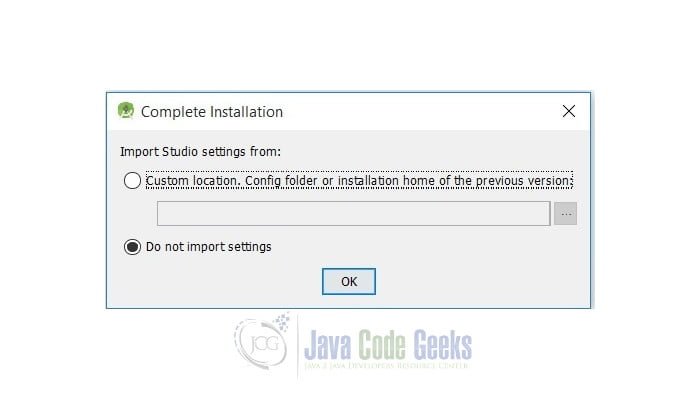
Launch Android Studio, since it is the first time, it presents a Complete Installation dialog box that offers the option of importing settings from a previous installation.
We finally reach to this window:
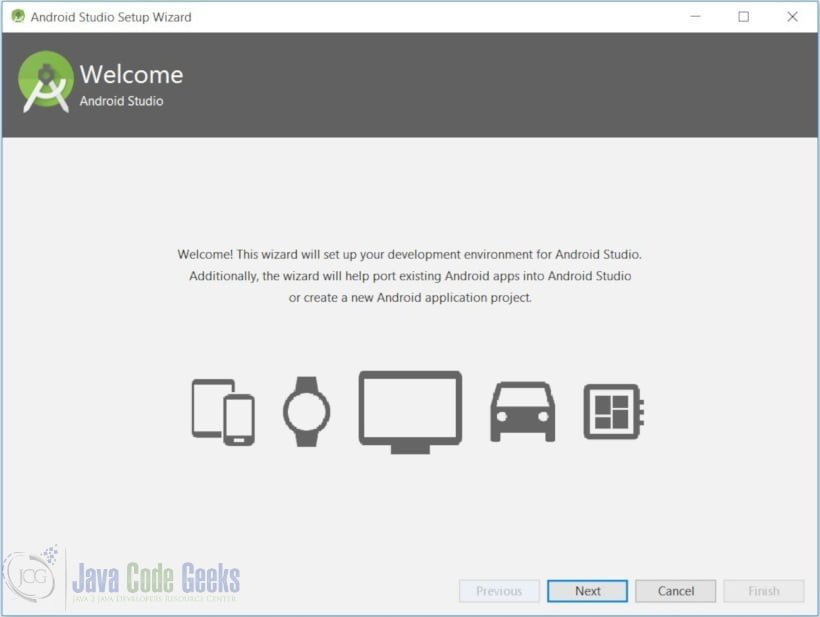
Click “Next”:
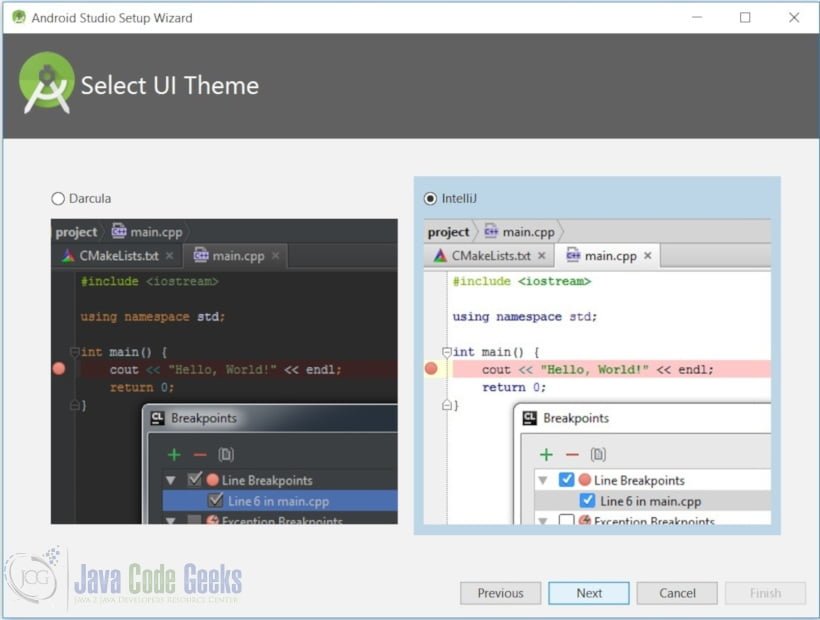
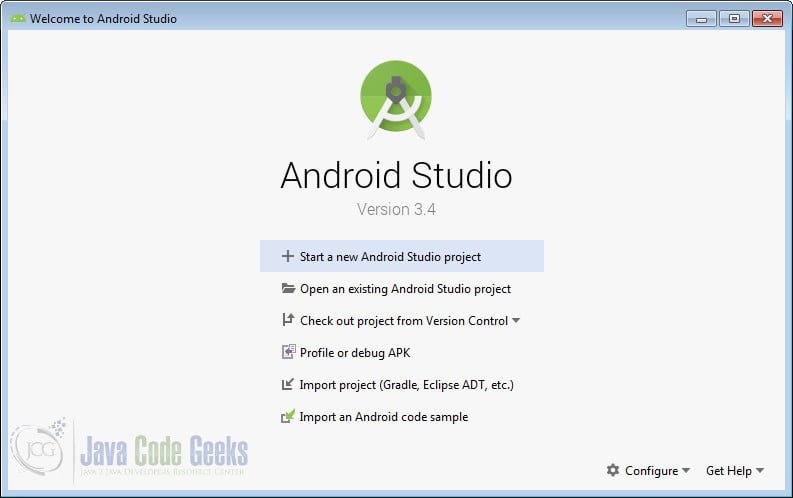
Finally click Finish to complete the wizard. Now the Welcome to Android Studio dialog box appeares.
3. Build your first android app
3.1 Start a new project
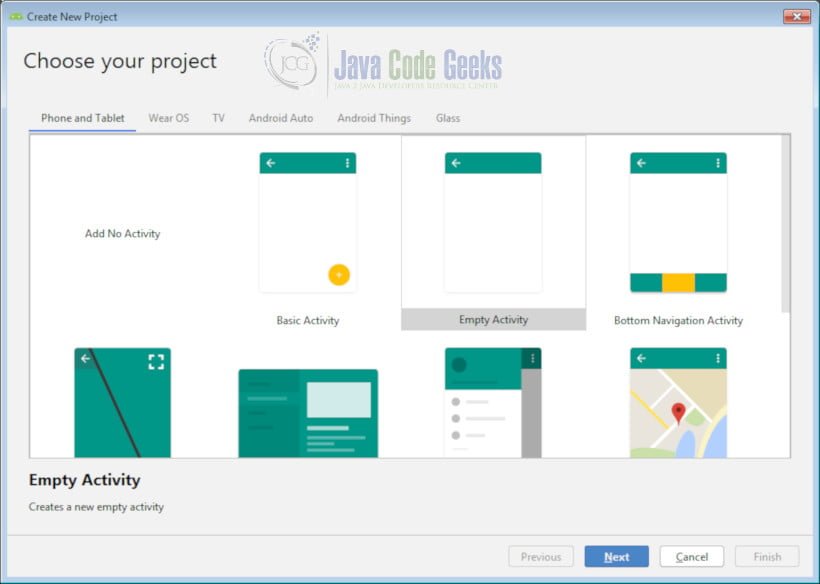
Click Start a new Android Studio project. Choose Empty Activity from next window.
On the Create New Project window that opens, name your project My First Android Application.
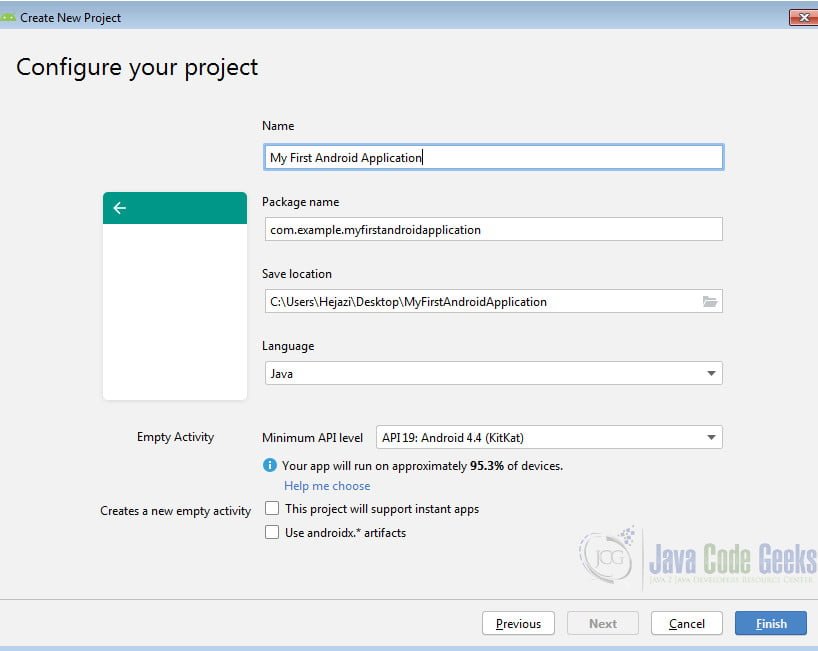
You can change the location of the project file if you desire.
Click Finish.
The first time you use Android Studio, it has to download some files related to its constraint layout, which is used to build responsive user interfaces.
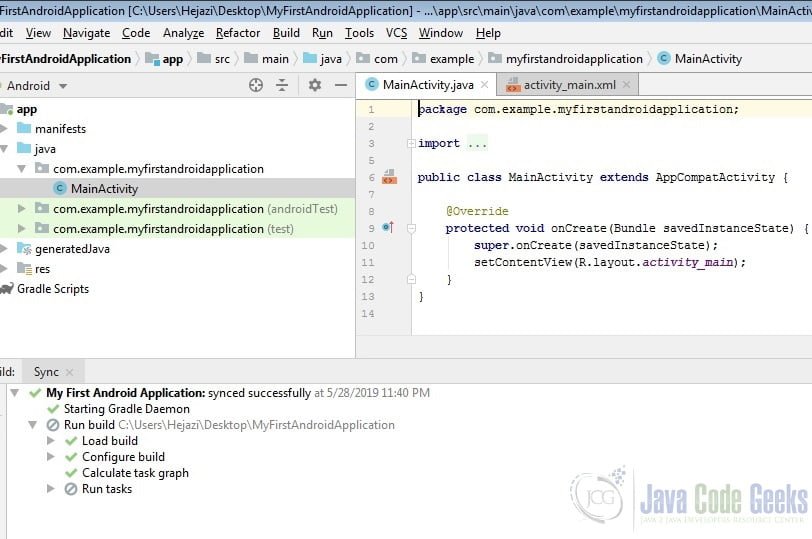
After downloading completes, click Finish. Main window of the project will appear:
3.2 The project and main window
3.2.1 Tools menu
From Tools menu you can access to AVD Manager and SDK Manager:
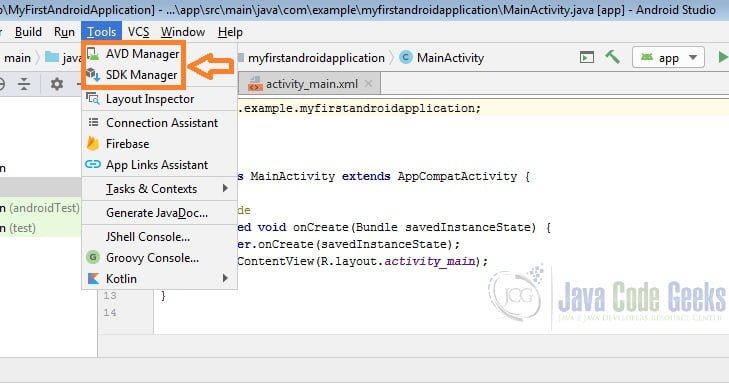
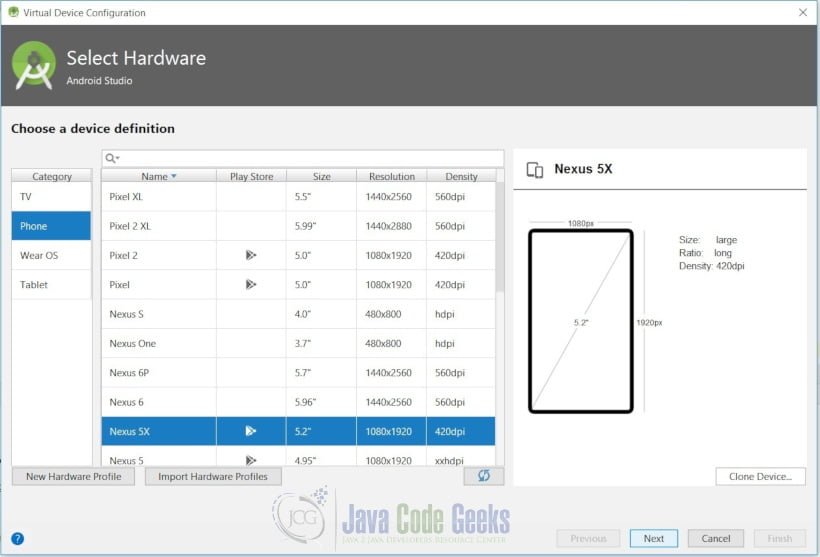
AVD Manager: It provides a graphical user interface in which you can create and manage Android Virtual Devices (AVDs), which are required by the Android Emulator.
(http://www.androiddocs.com/tools/help/avd-manager.html )
SDK Manager: It is a command line tool that allows you to view, install, update, and uninstall packages for the Android SDK.
3.2.2 Project window
As you can see, Project Window is divided into two main parts:
- app
- Gradle Scripts
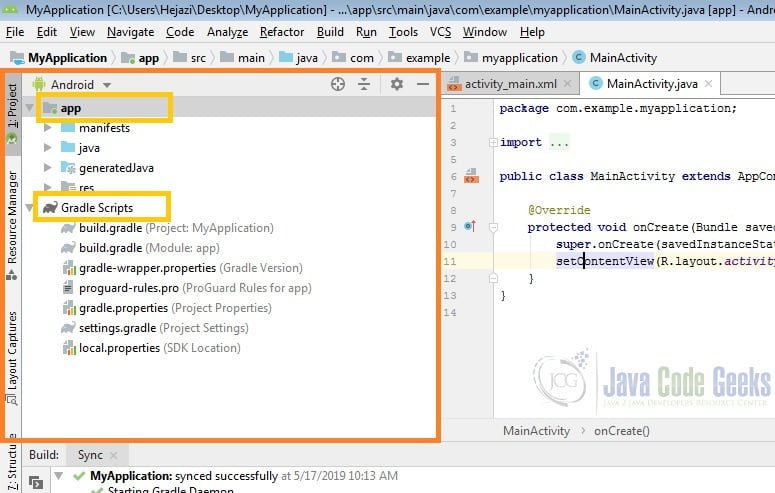
These are the subfolders of app:
- manifests contains
AndroidManifest.xmlwhich describes the structure of an Android app. This file also records permission settings and other details about the app - java contains an app’s Java source files
- res contains an app’s resource files:
- drawable contains an app’s artwork
- layout contains an app’s layout files;
activity_main.xml(the main activity’s layout file) is in here. - mipmap contains various
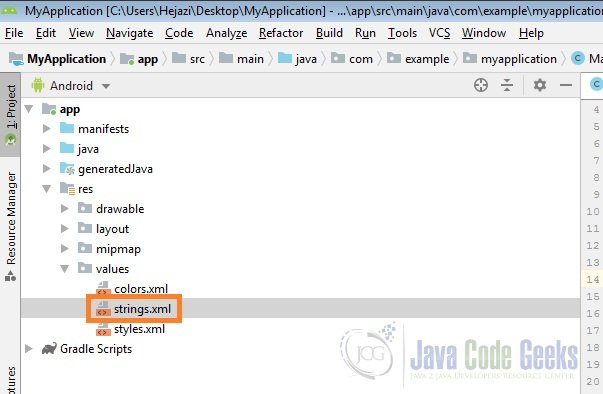
ic_launcher.pngfiles, which store launcher screen icons of different resolutions. - values contains
colors.xml,strings.xml, andstyles.xml.
The Gradle Scripts branch identifies various files that are used by Android Studio’s Gradle-based build system. (.gradle and .properties files)
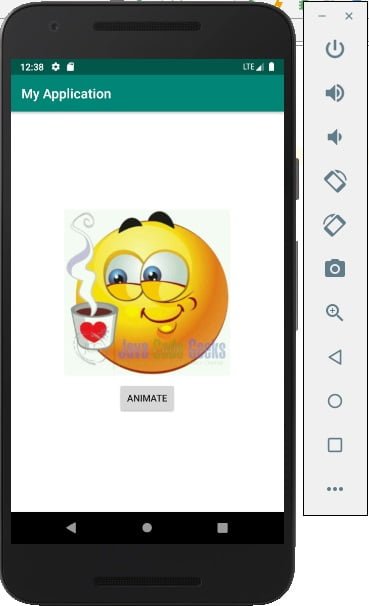
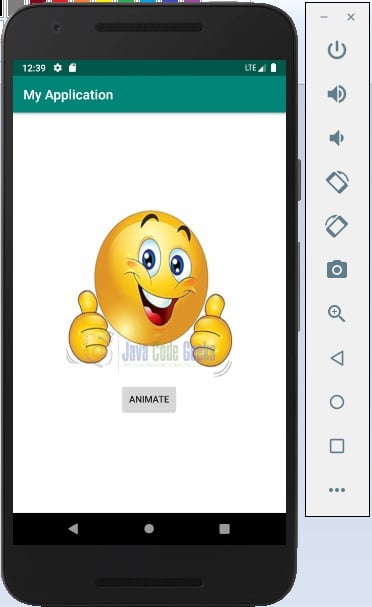
3.3 Android example app
MainActivity.java class: The activity’s source code is stored in the file MainActivity.java
MainActivity.java
public class MainActivity extends AppCompatActivity {
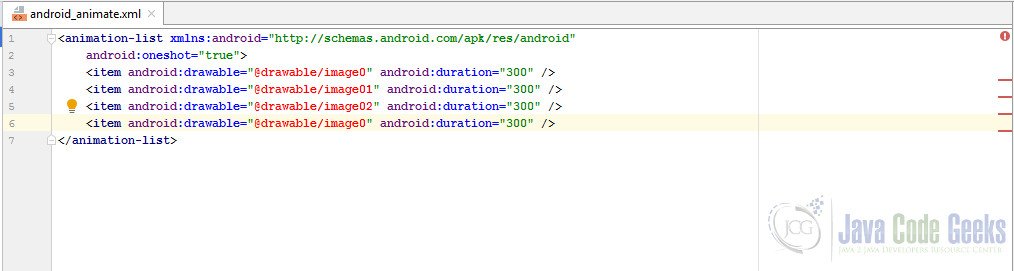
AnimationDrawable androidAnimation;
@Override
protected void onCreate(Bundle savedInstanceState) {
super.onCreate(savedInstanceState);
setContentView(R.layout.activity_main);
}The onCreate() method: All of the app’s work takes place in MainActivity‘s overriding onCreate(Bundle)method.
onCreate(Bundle) first invokes its same-named superclass method, a rule that must be followed by all overriding activity methods.
https://www.javaworld.com/article/3104621/android-studio-for-beginners-part-2-explore-and-code-the-app.html
This method then executes setContentView(R.layout.activity_main) to establish the app’s user interface. R.layout.activity_main is an identifier (ID) for an application resource, which resides in a separate file. You interpret this ID as follows:
Ris the name of a class that’s generated when the app is being built. This class is namedRbecause its content identifies various kinds of application resources, including layouts, images, strings, and colors.layoutis the name of a class that’s nested withinR. An application resource whose ID is stored in this class describes a specific layout resource. Each kind of application resource is associated with a nested class that’s named in a similar fashion. For example,stringidentifies string resources.activity_mainis the name of anint-based constant declared withinlayout. This resource ID identifies the main layout resource. Specifically,activity_mainrefers to aactivity_main.xmlfile that stores the main activity’s layout information.activity_mainisMainActivity‘s only layout resource.

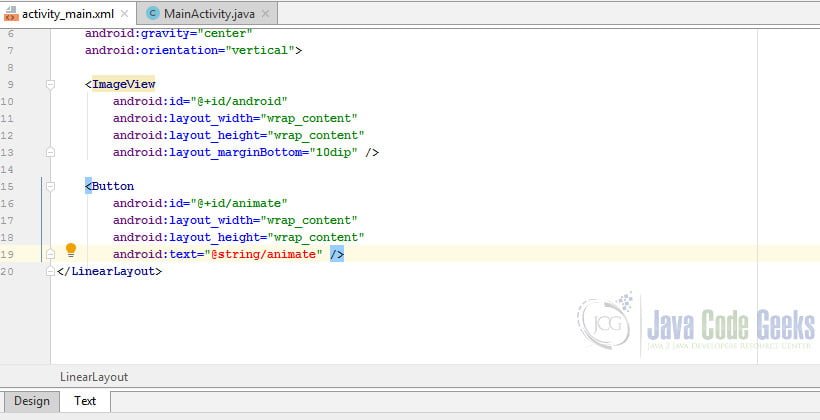
So behind the scenes, Android creates the user interface components described in activity_main.xml and positions them on the device screen as specified by activity_main.xml‘s layout data. Now go to your activity_main.xml and paste the code below in it
activity_main.xml
<LinearLayout xmlns:android="http://schemas.android.com/apk/res/android"
    android:layout_width="fill_parent"
    android:layout_height="fill_parent"
    android:background="#ffffff"
    android:gravity="center"
    android:orientation="vertical">

<ImageView
    android:id="@+id/android"
    android:layout_width="wrap_content"
    android:layout_height="wrap_content"
    android:layout_marginBottom="10dip" />

    <Button
        android:id="@+id/animate"
        android:layout_width="wrap_content"
        android:layout_height="wrap_content"
        android:text="@string/animate" />
</LinearLayout>
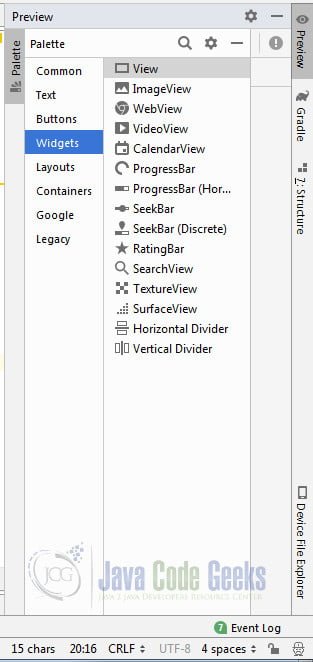
The screen is based on views (abstractions of user interface components) and Android refers to specific views (such as buttons or spinners) as widgets.
As you can see a LinearLayout element is declared.
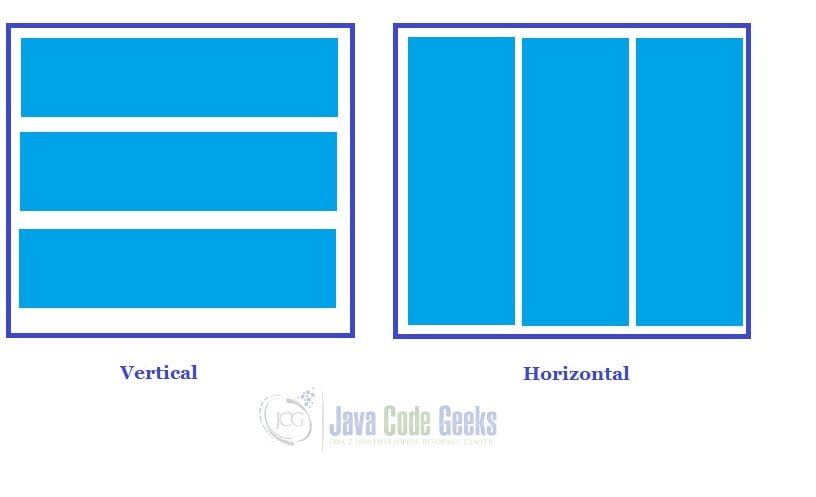
LinearLayout is a view group that aligns all children in a single direction, vertically or horizontally. You can specify the layout direction with the android:orientation attribute.
The <LinearLayout> tag specifies several attributes for controlling the layout:
orientationidentifies the linear layout as horizontal or vertical. Contained widgets are laid out horizontally or vertically. ("horizontal"and"vertical")layout_widthidentifies the width of the layout. Legal values:"fill_parent"to be as wide as the parent.
(Note thatfill_parentwas renamed tomatch_parentin Android 2.2, but is still supported and widely used.)"wrap_content"to be wide enough to enclose content.
layout_heightidentifies the height of the layout. Legal values:"fill_parent"to be as tall as the parent"wrap_content"to be tall enough to enclose content
gravityidentifies how the layout is positioned relative to the screen. For example,"center"specifies that the layout should be centered horizontally and vertically on the screen.backgroundidentifies a background image, a gradient, or a solid color. For example, (#ffffff) is a hexadecimal color identifier which signifies a solid white background .
As you see Android can not resolve symbol @string/animate. We will declare it later in strings.xml
ImageView and Button elements specifies an id attribute, which identifies the element so that it can be referenced from code. The resource identifier (special syntax that begins with @) assigned to this attribute begins with the @+id prefix. For example, @+id/android identifies the ImageView element as android; this element is referenced from code by specifying R.id.android.
Download NOW!