


.svg)


.svg)


Overview
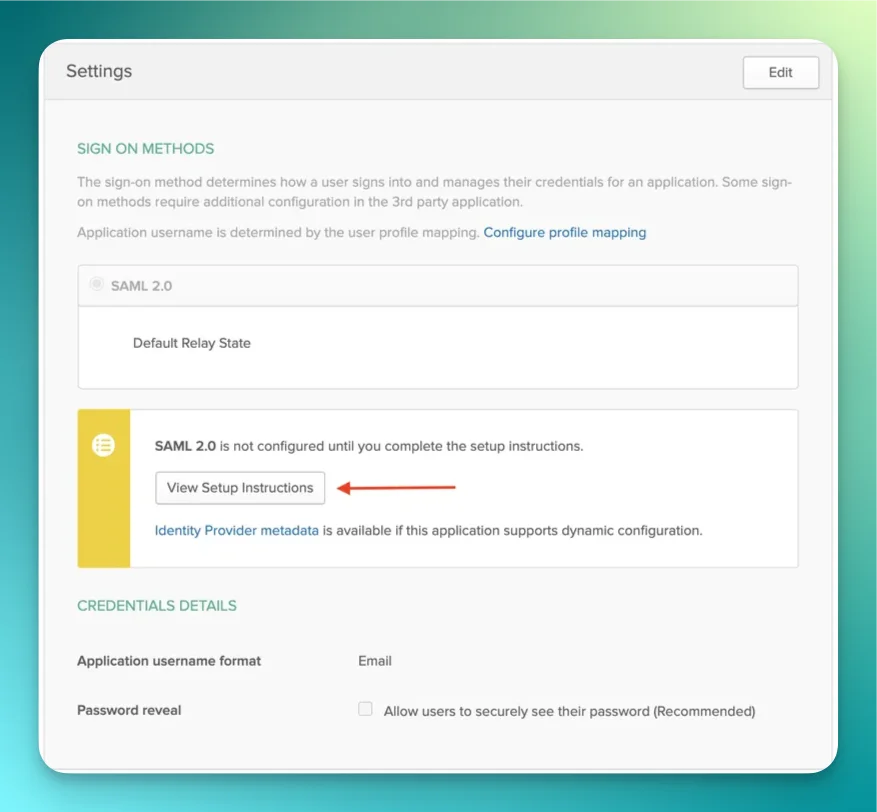
Rootly supports SAML 2.0 single sign-on with any compatible identity provider. Once SSO is enabled, users authenticate through your IdP and are automatically provisioned via Just-In-Time (JIT) provisioning, or pre-provisioned via SCIM. Both SP-initiated (login from Rootly) and IdP-initiated (login from your IdP dashboard tile) flows are supported. You can setup this integration as a logged in admin user in the integrations page: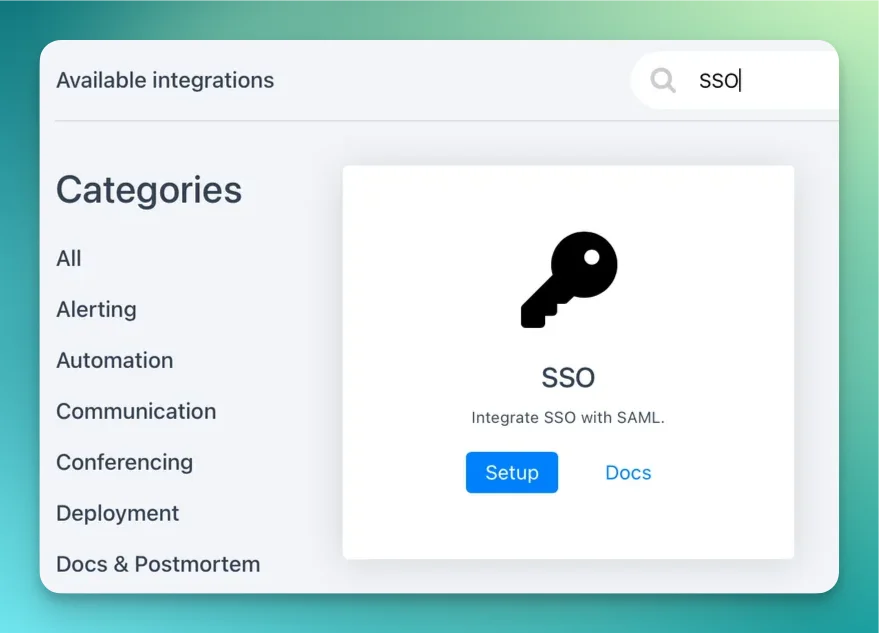
Before You Begin
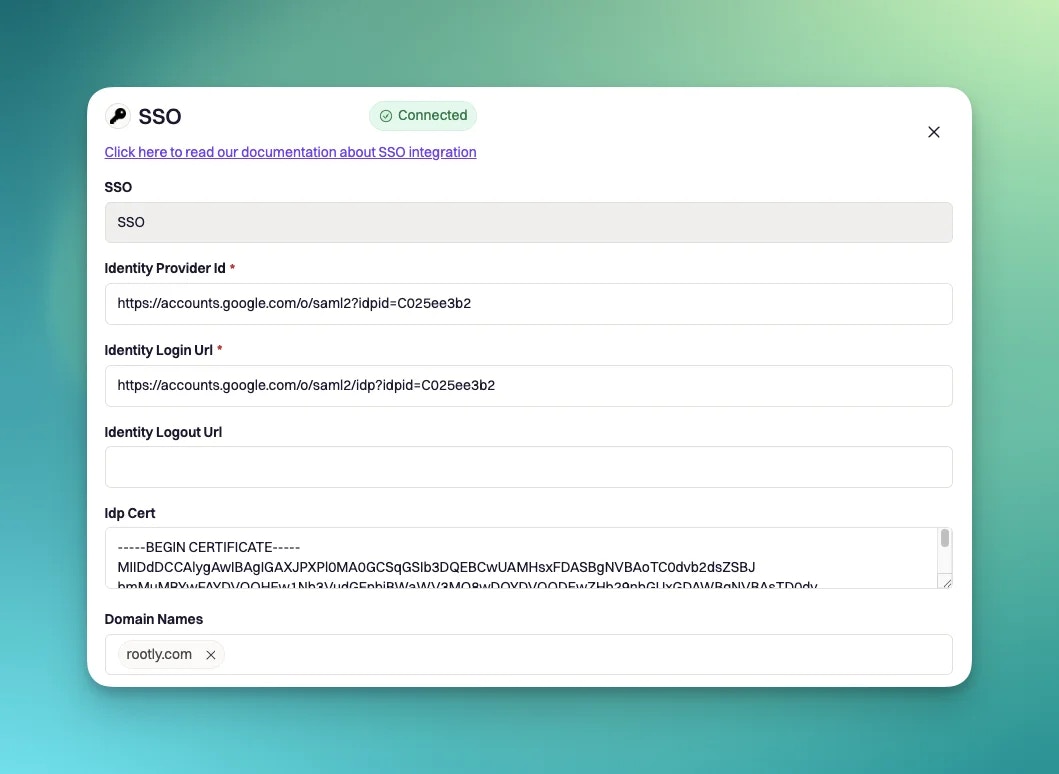
Before configuring your identity provider, collect the values below to use during setup. You’ll also need to understand how Rootly maps SAML attributes and what certificate format is required.Service Provider Details
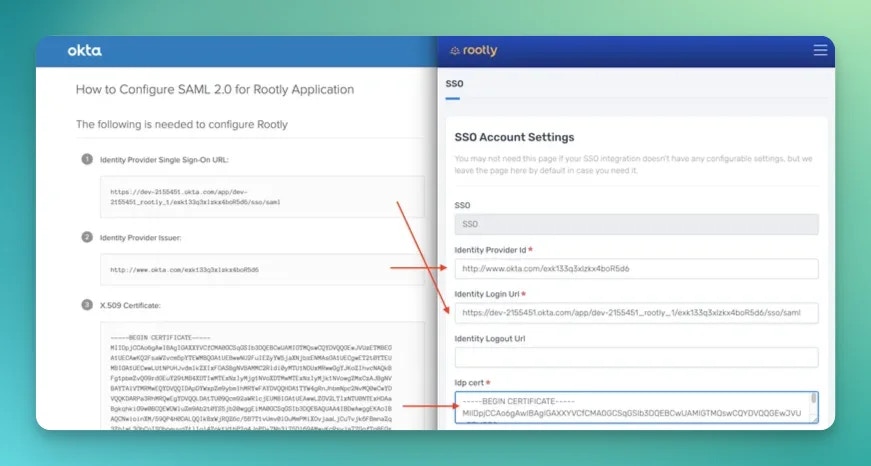
When configuring Rootly as a SAML service provider in your identity provider, use the following values:| Field | Value |
|---|---|
| ACS URL | https://rootly.com/users/saml/auth |
| Entity ID / Audience URI | https://rootly.com/users/saml/metadata |
| SP Metadata URL | https://rootly.com/users/saml/metadata |
| Name ID Format | urn:oasis:names:tc:SAML:1.1:nameid-format:emailAddress |
| Binding | HTTP-POST |
idp_entity_id query parameter when your organization has multiple SSO configurations: https://rootly.com/users/saml/metadata?idp_entity_id=<your-idp-entity-id>.
SAML Attribute Mapping
Rootly reads the following attributes from the SAML assertion. Email is taken from the NameID element and is required. All other attributes are optional but recommended for accurate JIT provisioning.| Rootly field | SAML attribute |
|---|---|
| NameID (emailAddress format) | |
| First name | name.givenName |
| Last name | name.familyName |
| Preferred name | displayName |
| Phone number | phoneNumbers.work |
Certificate Requirements
Rootly requires a PEM-encoded X.509 certificate from your IdP to validate SAML assertions.- Must be in PEM format with
-----BEGIN CERTIFICATE-----and-----END CERTIFICATE-----headers - Must not be expired — Rootly rejects expired certificates at save time
- Must match the certificate your IdP uses to sign SAML responses
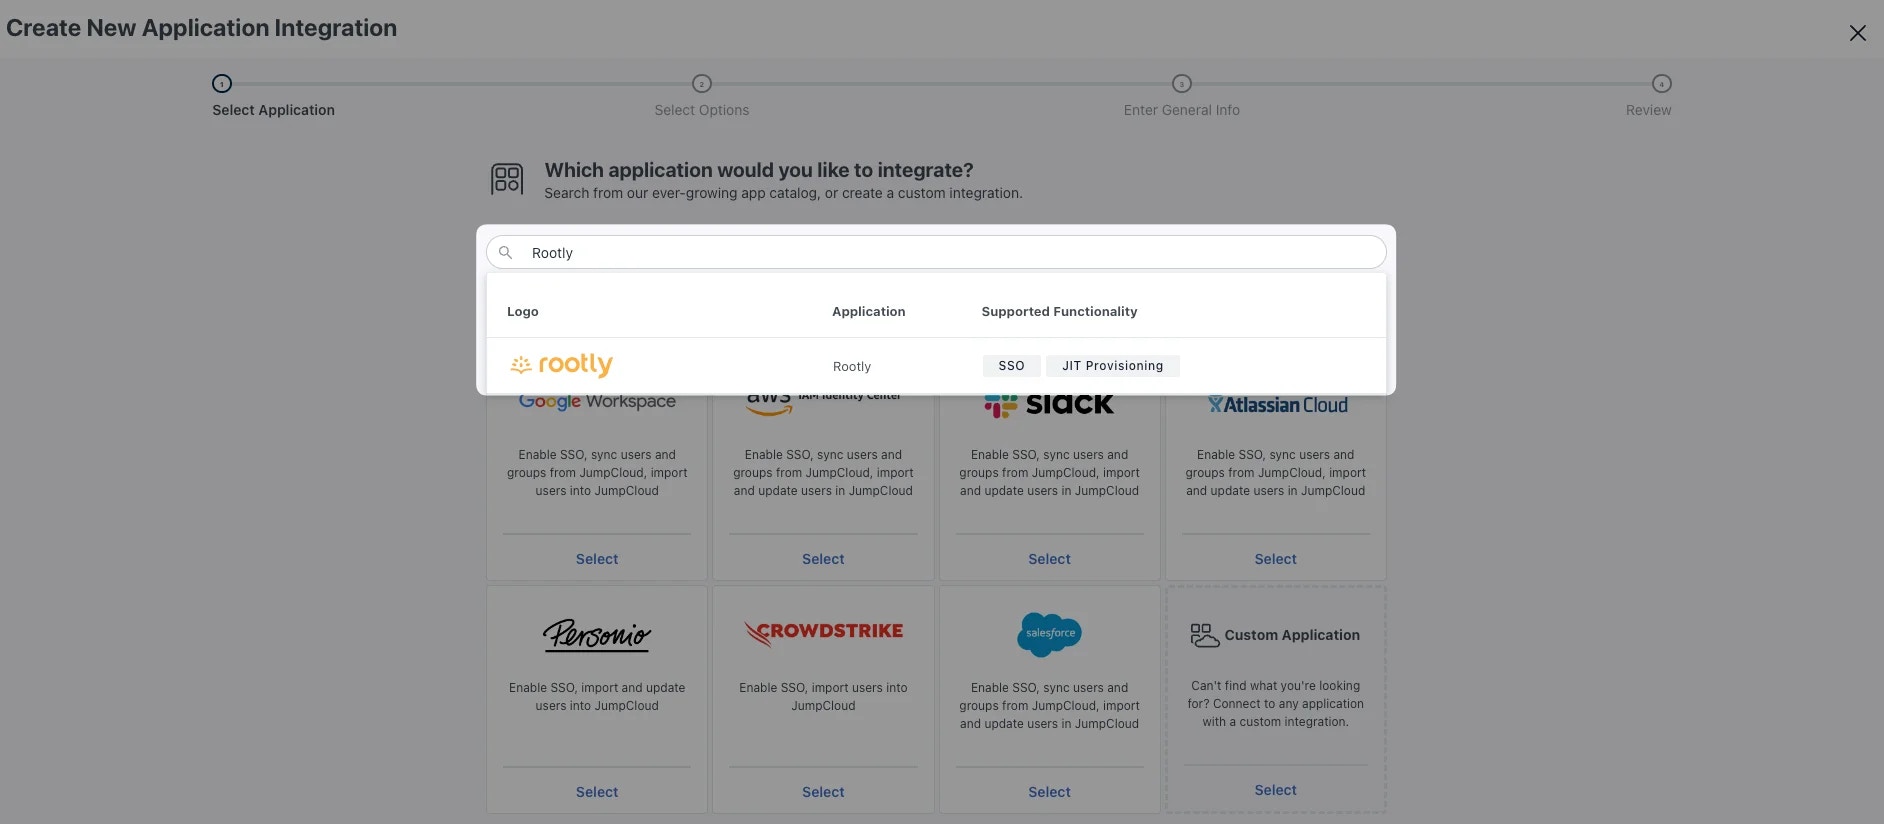
Identity Providers
Rootly is compatible with any SAML 2.0 identity provider. Setup instructions for common providers are below.Okta
Okta
Find the Rootly app in Okta
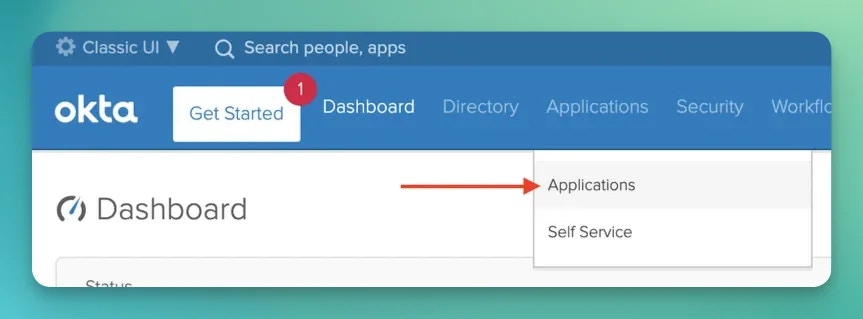
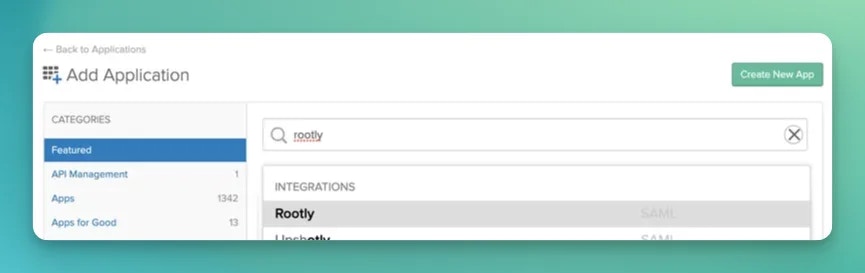
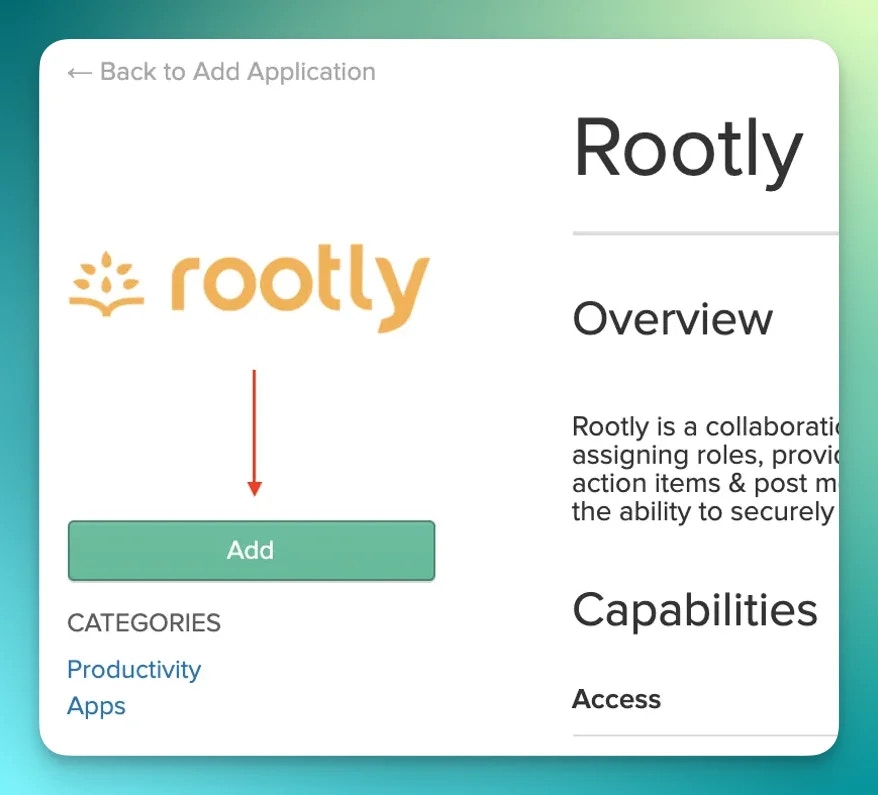
Retrieve setup instructions
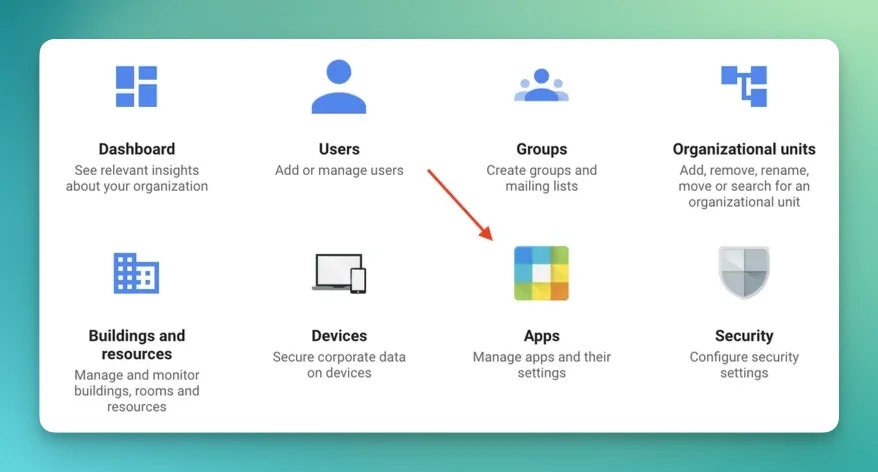
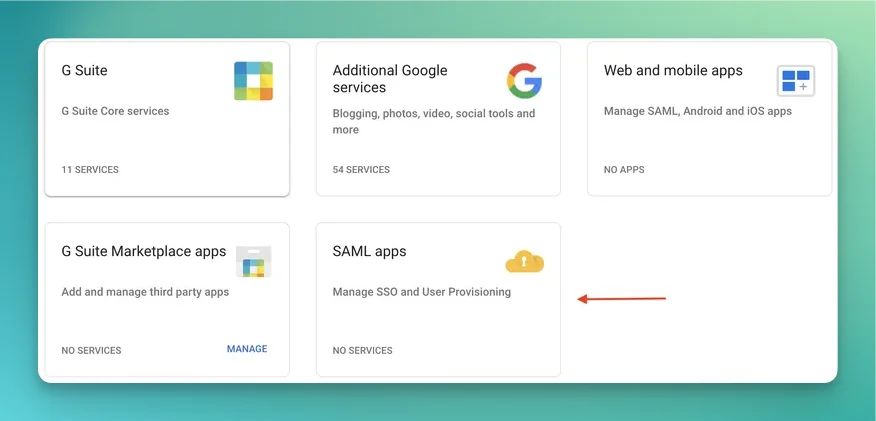
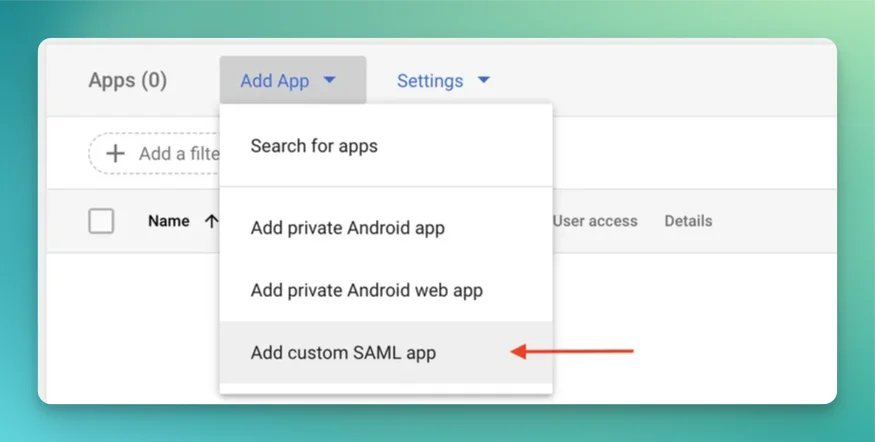
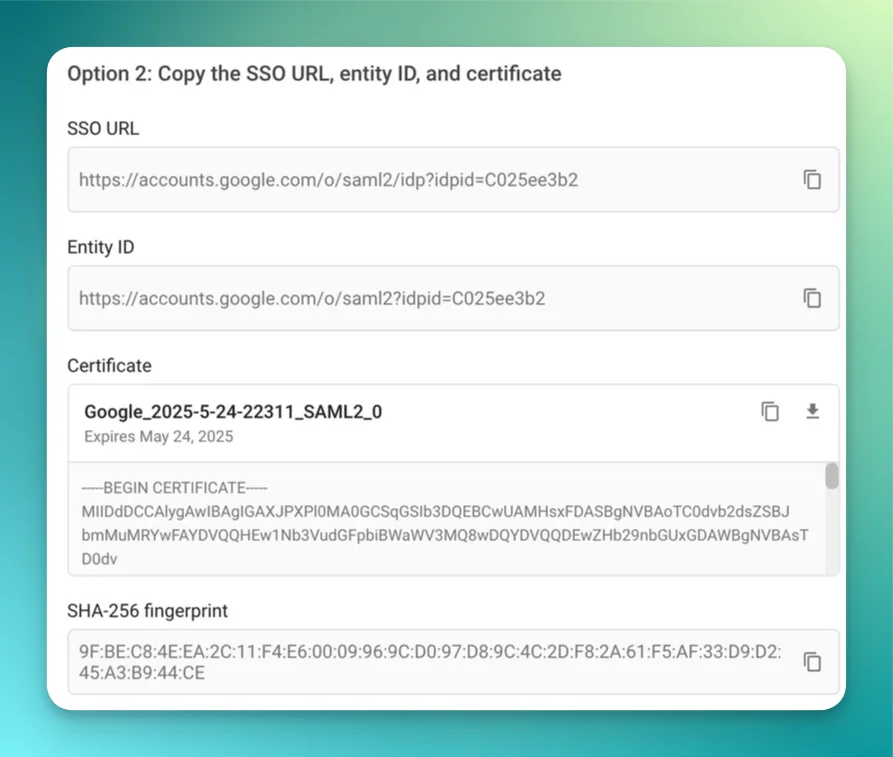
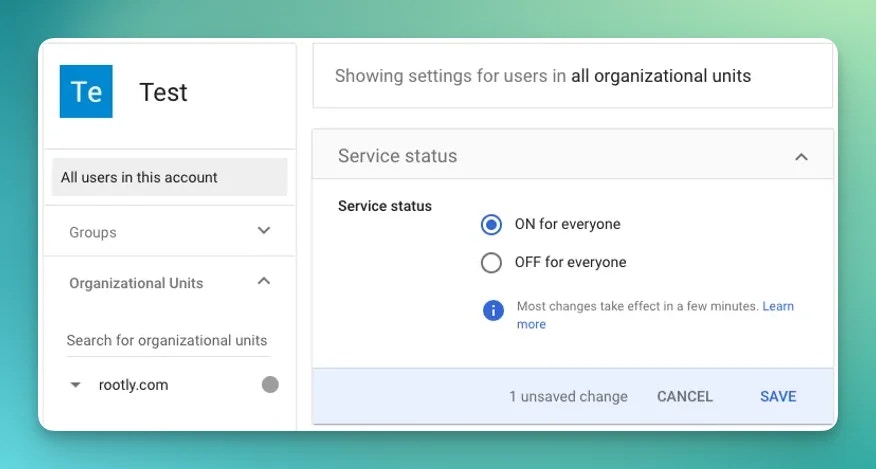
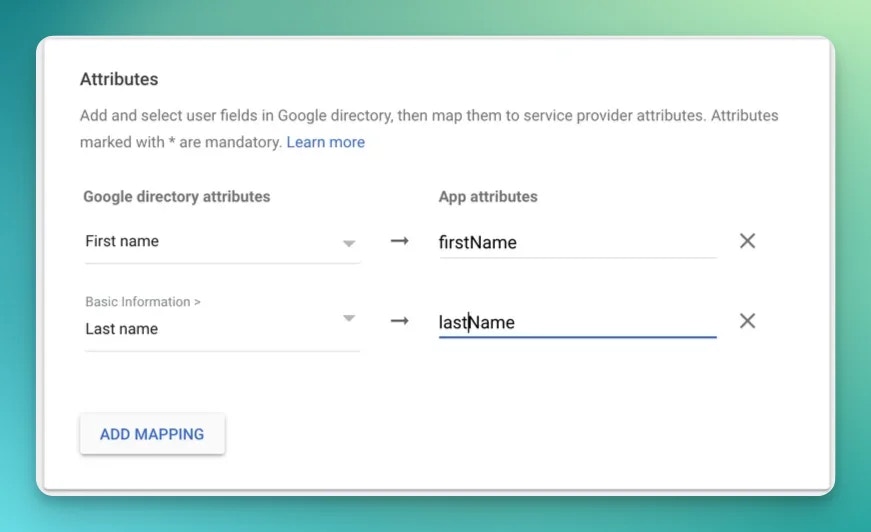
Google Workspace
Google Workspace
Create a custom SAML app
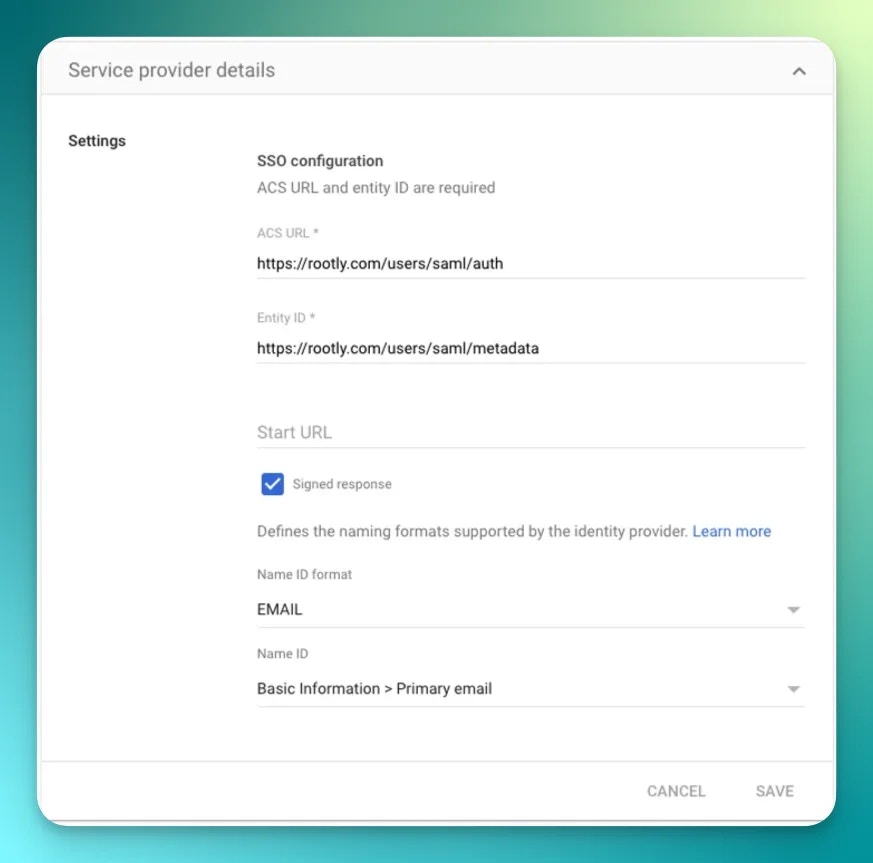
Enable Signed Response and activate the app
Configure attribute mapping
| Google Workspace field | SAML attribute |
|---|---|
| Primary email | NameID |
| First name | name.givenName |
| Last name | name.familyName |
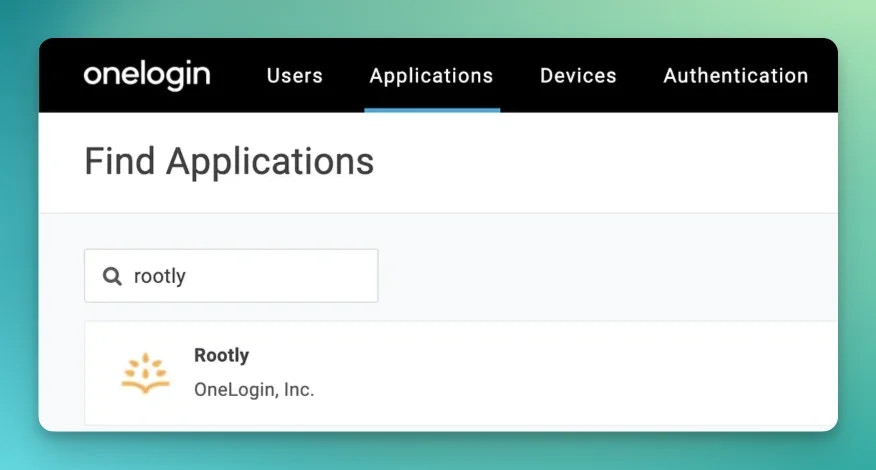
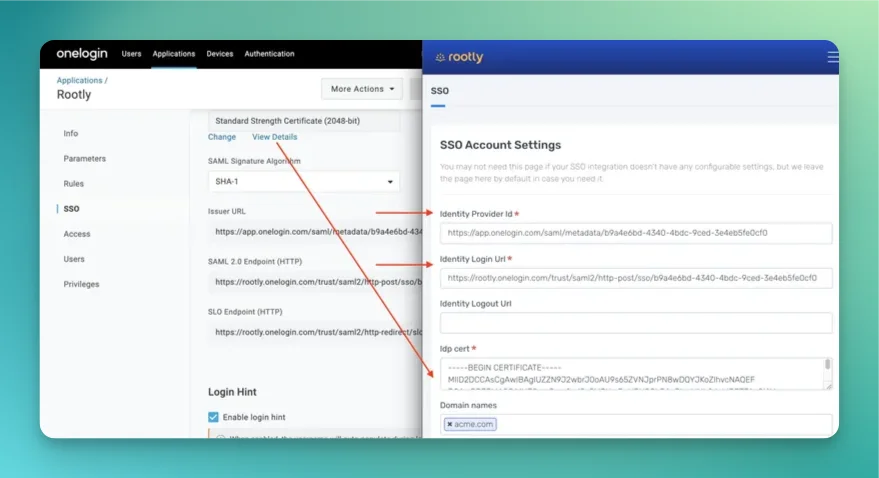
OneLogin
OneLogin
Auth0
Auth0
Microsoft Entra (Azure AD)
Microsoft Entra (Azure AD)
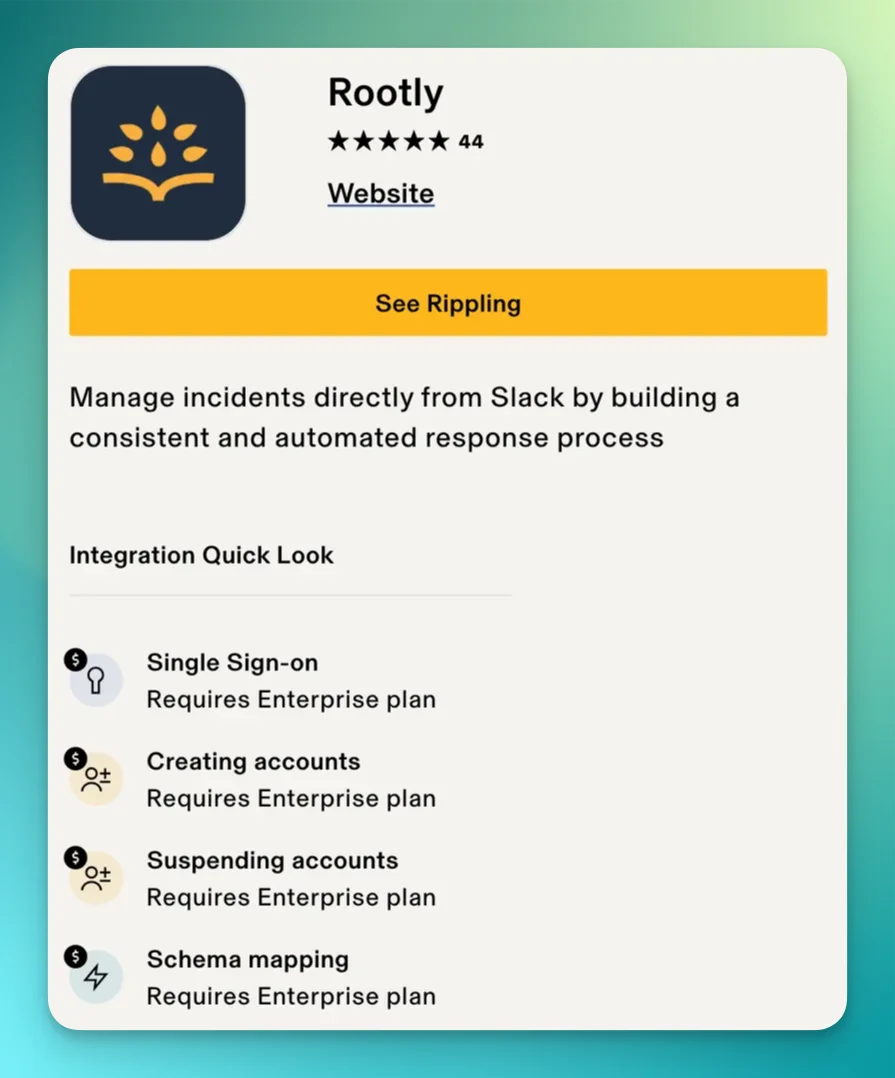
Rippling
Rippling
Keycloak
Keycloak
- Access to Keycloak admin console
- Keycloak realm configured
- User accounts with email attributes set and verified
Create a SAML client
- Navigate to Clients in the Keycloak admin console.
- Click Create Client and select SAML as the client type.
- Set Client ID to:
https://rootly.com/users/saml/metadata - Click Next and Save.
Configure client settings
- Valid redirect URIs:
https://rootly.com/*andhttps://rootly.com/users/saml/auth - Master SAML Processing URL:
https://rootly.com/users/saml/auth
- Name ID format:
email - Force POST binding:
On - Include AuthnStatement:
On
- Sign documents:
On - Sign assertions:
On - Signature algorithm:
RSA_SHA256 - SAML signature key name:
KEY_ID - Canonicalization method:
EXCLUSIVE - Client signature required:
Off - Encrypt assertions:
Off
Configure Name ID mapper
- Go to Client scopes > Dedicated scopes > Mappers.
- Create an Email mapper:
- Mapper type:
User Attribute Mapper For NameID - Name ID Format:
urn:oasis:names:tc:SAML:1.1:nameid-format:emailAddress - User Attribute:
email
- Mapper type:
Configure Rootly
| Rootly field | Keycloak value |
|---|---|
| Identity Provider ID | https://your-keycloak-host/realms/your-realm |
| Identity Login URL | https://your-keycloak-host/realms/your-realm/protocol/saml |
| Identity Logout URL | https://your-keycloak-host/realms/your-realm/protocol/saml (optional) |
| IdP Cert | RS256 certificate wrapped in PEM headers |
| Domain Name | Your domain (e.g. company.com) |
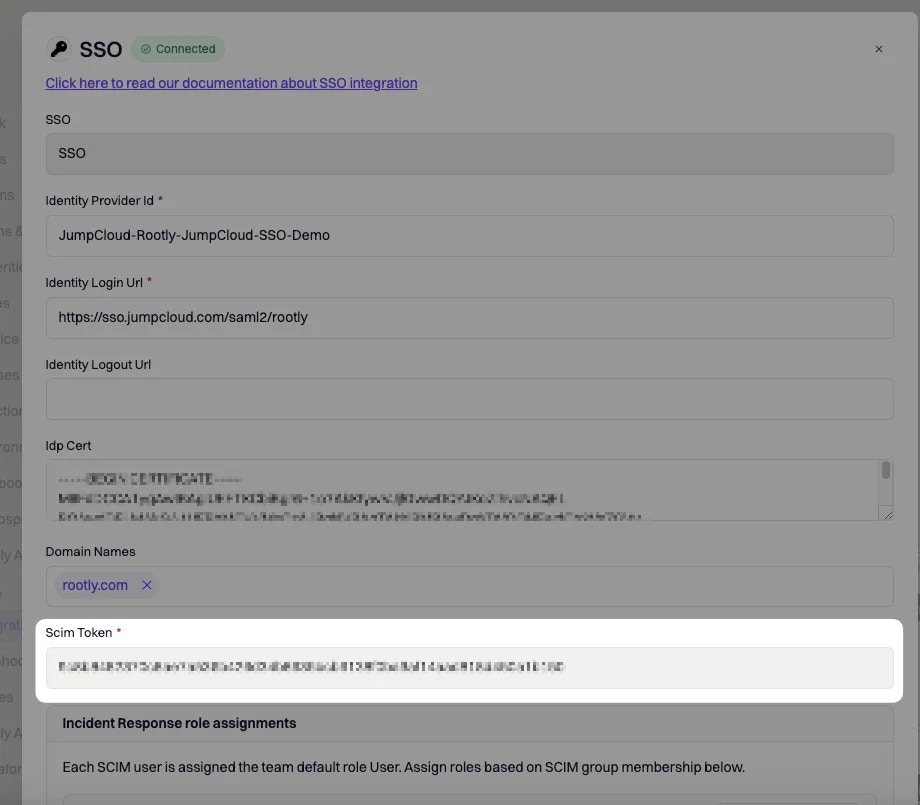
JumpCloud
JumpCloud
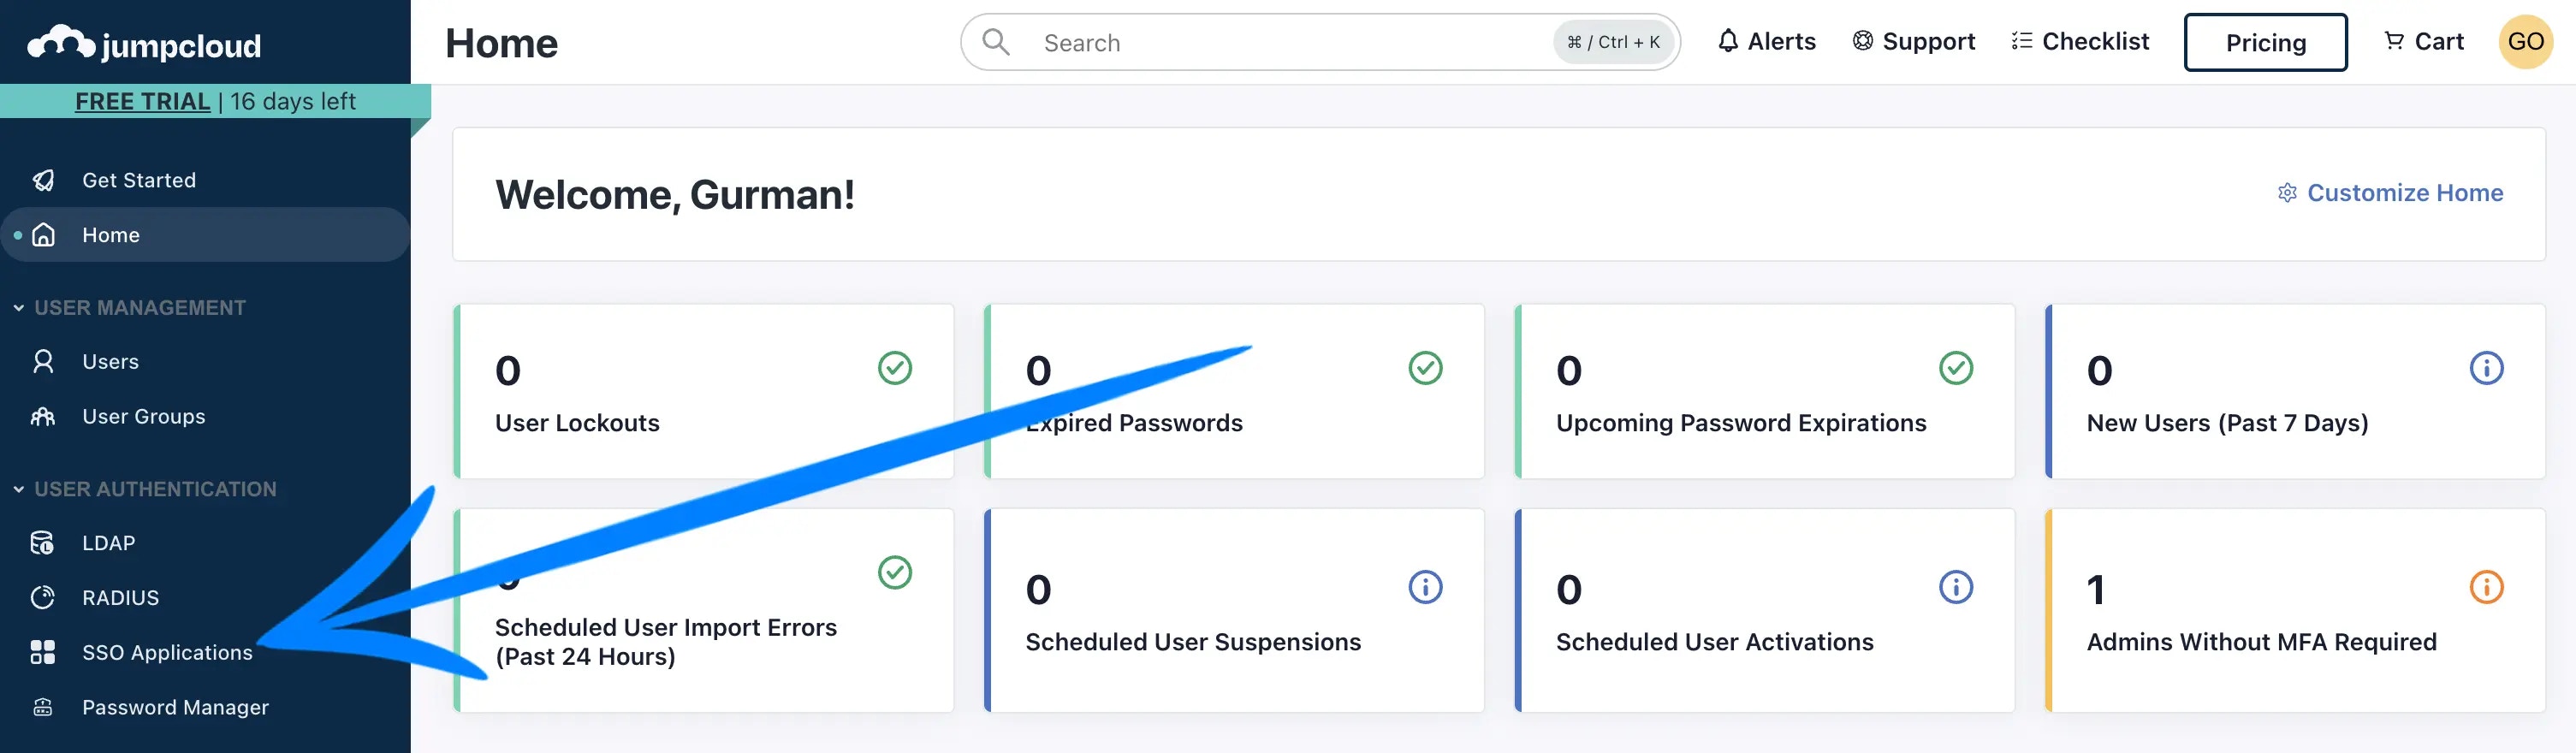
Create the Rootly SSO application
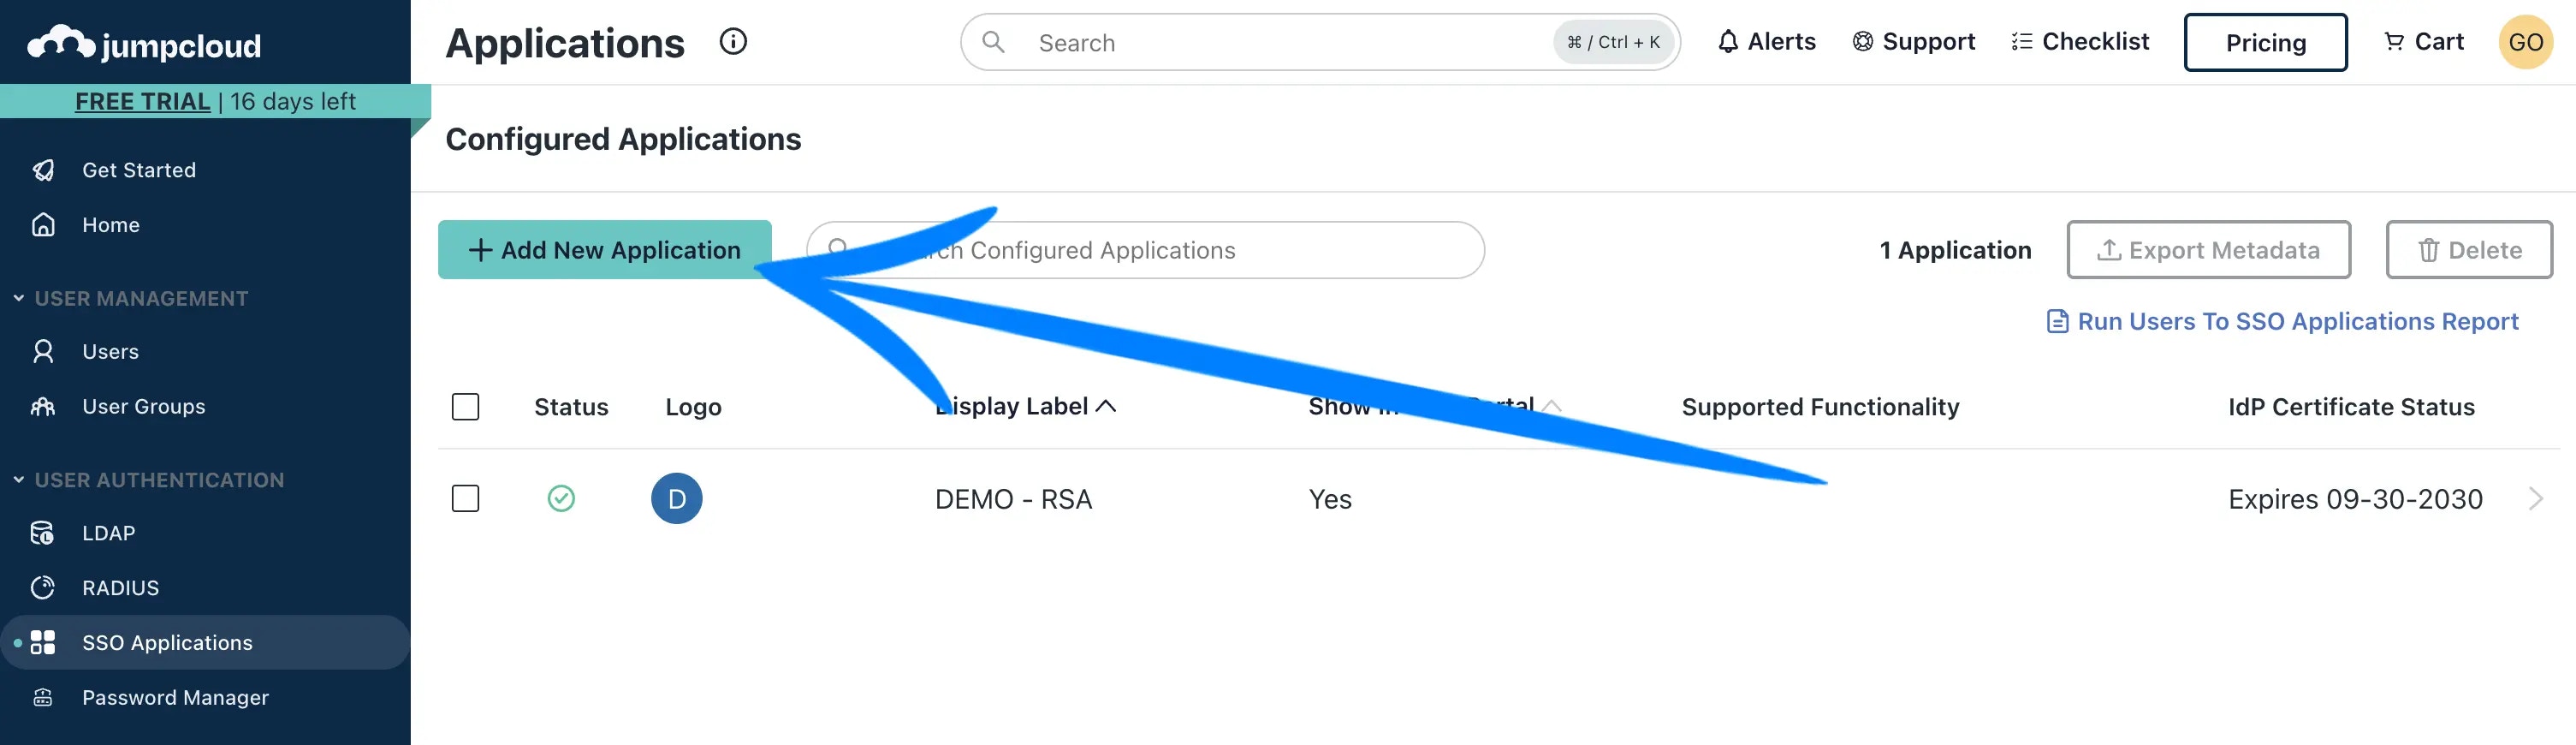
Configure the SSO tab
IdP Entity ID from JumpCloud to JumpCloud-<BusinessName>.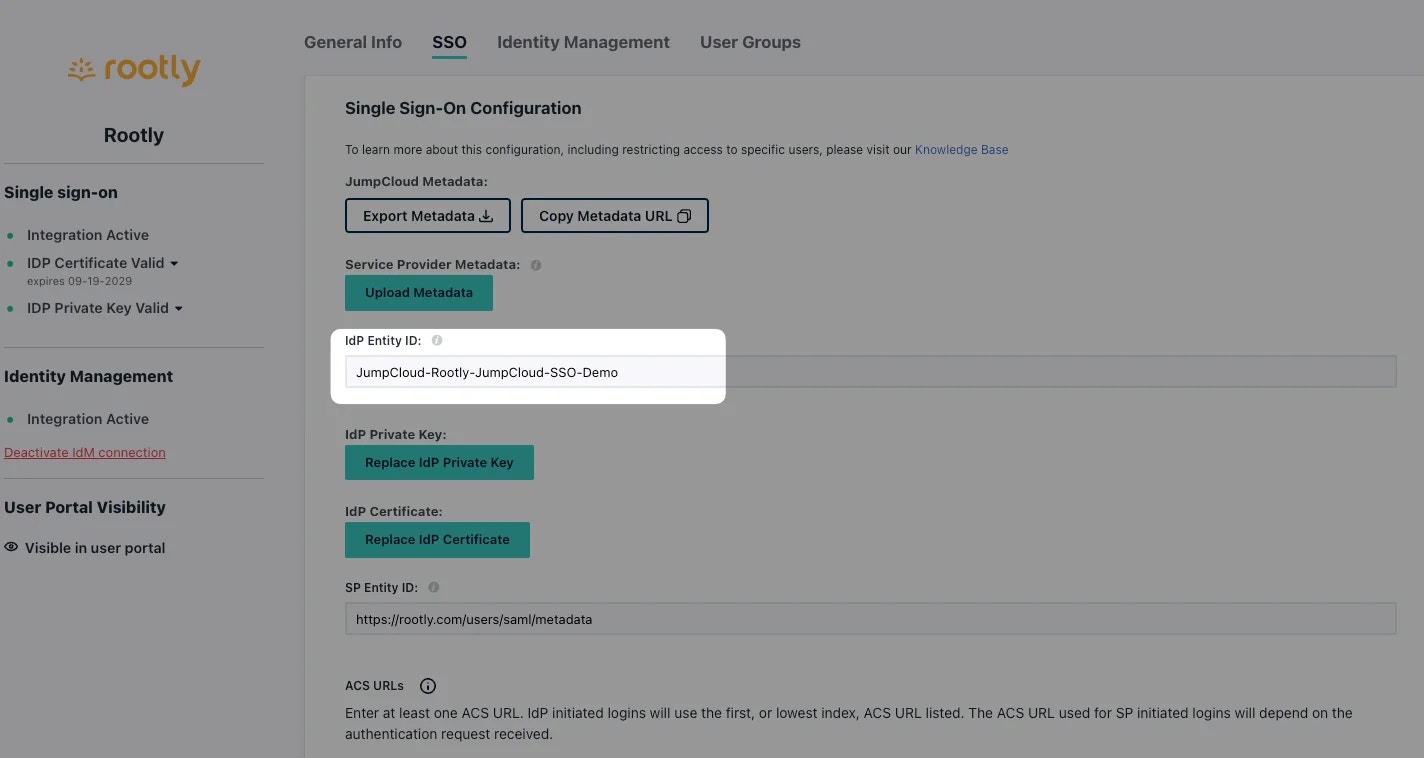
.pem file).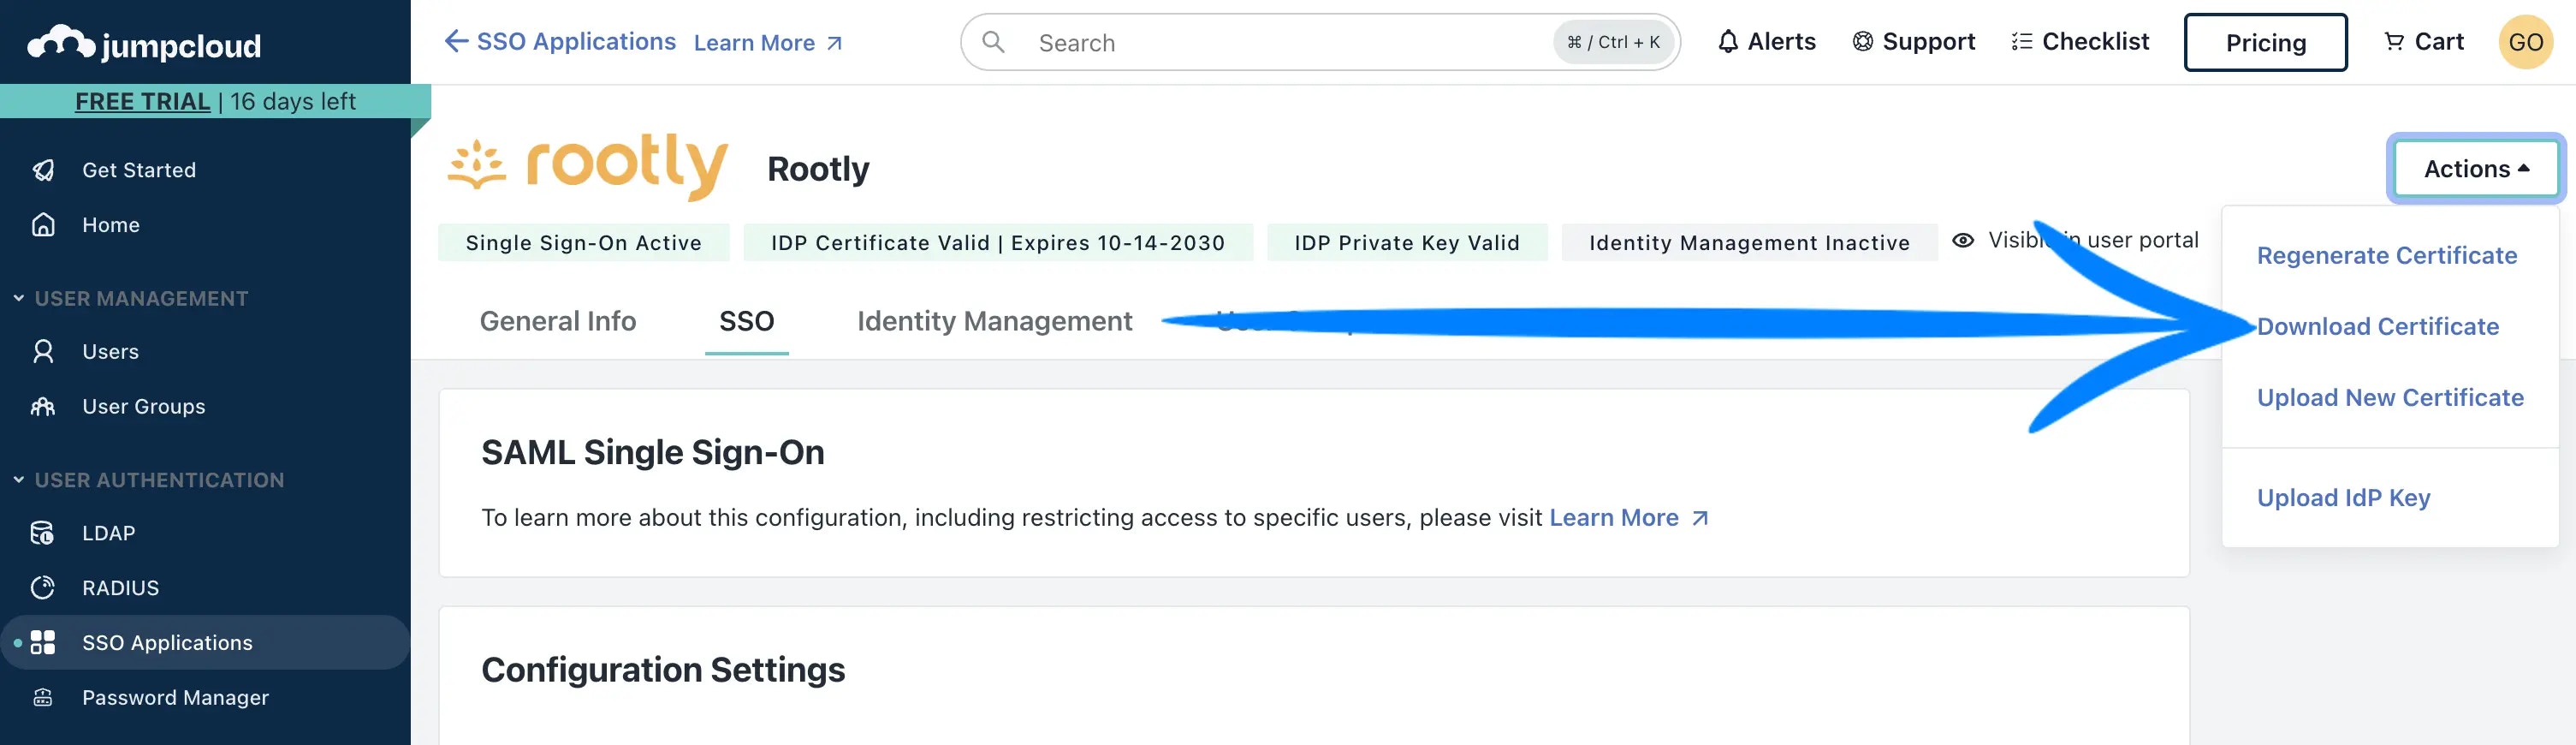
Configure Rootly
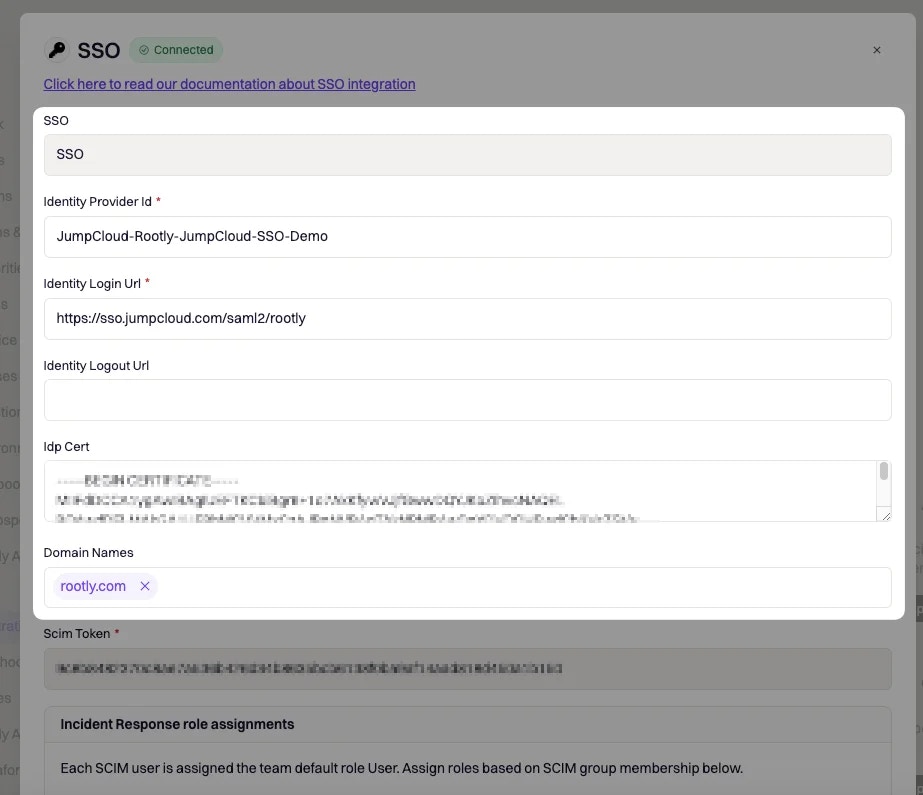
| Rootly field | JumpCloud field |
|---|---|
| Identity Provider ID | IdP Entity ID |
| Identity Login URL | IDP URL |
| Identity Logout URL | Leave blank, or set your desired post-logout redirect |
| IdP Cert | Open the .pem file in a text editor and paste the full contents |
| Domain Name | Your domain (e.g. mycompany.com) |
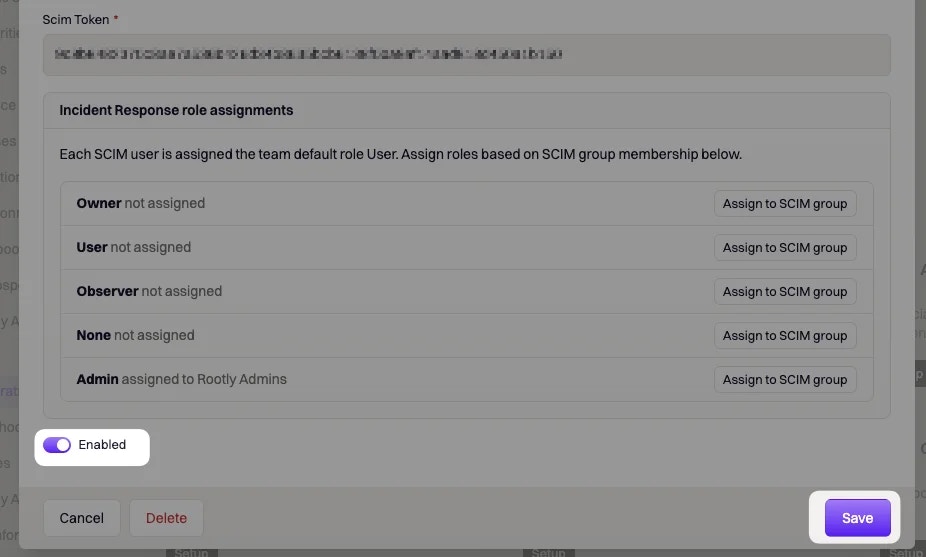
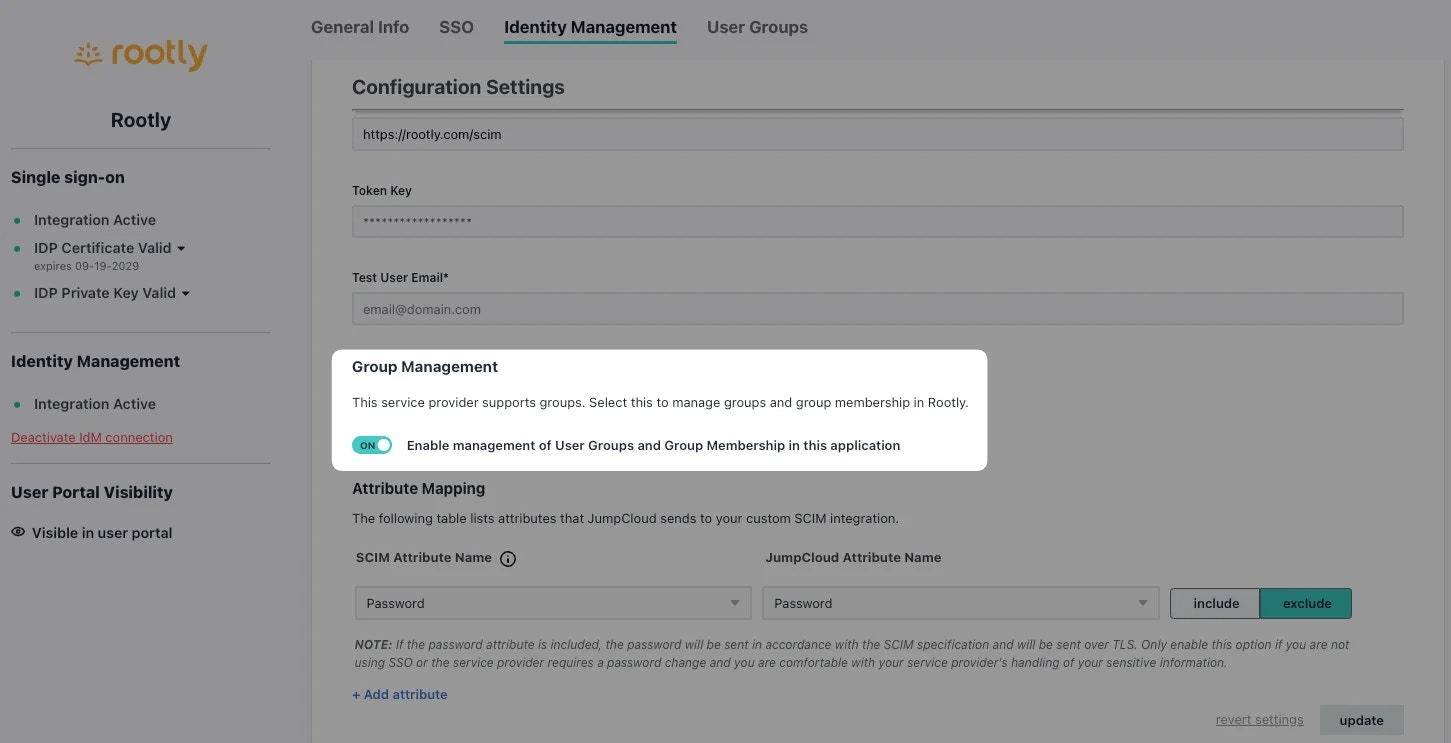
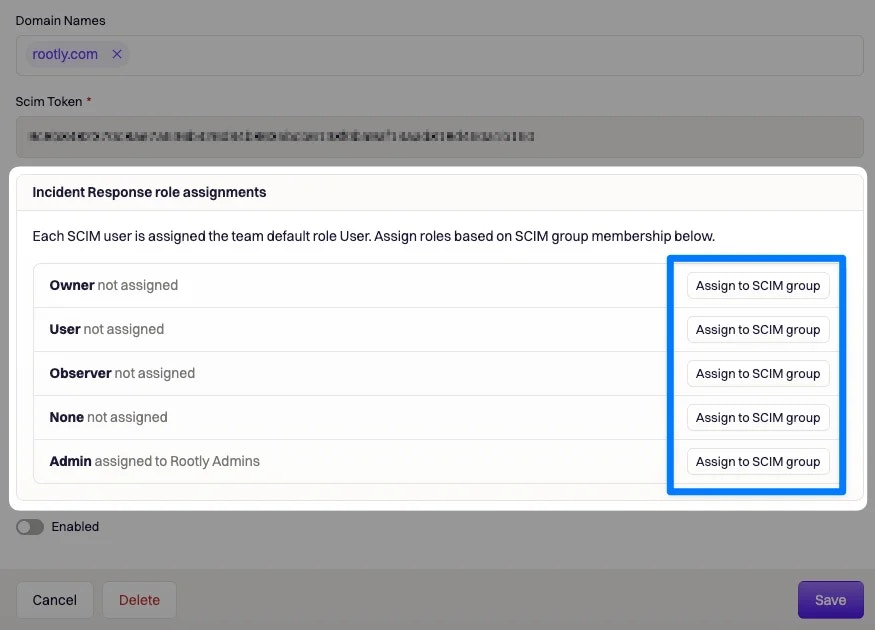
Optional: Set up SCIM group provisioning
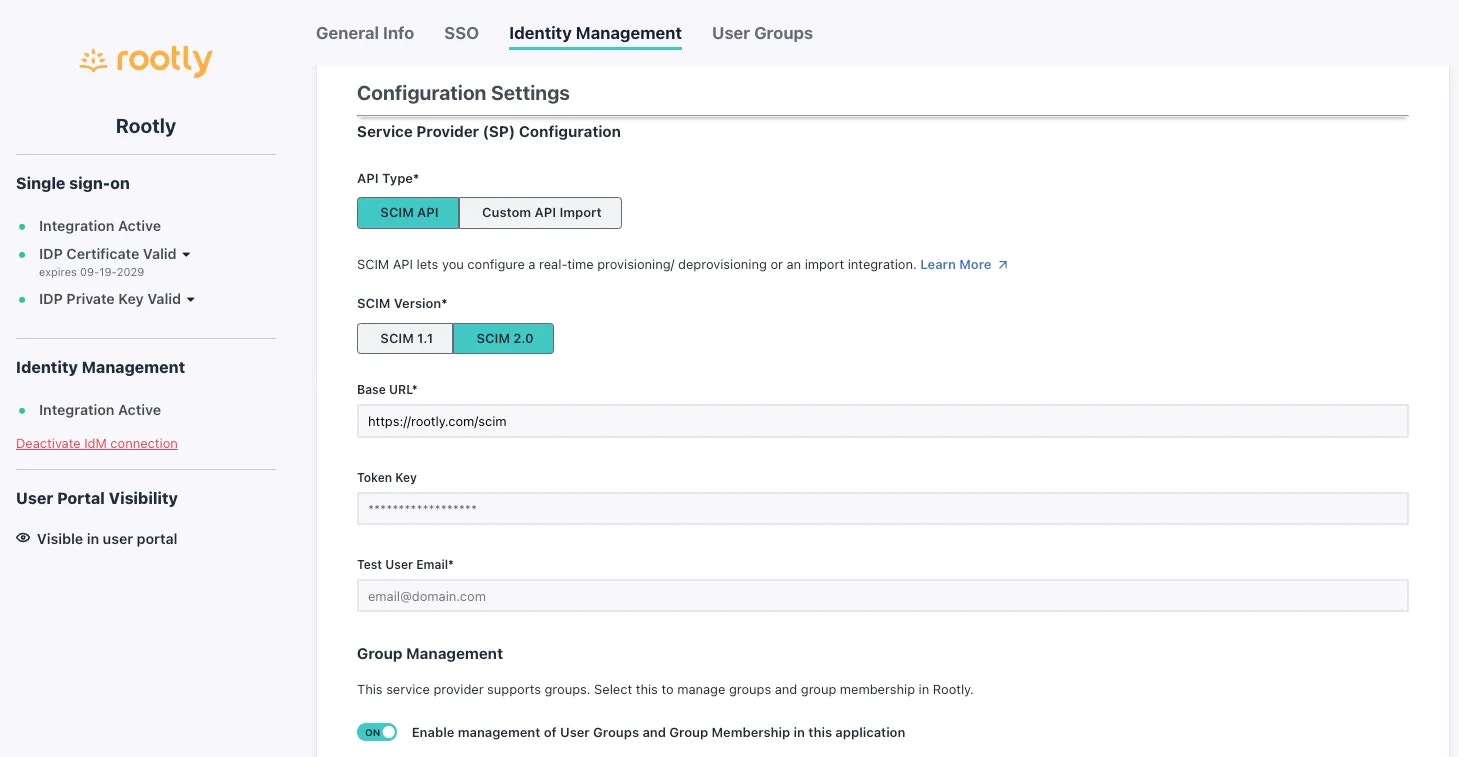
| Field | Value |
|---|---|
| API Type | SCIM API |
| SCIM Version | SCIM 2.0 |
| Base URL | https://rootly.com/scim |
| Token Key | Copy from Integrations > SSO > SCIM Token in Rootly |
Just-In-Time (JIT) Provisioning
When a user logs in for the first time via SSO, Rootly automatically creates their account — no pre-provisioning required. The following happens on first login:- Account is created with a random password (SSO users never use password login)
- Email confirmation is bypassed
- User is added as a member of the SSO account’s organization
- Attributes (name, email, phone) are populated from the SAML assertion
- Role is assigned from group membership (if configured) or the default SSO role set under Integrations > SSO
- On-call role is assigned from group membership or the default on-call role
Domain Routing
The Domain Name field controls which users are routed through SSO. When a user enters their email at login:- No match — error: “Could not find any organization associated with this domain”
- One match — user is redirected to the matched IdP automatically
- Multiple matches — user sees an organization picker
Single Logout (SLO)
Rootly supports SP-initiated and IdP-initiated Single Logout. To enable SLO, populate the Identity Logout URL field with your IdP’s SLO service URL.- SP-initiated: When a user signs out of Rootly, Rootly sends a SAML
LogoutRequestto your IdP, ending the IdP session. - IdP-initiated: When a session is terminated via your IdP, the IdP sends a
LogoutRequestto Rootly, which signs the user out and returns aLogoutResponse.
Login Behaviour
When SSO is enabled, all other login methods — Google OAuth, Slack OAuth, and email/password — are automatically redirected through your identity provider for any user whose email domain matches a configured SSO account. Users cannot bypass SSO using an alternate method. API keys are not affected by SSO. Existing API tokens continue to work regardless of SSO state, making them useful for programmatic access and automation even during an IdP outage.Emergency Access & Lockout Recovery
Enabling SSO disables all other login paths for affected users. An IdP outage, expired certificate, attribute mapping error, or misconfiguration can lock all admins out simultaneously.Locked Out?
Contact Rootly support — our team can disable SSO enforcement on your organization to restore access:- Email: support@rootly.com
- Slack: Use the
/rootly supportcommand from any workspace where Rootly is installed - Live chat: Use the chat widget at rootly.com
Prevention
- Test first. Enable SSO without enforcing it, verify one user can complete the full login flow including JIT provisioning and attribute mapping, then roll out broadly.
- Watch your certificate expiry. Rootly sends expiration warning emails automatically. Rotate the certificate before it expires.
- Keep two or more organization owners. If one admin is locked out, another can contact support and verify identity.
- Store API keys outside Rootly. API access bypasses SSO enforcement. Keys in a password manager or secrets vault let you manage resources programmatically during an IdP outage.
- Know your IdP’s break-glass procedure. Every major IdP has an emergency admin recovery path. Know it before you need it.
- Record your org slug and admin emails so support can quickly verify your identity and restore access.
FAQs
Why do users see 'Invalid SAML response' on login?
Why do users see 'Invalid SAML response' on login?
https://rootly.com/users/saml/metadata.Why are JIT-provisioned users getting the wrong role?
Why are JIT-provisioned users getting the wrong role?
Why does Google Workspace login fail with a signature error?
Why does Google Workspace login fail with a signature error?
Why is the login redirecting in a loop?
Why is the login redirecting in a loop?
https://rootly.com/users/saml/auth and the NameID format is emailAddress.Why do users get 'Could not find any organization associated with this domain'?
Why do users get 'Could not find any organization associated with this domain'?
Why are user names missing or wrong after JIT provisioning?
Why are user names missing or wrong after JIT provisioning?
name.givenName and name.familyName in your IdP’s attribute mapping configuration.Can one SSO account cover multiple email domains?
Can one SSO account cover multiple email domains?
Does SSO affect API key access?
Does SSO affect API key access?