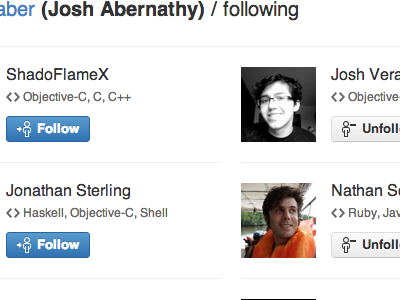
I updated the following/followers pages on GitHub. Was trying to get them to be more enticing.
I updated the following/followers pages on GitHub. Was trying to get them to be more enticing.
Posting this after updating it a few months ago, but I thought I'd share.
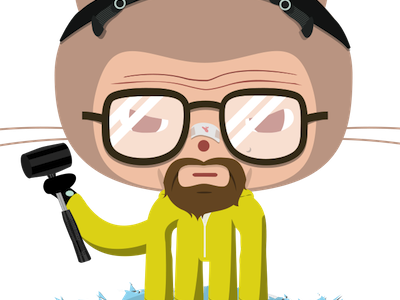
#laterdribbble I don't know how I didn't dribbble this before. full size here http://octodex.github.com/heisencat/
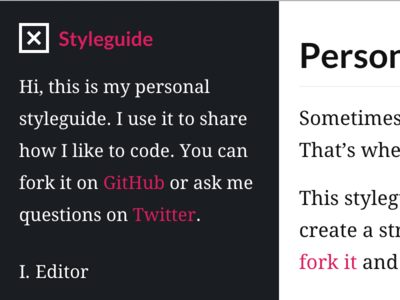
This is my personal coding styleguide. I try to cover how I write HTML, CSS, JavaScript and Ruby.
I'm still writing out more docs, but I think I've pretty much nailed the design down.
Full site - http://jonrohan.codes/styleguide/
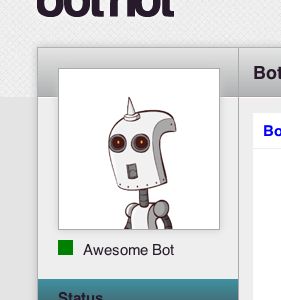
We're using these awesome bot avatars as default avatars on botriot.
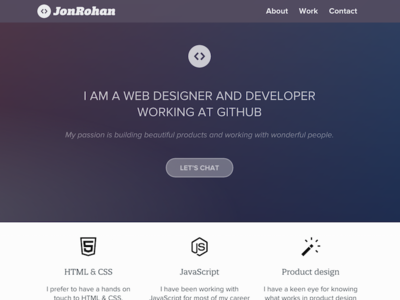
Decided to give my site http://jonrohan.codes/ a little bit of a design update. More details here http://jonrohan.codes/fieldnotes/a-big-update-to-this-site/#post
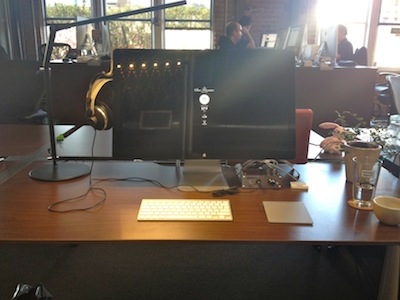
My GitHub Desk
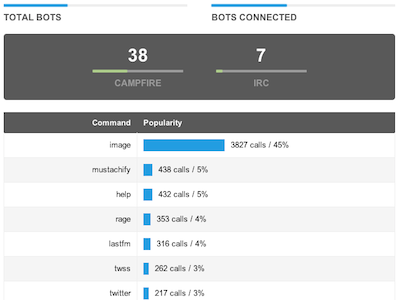
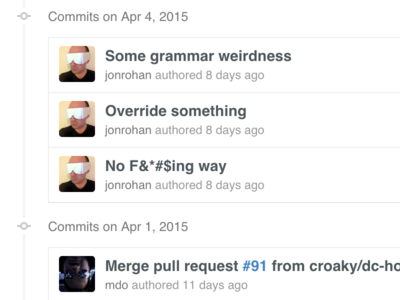
I love stats dashboards.