Graph
The graph view displays and edits both the timing and values of an animation's Rows
The graph rows can be hidden with the Hide rows Overview row
The first row in the graph is the "overview row" and shows the animation name. Setting the visibility dot for the overview row sets it for all the rows currently shown in the graph. When many curves are shown, the graph may be crowded and it may be easier to use the Bone rows
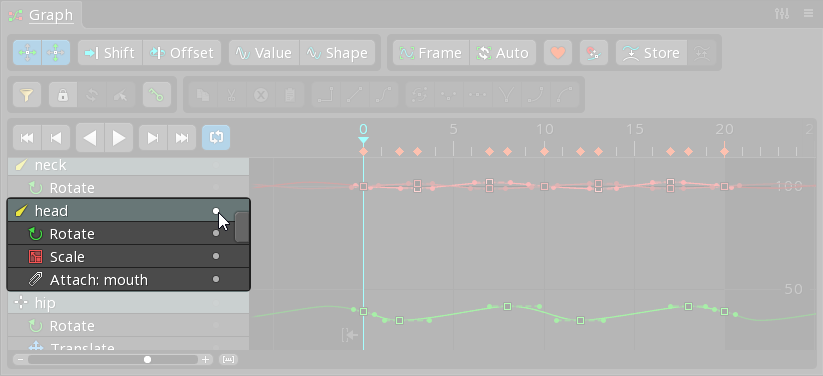
Keys are grouped by the bone most related to the keyed property. Setting the visibility dot for a bone row sets it for all the property rows under it.
Clicking a bone name is more useful when the graph is Property rows
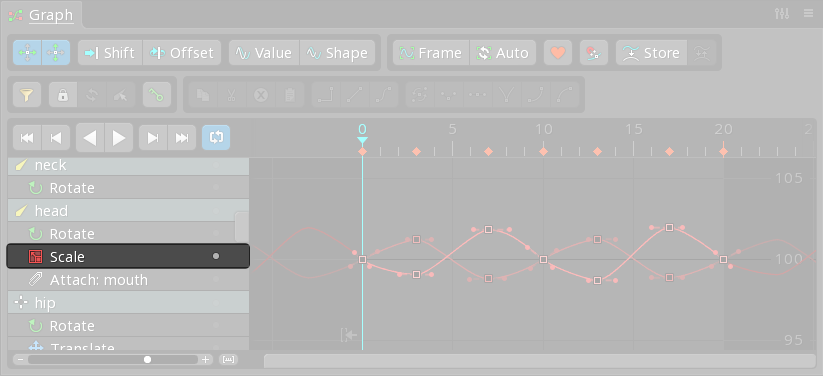
Under a bone row are property rows for each keyed property. Setting the visibility dot for a property row causes the curves for that property to be shown in the graph. A single property may have multiple curves.
Clicking the name of a Other rows
Rows for Contents
The graph has two modes to control which bone rows are shown: unlocked and locked.
Unlocked
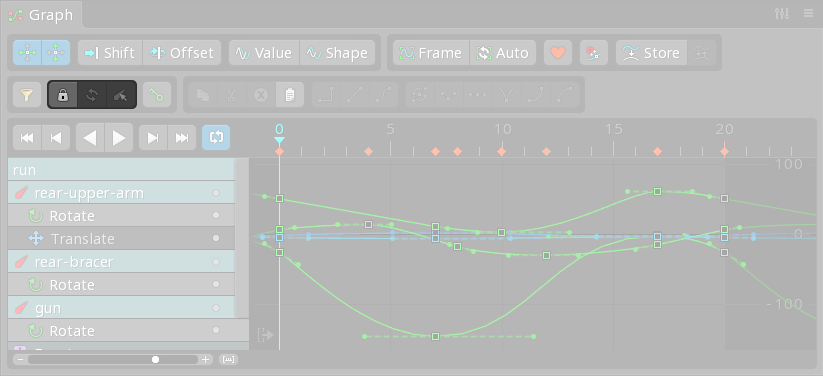
To see all bone rows, Locked

Click the lock button to lock the graph, preserving which bone rows are shown. While locked, changing the viewport or tree selection does not affect which bone rows are shown.
Locking the graph is useful when working on multiple bones or a particular set of bones, allowing multiple bone rows to be seen while selecting different bones.
Refresh

The refresh button updates the graph to show the bone rows for the current selection. This is equivalent to unlocking and locking the graph again.
Select

The select button selects the bones in the viewport for all of the currently shown bone rows. It can be useful to select the bones, modify the selection, then click refresh to change the bone rows shown in the graph.
Order
Bone rows appear in the graph using the order the bones were selected. Bone rows can be rearranged by dragging them up or down.
Visibility
Bone rows for Filters
The graph can be filtered to show only the chosen types of properties. Click the filter button to select the property types that will be shown. When a filter is active, the filter button is red.
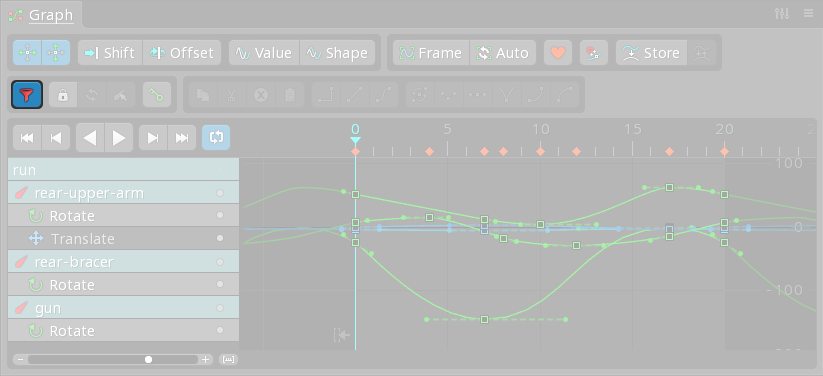
Hold ctrl (cmd on Mac) or shift to select multiple filters. The Reset button selects all filters.
When Current tool is active, only the Curves
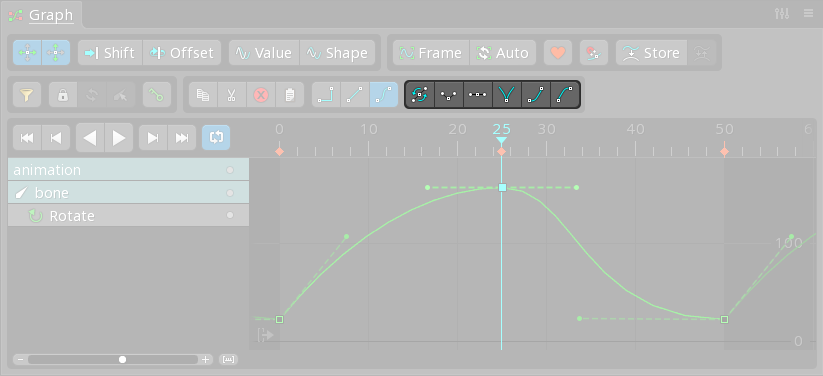
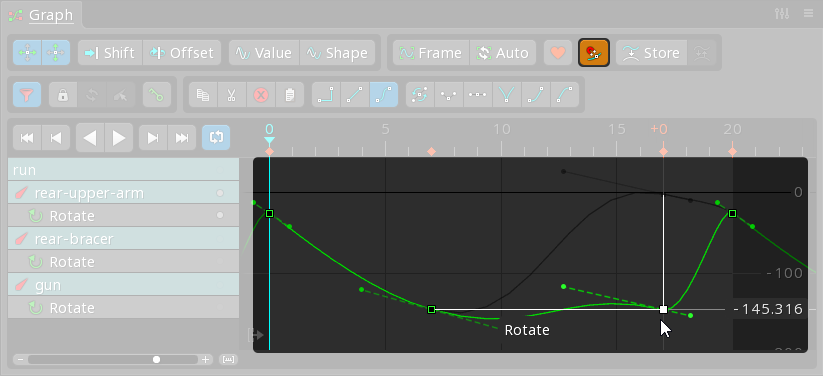
Keys are shown in the graph as squares. The position on the X axis represents the key's Repeat
When Separate properties
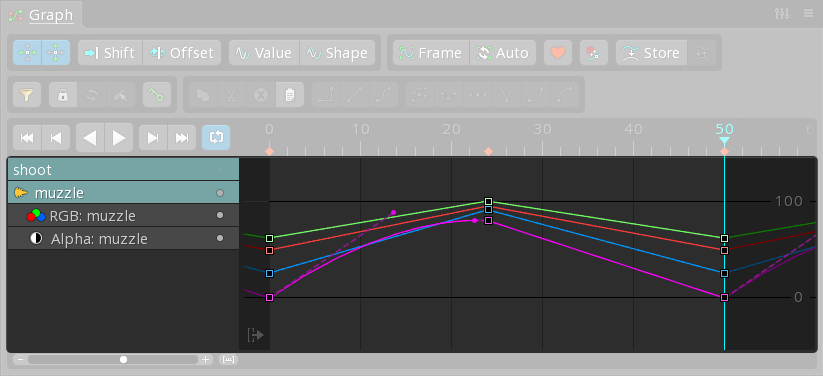
A single property may have multiple curves. For example, an RGBA property has four curves: red, green, blue, and alpha. Each key for the property stores values for all the curves, but when using a Bezier curve, each curve has its own handles that can be adjusted independently.
Some values that are normally keyed together as a single property can be "separated" so each value can be keyed independently. Bone transform Curve types
Each key has a "curve type" which determines the interpolation between the key and the next key. To set the curve type, select one or more keys and click one of the curve type buttons.
Stepped
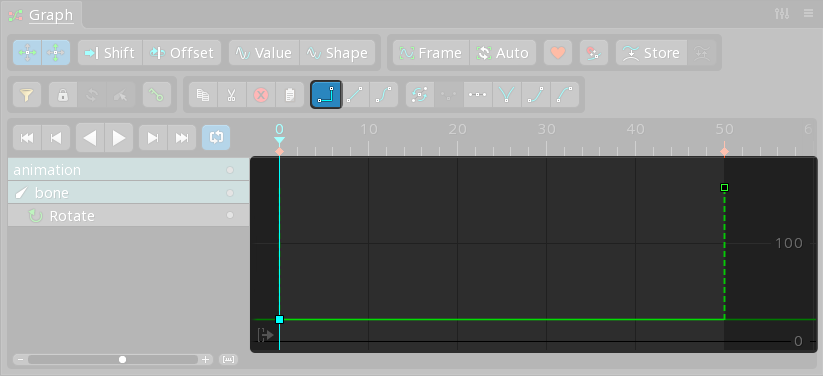
The stepped curve type holds the key's value until the next key is reached.
Linear
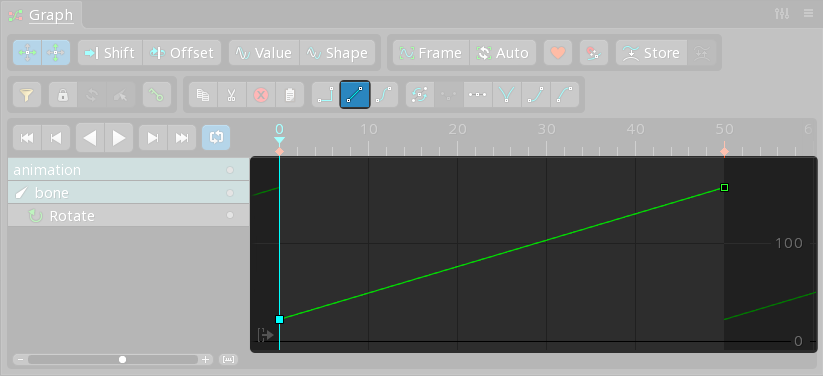
The linear curve type interpolates between keys using a straight line. This means the value changes at a constant rate as the timeline position moves from the key to the next key.
Bezier
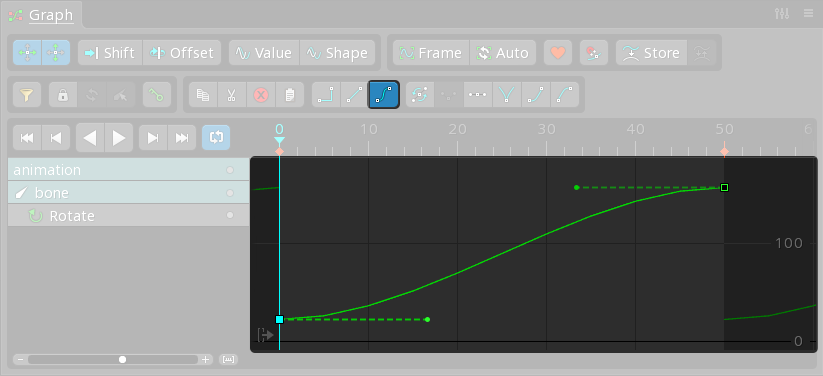
The Bezier (pronounced bez-ee-ay) curve type uses a Bézier curve to interpolate between key values. The curve has two handles that can be dragged to customize the rate at which the value changes between the keys.
If the selected keys are already Bezier and the Bezier button is clicked, the handles are reset to their default positions.
Presets
A number of preset buttons are provided to position the Bezier handles. These buttons will also set the curve type to Bezier, if it is not already set.
Automatic

When enabled, the handles are set to automatic. The handle icons change to triangles and the angle of the handles is adjusted automatically based on the values of the keys before and after the key. If the handles are moved manually, they are changed back to manual handles.
Automatic handles often provide good results. It can be useful to first apply automatic handles, then adjust them manually only if necessary.
Separate

When enabled, the handles are separated so moving a handle does not affect the handle on the other side of the key. This causes a cusp in the curve, where the transition of the value at the key is not smooth.
Hold alt (option on Mac) before dragging a handle will separate the handle. Pressing alt while dragging will toggle separate handles on and off.
Flat

Moves the handles to be flat, aligning them vertically with the key.
Bounce

Separates the handles and moves them to point roughly in the direction of the previous and next keys. This can be useful when changing directions abruptly, such as when a ball bounces.
Ease out

Moves the handles so the value changes more slowly near the key.
Ease in

Moves the handles so the value changes more slowly near the next key.
Navigation
Enabling Frame
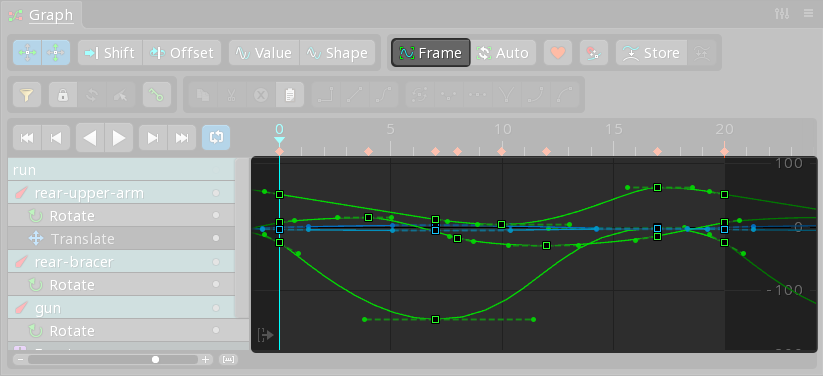
When the Frame button is clicked, the graph view is zoomed and panned so all the curves are visible. If keys or handles are selected in the graph, the graph view is zoomed and panned so only those visible.
Auto
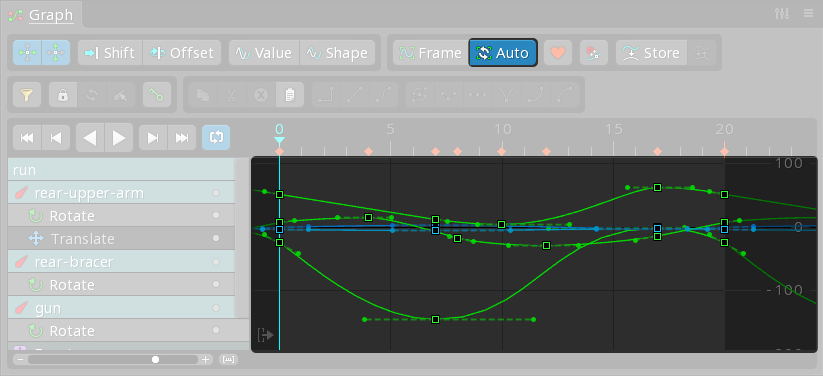
When Auto is enabled, the graph view will automatically zoom to keep all the curves visible. Spine uses intelligent automatic zooming that avoids making unnecessary adjustments. Zoom can still be adjusted manually.
It is common to have Auto enabled most of the time because it greatly reduces the need to manually adjust the graph view.
Selection
Click to select a key or handle. For a key, this will also set the timeline position to the selected key, if Sync
When dopesheet Box selection
When no keys or handles are selected, drag in empty space to box select keys. You may need to Manipulating keys
Selected keys and handles can be moved by dragging. When New keys
Normally new keys are assigned a linear curve type. However, if a key is placed between keys that are using Bezier or stepped, then the new key is assigned a Bezier or stepped curve type instead. When this is done for Bezier, the handles for the previous key, the new key, and the next key are adjusted so the curve does not change. This allows new keys to be added in the middle of an animation without changing the curves.
Axes
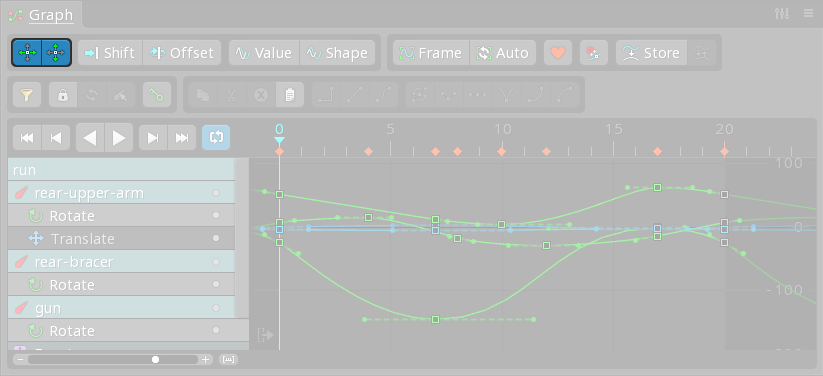
The axes buttons allow moving keys to be restricted to only up/down or left/right.
Snapping
When a key is moved up or down, it is snapped horizontally to its original frame. This allows changing a key's value without accidentally changing its frame.
When a key is moved left or right, it is snapped vertically to its original value. This allows changing a key's frame without accidentally changing its values.
When key snapping is enabled, the key value snaps to other keys. This can help when a key needs to have the same value as another key. Key snapping can snap to any key, but prefers keys on the same curve. To snap to a specific key, first hover the mouse over the key briefly, then move the desired key and it will prefer to snap to the hovered key.
Key snapping can be enabled or disabled temporarily by holding shit+alt (shit+option on Mac).
When any snapping is applied, a white line is shown.
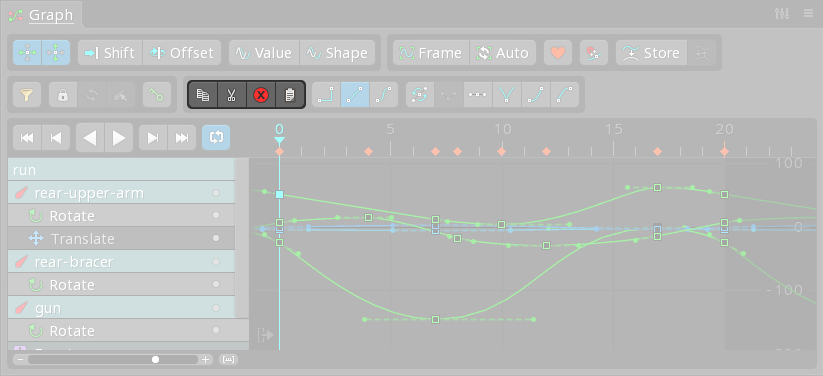
Clipboard buttons
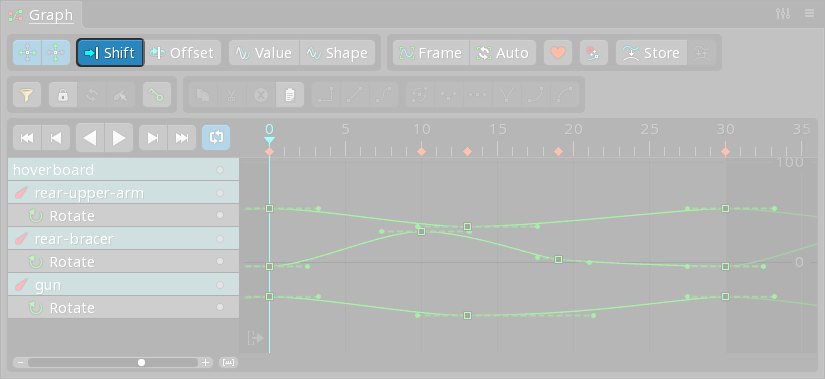
See Shift
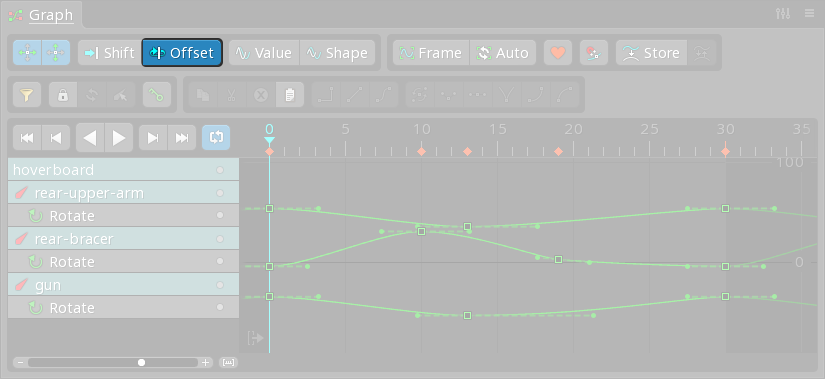
See Offset
See Key shown

See Handle modes
When keys are moved left or right to adjust timing, normally the handles stay the same and may wreck the curves, especially when the handles aren't flat. Spine provides two handle modes so the handles of the key being moved and the handles of neighboring keys are adjusted automatically. This can reduce the need to adjust handles after moving keys.
Value
When enabled, the handles are scaled horizontally. The minimum and maximum values the curve reached remain the same.
Shape
When enabled, the handles are moved to keep the original shape of the curve. The minimum and maximum values the curve reached may change.
Favor
The favor button shows the favor slider, which is a workflow tool that helps you to create a breakdown pose that is more like the previous key or the next key.
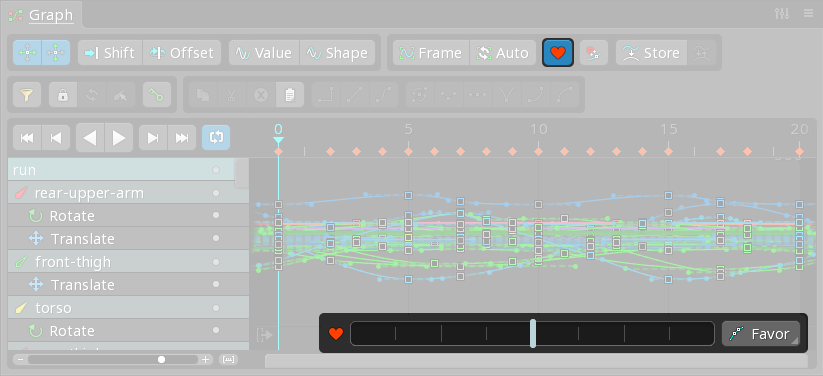
A breakdown pose is an intermediate pose. It doesn't work by itself, it needs the main poses to explain the action. The main poses describe what is happening and the breakdown poses between them tell how it is happening, meaning which parts move first, how far, in what direction, and so on. Breakdown poses add interest to the basic movements and greatly improve the quality of the animation.
To use the favor slider, position the timeline between two keys and drag the favor slider. Dragging it to the left moves the keys toward the key before the current frame. Dragging it to the right moves the keys toward the key after the current frame. Hotkeys can be used to make using the favor slider faster. See the video above for more usage details.
When keys are selected, dragging the favor slider adjusts those keys. When no keys are selected, dragging the favor slider sets keys for all the visible curves, like Store
The Store button stores all the current keys and handles for the whole animation. The stored curves are drawn in the background and can be used as a reference when adjusting keys and handles. Clicking Store again clears the stored keys and handles.
The Swap button swaps the stored keys and handles with the current keys and handles.
You can Store, make changes to your animation, then Swap to see if you like the new changes better. It can also be used with the Store View settings
Hide toolbar

When checked, the graph toolbar is hidden. This can save some vertical space when the toolbar buttons are not needed or hotkeys are being used.
Hide rows
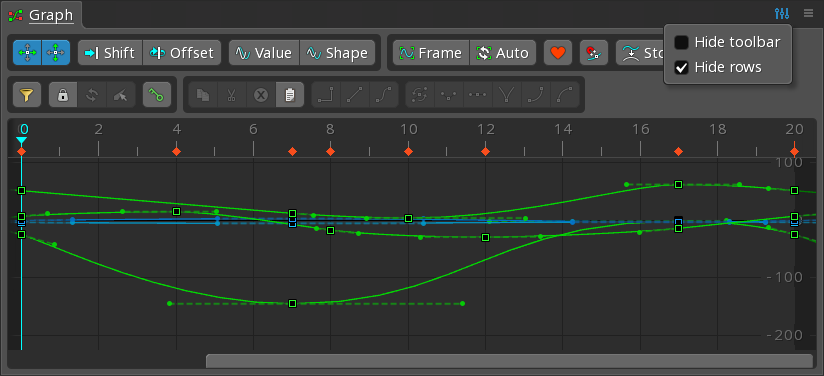
When checked, the graph rows are hidden. This can save horizontal space, but without the rows the visibility dots cannot be used to control which curves are visible.